How to Cook Chicken Livers the Right Way (Tender & Juicy Every Time)
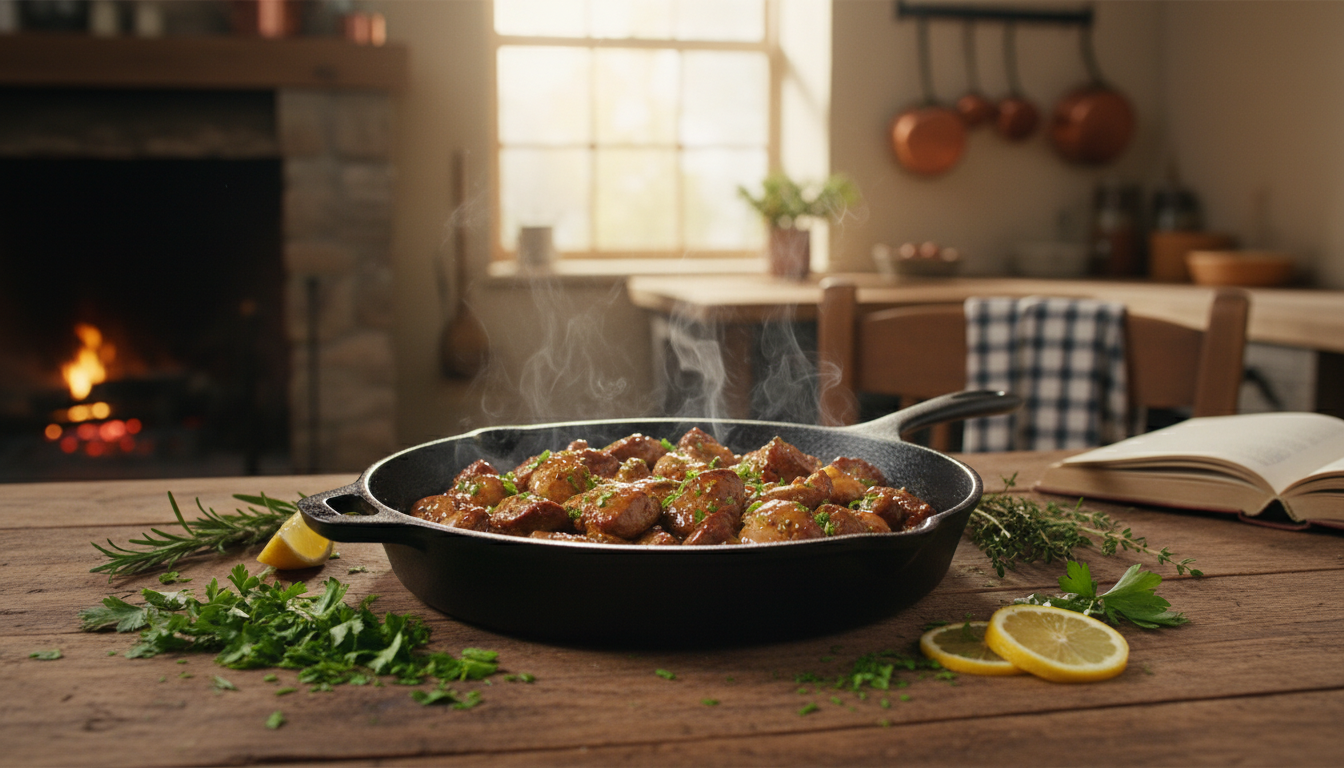
I still remember the first time you try a simple pan meal and it feels like a small celebration. That warm, savory scent and a bite that is creamy inside and crisp at the edge can change a weeknight. If you want a clear path, this guide shows how to cook chicken livers with confidence and care.
This piece walks you through technique first — heat, minutes, and texture cues — then applies those notes in a full, tested recipe. You’ll find a pan-fried chicken livers and onions dish finished with a sweet-tangy balsamic wine glaze later, complete with prep time, cook time, total time, servings, and nutrition.
Expect tips for milder flavor, fast cook times, and clear doneness guidance for safety. You’ll also see multiple methods — pan-fry, sauté, grill, and stir-fry — so you can pick what fits your weeknight gear and rhythm.
Table of Contents
Practical benefits: budget-friendly protein, nutrient-dense meals, and restaurant-level results when you get heat and timing right.
Chicken livers overview: flavor, texture, and why they’re worth cooking
When treated with respect, liver offers a creamy, savory bite that few other proteins match. In plain terms, expect a rich, mildly earthy taste that can seem strong if the piece is overcooked or under-seasoned.
What they taste like and how to make the flavor milder
You can mellow that bold flavor by pairing it with sweet aromatics like onions and garlic. Balance with an acid, such as balsamic, red wine, or lemon, rather than burying the taste under heavy sauces.
Texture goals: browned edges with a creamy center
Perfect texture means a little crisp at the edge and a tender, creamy center rather than dry and chalky. Quick, high heat searing gives contrast and preserves moisture.
- Nutrition and value: nutrient-dense, with iron, vitamin A, B vitamins, and about 23 g protein per serving.
- They’re budget-friendly, fast to prepare, and reward simple technique.
Freshness, trimming, and pat-drying make the biggest difference before the pan heats. Next, you’ll see selection and prep steps that set you up for that ideal result.
How to choose, clean, and prep chicken liver for the best results
Start by picking pieces that look bright and feel firm; freshness makes a major difference. Make sure there are no off smells or greenish spots. Avoid discolored pieces; those can bring a bitter taste.
What fresh looks like and what to avoid
At the counter, choose glossy, slightly firm pieces. Fresh chicken livers should spring back when you press gently. Skip any with a dull color, sliminess, or odd odor.
Trim and rinse for even texture
Remove visible connective tissue, tough veins, and excess fat. Cut away any dark or green bits that could taste off.
You can rinse briefly under cold water if you prefer, then shake off excess water and move to drying right away.
Drying and portioning for a good sear
Pat each piece thoroughly with paper towels. Surface moisture turns a sear into steaming, so make sure the pieces are dry before they meet a hot skillet.
Cut larger pieces into ~1-inch portions for consistent doneness. For quick service, finish your mise en place: seasonings, flour (if using), and a hot pan ready. These simple prep tips save time and improve results.
Soaking chicken livers in milk or lemon water: when it helps and when to skip it
A short soak can tame bold organ flavors and make the texture more forgiving for new cooks.
Why soak? Dairy or an acid solution can mellow the natural intensity and encourage a tender bite. Milk coats the surface and softens strong notes. Lemon water brightens the finish and can lift any residual metallic edge.
Soak timing options
Quick option: a 10-minute soak when you’re short on time.
Longer mellowing: 30–45 minutes when you want the mildest flavor and a silkier center.
Milk versus lemon water
Milk tends to mellow and round out the flavor. Lemon water adds brightness and a light cleanse of the palate. Choose milk for softness, lemon water for a fresher taste.
| Method | Soak time | Effect on flavor | Best when |
|---|---|---|---|
| Milk | 10 or 30–45 min | Mellows, tenderizes | New to organ meats, milder result |
| Lemon water | 10–30 min | Adds brightness, cleans finish | Want fresher, tangy notes |
| No soak | — | Full, rich flavor | Very fresh pieces, prefer bold taste |
Safety and final prep: If a piece smells metallic or off, soaking won’t fix it—make sure the product is fresh. After any soak, drain and pat dry well; wet surfaces prevent a good brown crust. These small tips keep texture and searing reliable.
How to cook chicken livers: timing, heat, and doneness you can trust
Because livers release plenty of water, a fast sear preserves silkiness and prevents a grainy finish. Use quick, direct heat so the outside browns while the center stays tender.
Heat and timing guide
Preheat a heavy skillet over medium-high to high heat. Aim for a hot surface so pieces sear rather than steam.
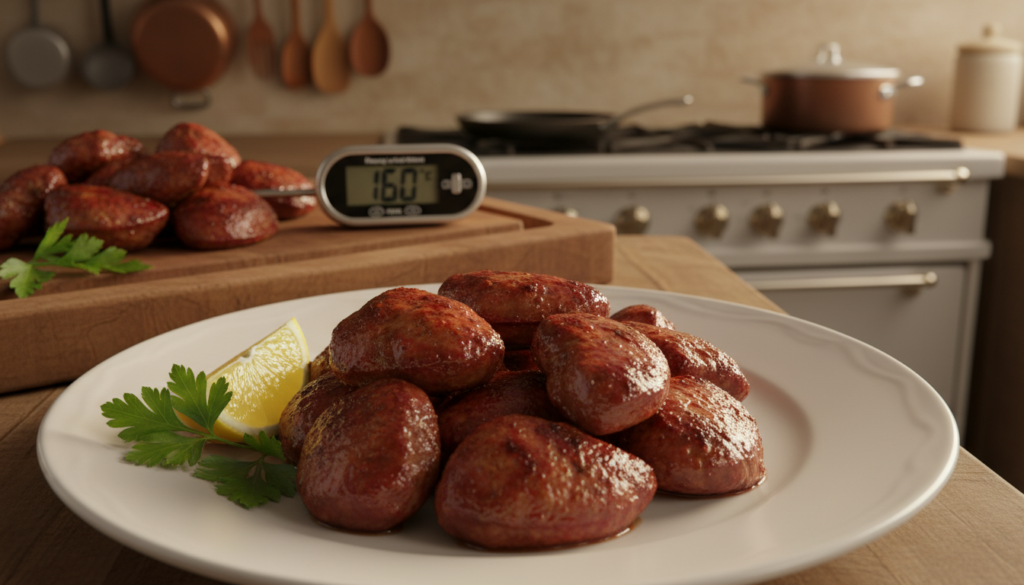
In a single layer and without crowding, plan about 3 minutes per side for average pieces. Thicker cuts may need an extra 1–2 minutes total.
Checks for doneness
Trust two checks: an internal reading of 165°F for safety and visual cues. Look for a browned exterior and a center that is just slightly pink and creamy, not raw or bloody.
Common mistakes
- Overcrowding the pan — this causes steaming and a pale, soggy crust.
- Cooking too long “just to be safe” — results in rubbery, grainy texture.
- Starting with wet pieces — moisture prevents a clean sear.
- Using low heat — slow heat toughens rather than seals juice.
Season simply with salt and pepper before the skillet. The exact minutes shift by method (pan-fry, sauté, grill, stir-fry), but the core rule remains: short time, high heat, and minimal handling for best texture and flavor.
Best cooking methods for chicken livers
Pick a cooking method that matches the result you want—crisp edges, quick weeknight meals, smoky char, or a full vegetable-packed pan.
Pan-fry with a light flour coat
Pan-frying gives a delicate crust and a contrast between a brown exterior and a creamy center. Lightly dust pieces in flour before they hit a hot pan over medium-high to high heat.
Cook briefly until golden, about 3–4 minutes per side depending on thickness. This method protects the interior without heavy breading.
Sautéed for fast weeknight meals
Sauté in olive oil or butter for a simple, fast option. Keep the pan hot and work in a single layer.
Plan roughly 5–7 minutes total for average pieces. This is the go-to when you want a quick, tender result with minimal fuss.
Grilled skewers for smoky flavor
Thread pieces on skewers so flipping is easy. Grill over medium-high heat about 4 minutes, turning once.
The brief time and direct heat add char while avoiding dryness—ideal when you want a smoky side for a larger meal.
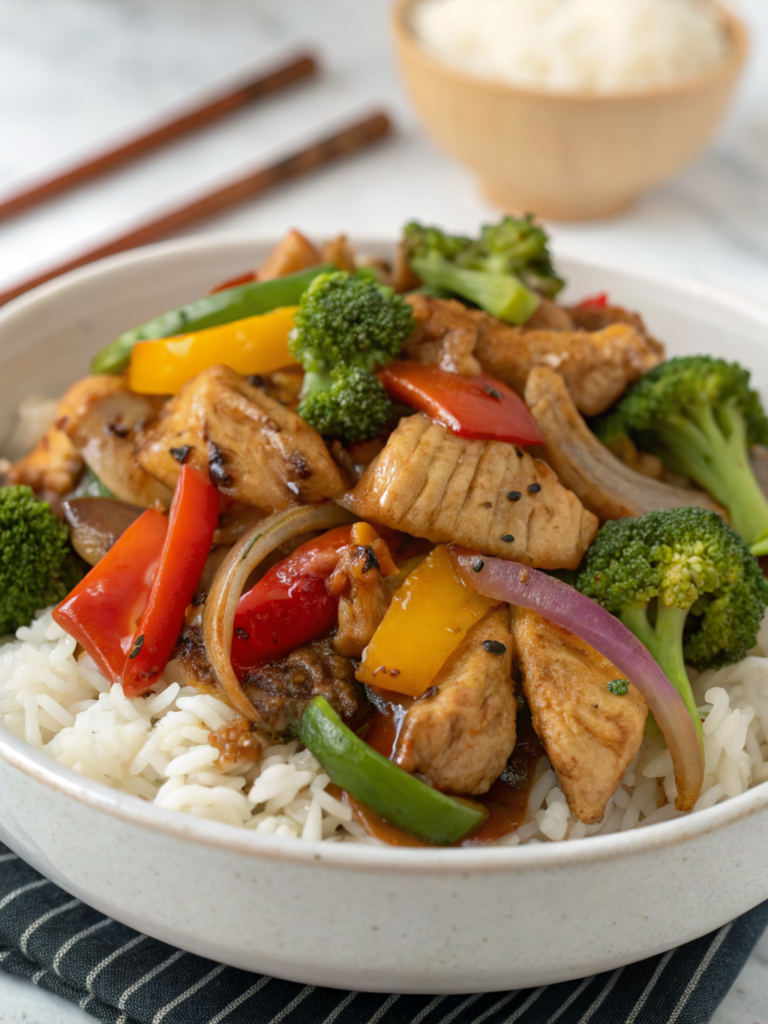
Stir-fry with vegetables for a one-pan dish
Stir-fry vegetables first, then add livers near the end so everything finishes together in 4–5 minutes.
This creates a full dish in one pan and keeps centers tender. Use a neutral oil or a mix of olive and sesame for flavor depth.
“Short time and relatively high heat are the keys—overcooking turns tender pieces rubbery.”
| Method | Main fat | Heat level | Approx minutes |
|---|---|---|---|
| Pan-fry (light flour) | Oil or butter | Medium-high to high | 3–4 per side |
| Sauté | Olive oil or butter | Medium-high | 5–7 total |
| Grill skewers | Light oil (brush) | Medium-high | ≈4 total, turn once |
| Stir-fry | Neutral oil or olive | High | 4–5 with vegetables |
Choose by goal: pick pan-fry for crispness, sauté for speed, grill for smoke, or stir-fry for a complete meal. Side pairings are covered later so you can match method and plate.
Flavor builders that pair perfectly with chicken livers
A gentle caramelized onion and garlic base gives liver dishes an instant lift and broad appeal.
Start by sautéing onions in olive oil for 5–8 minutes until golden. Add garlic near the end so it softens without burning.
Caramelized onions add sweetness and depth. They act as a “gateway” pairing that rounds bold notes and makes the chicken liver more approachable for first-timers.
Glossy balsamic and wine glaze
A balsamic-red wine glaze with butter, honey, and garlic creates a shiny finish. Simmer until the acidity mellows and the glaze thickens enough to coat the pan bits.
If you skip wine, deglaze with chicken stock for a rich swap that still picks up browned flavor from the pan.
Lemon, herbs, and seasoning basics
Finish with lemon and thyme or parsley to brighten the plate. Season simply with salt, pepper, and a pinch of paprika for warm depth.
“Sweet onions, rich butter, and a bright acid are the trio that balances liver without masking it.”
These flavor steps set you up for the full recipe next, where caramelized onions and the glaze come together step-by-step.
Complete recipe: Pan-fried chicken livers and onions with balsamic wine glaze
This recipe yields a savory, fast weeknight plate that comes together in about 30 minutes. Follow the ingredients grouped for quick shopping and simple prep.
Ingredients
- Livers: 1 lb (500g) chicken livers, 1/2 cup milk for soaking, salt, onion powder, garlic powder, smoked paprika, 1/4 cup all-purpose flour
- Onions: 1 medium-large onion, 1 tbsp olive oil, pinch of salt
- Glaze: 1/4 cup red wine (or broth), 1 tbsp butter, 1 sliced garlic clove, 1 tbsp balsamic, 2 tsp honey, optional water
- Olive oil or neutral oil for frying; fresh pepper
Timing and servings
Prep time: 10 minutes. Cook time: 20 minutes. Total time: 30 minutes. Serves 3–4.
Instructions
- Soak livers 10 minutes in milk, drain and pat dry.
- Sauté onions in olive oil with salt over medium until golden, 5–8 minutes; set aside.
- Season livers with salt, pepper, powders; toss in flour for a light coat.
- Heat a skillet over high, add oil, and fry in batches without overcrowding about 3 minutes per side; keep centers slightly pink.
- Deglaze the pan with red wine, scrape browned bits, then add butter, garlic, balsamic, and honey; simmer 30 seconds until glossy.
- Toss onions with livers, drizzle glaze, and serve immediately.
Nutrition per serving
| Calories | Carbs | Protein | Fat |
|---|---|---|---|
| 344 kcal | 16 g | 22 g | 20 g |
| Cholesterol | Iron | Vitamin A | |
| 402 mg | 11 mg | 12,946 IU |
Storage: Leftovers keep up to 3 days refrigerated; reheat gently in a skillet. Freezing can harm texture.
Author: Recipe by the kitchen team.
Serving ideas, sides, and storage tips for leftovers
A well-chosen side can turn a rich plate into a balanced meal. Keep pairings simple so the main flavor remains the star.
Serving suggestions
Comfort pairings: buttery mashed potatoes and crusty toast are classic. They soak up the glaze and add a mellow contrast.
Crisp contrasts: roasted potatoes give textural bite. Sautéed greens or green beans add brightness and lighten the plate.
Storage and reheating
Cool leftovers quickly, then seal in an airtight container and refrigerate. Use within about 3 days for best quality and safety.
Reheat gently in a skillet over low heat. Add a splash of water or broth if the glaze tightens so the interior doesn’t dry out.
“Warm gently in a skillet; fast, high heat will toughen the center.”
Make-ahead tips
Trim and portion the livers a few hours ahead and keep them chilled. Cooked onions can be made earlier and reheated with the main pieces in the final minutes.
Avoid freezing cooked pieces if texture matters—their mouthfeel often turns grainy after thawing.
| Step | Action | Timing |
|---|---|---|
| Trim and portion | Trim connective tissue; cut larger pieces | Up to 4 hours ahead |
| Cook onions | Caramelize and chill | Same day; reheat in skillet |
| Store leftovers | Cool quickly, airtight container, fridge | Eat within 3 days |
| Reheat | Warm gently in skillet; add splash of broth | Minutes on low heat |
Conclusion
Fast, hot searing plus a splash of acid is the simple framework that unlocks consistent results.
Use quick cooking over medium-high to high heat, avoid crowding the pan, and aim for a browned exterior with a creamy center. Check for safe doneness (165°F) and finish with aromatics and acid—onion or garlic with balsamic, wine, or lemon—so richness feels balanced.
Success checklist: trim well, pat dry, sear in hot oil without crowding, and stop once the center stays tender and just cooked.
The full recipe section includes ingredients, step-by-step timing, servings, and nutrition if you want the exact glaze and onions version. Apply the same timing and heat for lemon-herb or vegetable stir-fry variations and you’ll get reliable results.
Cooked correctly, this liver is one of the fastest ways to add nutrient-dense protein to your weeknight rotation.