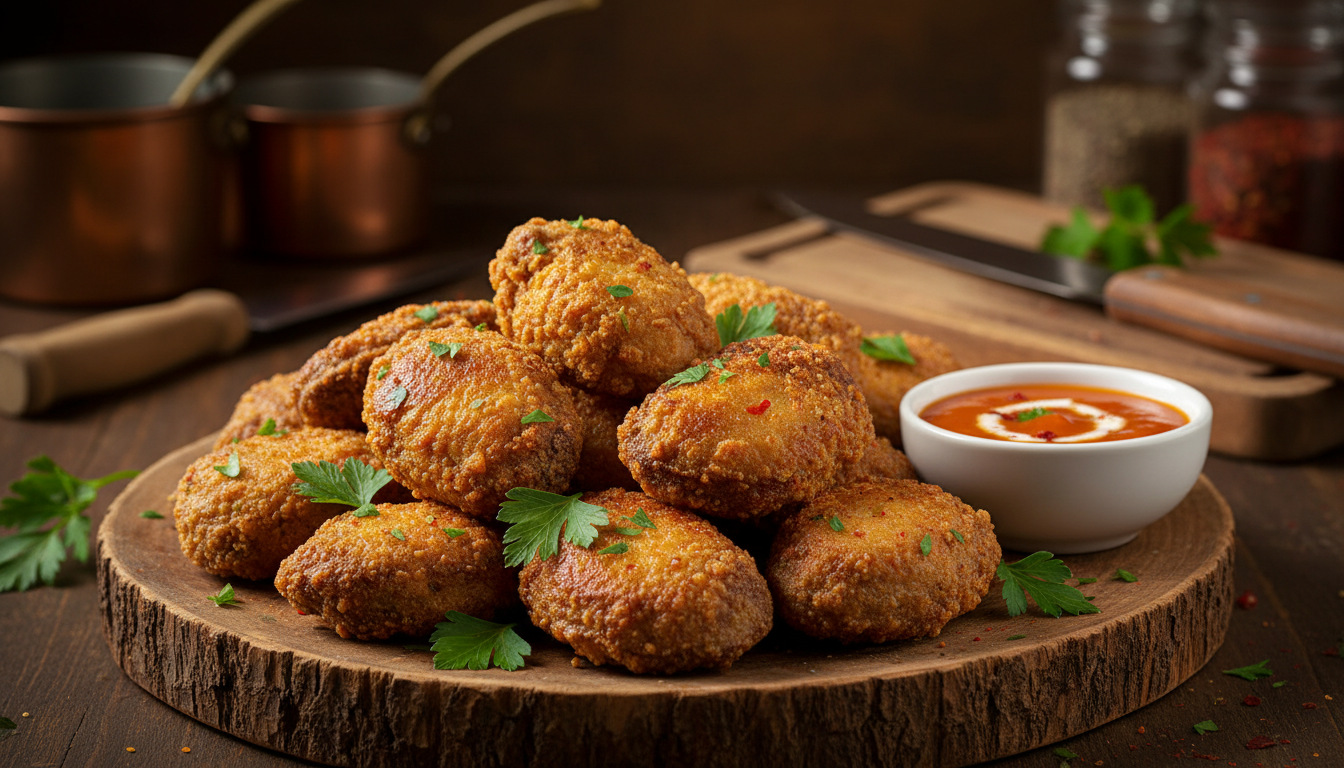
Enjoy Savory Fried Chicken Livers Today
Fried chicken livers bring back memories of the first time a crispy, golden bite filled you with comfort. Maybe it was at a family dinner table or in a cozy late-night diner. That warm, bold flavor has a special way of feeling like home, all in one simple, satisfying dish.
This short intro previews a full recipe coming up with ingredients, prep time, cook time, marinating time, servings, and nutrition per serving. You’ll learn how a hot sauce-spiked buttermilk soak, a seasoned flour dredge, and quick frying keep these pieces tender rather than tough.
Expect crispy, golden results and clear safety targets: fry at the right oil temperature and cook to 165°F. You’ll also get practical prep notes, rinsing, trimming, even cuts for steady cooking, plus breading tips and serving ideas with sauces and classic sides.
Table of Contents
Core success factors: buttermilk soak, well-seasoned dredge, proper oil heat, and short cook time. Later, the “crunch strategy” options and timing details will help you hit perfect texture every time.
Why You’ll Love These Southern-Style Chicken Livers
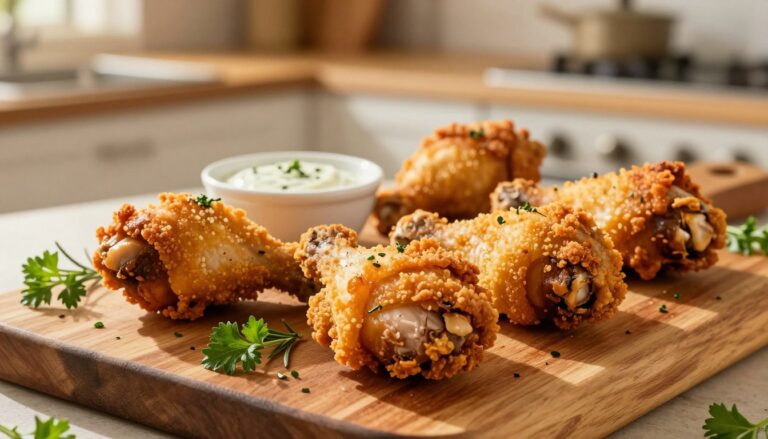
Southern technique turns a quick-cooking piece into a crunchy, tender bite you’ll crave. The high-heat crust forms fast and shields the center, so the interior stays soft while the outside goes golden.
Crispy outside, tender inside
The Southern method works because quick pieces benefit from a sturdy coating and hot oil. That protective crust lets you cook at higher heat for less time, creating a crisp shell in just a few minutes.
What buttermilk and hot sauce do
Soaking in buttermilk helps tenderize and tones down the mineral bite. A splash of hot sauce adds depth and aroma without overwhelming flavor. Marinate from 30 minutes up to overnight for the best results.
Avoid overcooking
The #1 mistake is too much time at the wrong temperature. Cook quickly until the coating is golden brown and pull the pieces immediately. Use a thermometer and aim for 165°F for safe, juicy results.
“A quick fry at the right temperature creates the contrast you want: a crunchy shell and a silky center.”
- Why it works: fast sear + protective crust
- Sensory goal: crisp coating, tender center, golden color
- Tools ahead: flour, oil, skillet, rack, thermometer
Ingredients and Kitchen Setup for Golden Brown Results
Before you heat the pan, set up a practical line of ingredients and gear. This keeps the process smooth and helps you hit a steady temperature in the hot oil.
Core ingredients
Keep these on hand: 1 pound chicken livers, buttermilk, flour for the dredge, oil for frying, plus salt and black pepper to finish.
Seasoning the dredge
Add paprika, Cajun seasoning, garlic powder, and a pinch of cayenne to the flour to steer flavor. Using self-rising flour can yield a crispier crust because the leavening and starch change texture as it fries.
Optional crunch
For extra texture, choose panko breadcrumbs for an airy crunch or finely ground saltine cracker crumbs with an egg wash for a sturdier, extra-crisp coating.
Tools that help
- Cast iron skillet or heavy pan for stable heat.
- Rack over a sheet pan to let the dredge set and drain.
- Thermometer and splatter screen to control temperature and mess.
- Medium bowl or shallow dishes for an efficient dredging line.
These choices cut common problems, breading falling off, oil temp swings, and greasy texture, and help you finish with a quick sprinkle of salt and pepper before serving with your favorite sauce.
How to Prep Chicken Livers for Frying
Good prep keeps the coating crisp and the center tender, so take a few careful minutes now.
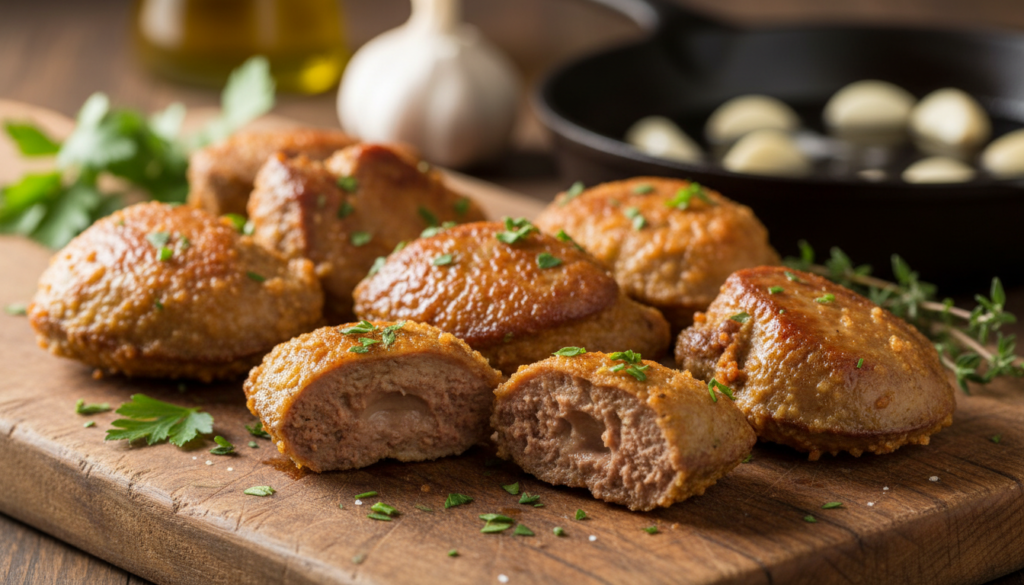
Trim and inspect
Open the package and look over each piece. Remove visible connective tissue and any discolored spots. Aim for even sizes so every piece finishes at the same time.
Rinse, rest, and dry
You can use a quick rinse or a short cold-water rest. For the rest, place the pieces in a bowl of cold water for about 10 minutes to draw out excess blood, then drain.
Whether you rinse or rest, rinse in a colander, let the water run off, and gently pat dry. Dry surfaces help the breading stick instead of turning gummy.
Small tricks for safer frying
Gently pierce each liver with a fork to reduce popping when they hit hot oil in the pan. If one pound chicken includes a few large pieces, cut them in half so everything cooks in the same few minutes.
Tip: Even, small pieces cook fast with less heat and time. Once prepped, you’re ready for the buttermilk soak and dredge line.
Fried chicken livers recipe
Here is a clear, kitchen-tested recipe you can follow for reliably crunchy, juicy results.
Recipe overview
Prep time: ~15 minutes. Cook time: ~6–10 minutes depending on batch size. Inactive marinating time: 30 minutes to overnight in the refrigerator. Yield/servings: about 4–6.
Ingredients
- 1 pound chicken livers
- 2 cups buttermilk + 1 tablespoon reserved from the mixture
- 1 teaspoon hot sauce
- 1 1/2 cups flour
- 1 teaspoon paprika
- 1 teaspoon garlic powder
- 1 teaspoon Cajun seasoning
- 1 teaspoon salt
- 1/2 teaspoon black pepper
- Oil for frying (about 2–3 cups for deep or 1 cup for pan)
Step-by-step instructions
- Trim, rinse, and pat dry each piece. Lightly pierce with a fork to reduce popping.
- In a bowl, mix 2 cups buttermilk with hot sauce. Reserve 1 tablespoon for the “nubby flour” trick. Marinate in the refrigerator for 30 minutes to overnight.
- Combine flour and seasonings in a shallow dish. Set a rack over a sheet pan to drain cooked pieces.
- Remove pieces from marinade, dredge in the flour mixture, and let rest 8–10 minutes so the coating adheres.
- Heat oil to 350°F (use a thermometer). For deep-fry use ~2 inches oil; for pan-fry use ~1 inch. Fry in batches without overcrowding.
- Cook until golden and quick — about 3–5 minutes total (or ~3–4 minutes per side for pan-fry). Verify an internal temperature of 165°F with a thermometer.
- Drain on a rack and season immediately with salt and a sprinkle of black pepper. Serve hot.
Nutrition (per serving)
| Calories | Total Fat | Carbs | Protein |
|---|---|---|---|
| 372 | 14g | 36g | 26g |
| Cholesterol | Sodium | Note | |
| 428mg | 405mg | Exact values vary by oil absorption and breading choice. | |
“Reserve a tablespoon of the buttermilk mixture for extra-craggy texture.”
Next, see breading variations and crunch troubleshooting in the following section.
Breading, Resting, and Frying Time: Getting That Crunch
Getting a reliable crunch is more science than guesswork — follow a few simple steps. Start with a buttermilk soak for at least 30 minutes, or up to overnight in the refrigerator for deeper flavor and tenderness.
Double-dredge options
- Flour–flour: classic, even crust. Use seasoned flour with garlic powder, paprika, salt pepper.
- Flour–panko breadcrumbs: extra airy crunch for a light, crisp bite.
- Flour–egg–saltine crumbs: a sturdy, highly textured coating that holds up to dipping.
“Nubby flour” and rest
Stir about a teaspoon at a time of the reserved buttermilk into your flour to form small clumps. Or add roughly 1/2 tablespoon at once if you prefer quicker work.
After dredging, place chicken livers on a rack and let the coating rest about 10 minutes. This brief pause hydrates the mixture so it sticks during frying and cuts blow-off in the hot oil.
Heat, timing, and safety
Heat oil to 350°F and fry in batches so the pan or fryer keeps steady heat. Deep or pan methods cook fast: about 3–5 minutes total, or roughly 3–4 minutes per side for pan cooking. Aim for an internal temperature of 165°F.
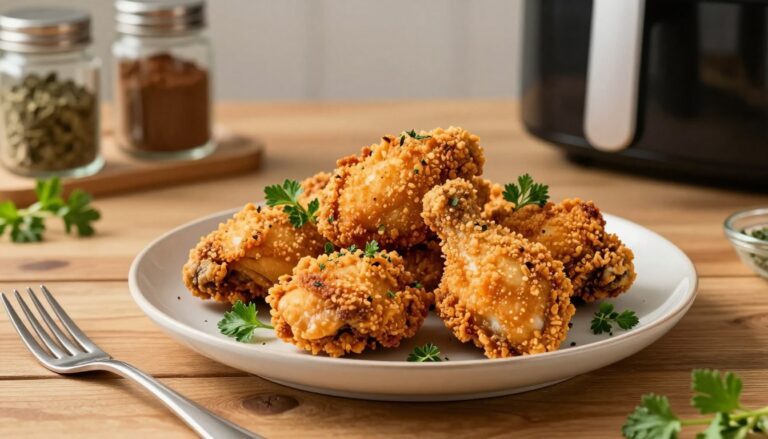
For less oil, use an air fryer: preheat to about 390–400°F, spray the pieces, and cook ~10 minutes, flipping halfway for even golden brown color.
“If the coating slips, you likely skipped the rest or the pieces were too wet.”
| Method | Target Temp | Typical Time |
|---|---|---|
| Deep fryer / pan | 350°F | 3–5 minutes total |
| Pan fry (single layer) | 350°F | 3–4 minutes per side |
| Air fryer | 390–400°F | ~10 minutes, flip at half |
Serving Ideas, Dipping Sauce, and Sides
Right out of the pan, a quick sprinkle of salt and freshly ground black pepper helps the seasoning stick to the hot crust.
Choose a dip list that suits tradition or convenience. Cream gravy, ranch, barbecue sauce, and mustard each cut through richness in a different way. Offer several so guests can mix and match.
Three quick garlic-forward sauces
- Lemon garlic aioli: 1/3 cup mayo, 1 clove garlic mashed, 1/2 tsp lemon zest, 2 tsp lemon juice, pinch salt and pepper.
- Chipotle mayo: 1/4 cup mayo, 1 Tbsp lime juice, 1 Tbsp adobo, 1/2 tsp garlic, pinch salt.
- Barbecue ranch: 1/4 cup mayo, 1/4 cup sour cream, 1/4 cup barbecue sauce, 1 Tbsp ranch mix.
Serve as an appetizer platter with small portions and multiple dips, or as a main dish with hearty sides like coleslaw, mashed potatoes, mac and cheese, biscuits, collards, or a simple salad.
“Serve immediately for maximum crunch; wait and the coating will soften.”
Tip: rest briefly on a rack, then move to a serving platter so steam won’t soften the breading. Link to your sauce and side recipes to keep readers exploring related recipes on site.
Conclusion
Finish strong by focusing on the few steps that really change the outcome. A quick recap: trim and use a cold water rest if you like, pat dry, then soak in buttermilk and hot sauce in the refrigerator before you dredge. Fry at about 350°F until each piece reaches 165°F. One strong, reminder: steady heat and short cook time in minutes keep the interior tender and the crust golden brown.
For leftovers, store in the refrigerator and reheat on a rack over a sheet pan at 350°F for 8–10 minutes so air circulates and the coating re-crisps. Try the air fryer for less oil—use a good dredge and a light spray for browning. Now make the recipe, pick a favorite sauce, and tweak your garlic powder or cayenne to taste.