Nail the Ideal Steak Internal Temperature for Juicy Perfection
Do you remember that moment? The sizzle, the smell, and the hope for the perfect steak. Cutting into a steak that’s tender, juicy, and just right is a victory. It makes all the effort worth it.
Understanding steak internal temperature is key to consistent results. You deserve to get it right every time.
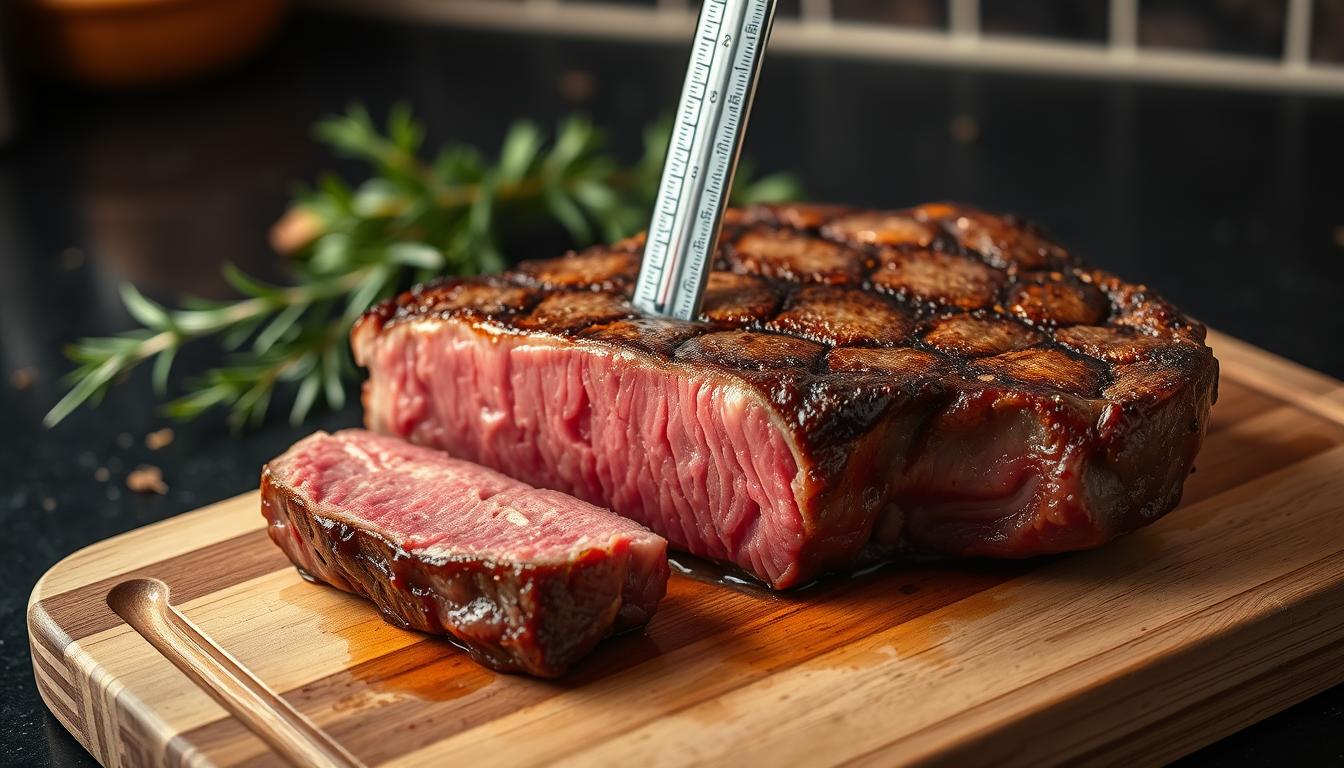
Internal temperature is the most reliable way to check doneness. It’s measured at the steak’s thickest point. Relying on time or touch test can lead to guesswork.
This guide will show you how to check steak doneness accurately. So, you can repeat your success.
Here are quick target temperatures in Fahrenheit before resting: Rare ~120–125°F, Medium‑Rare ~130–135°F, Medium ~140–145°F, Medium‑Well ~150–155°F, Well‑Done ~160°F+. Remember, the steak will rise a few degrees after you remove it from heat. Plan for that.
The USDA recommends an internal temperature of 145°F followed by a 3-minute rest for whole cuts. This ensures safety in the United States. Many cooks prefer medium‑rare for intact steaks when meat is sourced and handled properly. But, you should balance preference with safety.
In this article, you’ll get a full steak temperature guide. You’ll learn about different cuts, the science behind temperature and texture, and cooking methods. You’ll also learn how to use a meat thermometer, resting advice, troubleshooting tips, and a step‑by‑step pan‑seared ribeye recipe. Learn how to check steak doneness with confidence and make every steak dinner memorable.
Table of Contents
Understanding Steak Cuts and Their Recommended Temperatures
Choosing a cut of steak is more than just picking a flavor. The fat, bone, and grain of the steak affect how it cooks. Fat keeps the meat juicy, while bone slows down heat in the center. The grain and thickness of the steak influence how you slice it and when to remove it from heat.
This knowledge helps you achieve the perfect internal temperature for each steak type.
Popular Steak Cuts Explained
Ribeye comes from the rib primal. It’s well-marbled, making it forgiving of high heat. You can cook it to medium while keeping its rich flavor.
New York strip, or strip steak, comes from the short loin. It’s moderately tender with a beefy taste. This balance makes it ideal for medium-rare to medium cooking.
Filet mignon is from the tenderloin. It’s very tender and lean. Cooking it to medium-rare preserves its silky texture.
T-bone and porterhouse steaks include both a strip and a tenderloin portion. They are separated by a bone. The thickness and bone require careful attention to steak doneness levels for each part.
Sirloin is leaner with less marbling. It can dry out if overcooked. Aim for medium-rare to medium to keep it juicy.
Flank and skirt steaks are thin and fibrous. They do best at medium-rare. They must be sliced against the grain to stay tender.
Ideal Internal Temperatures for Common Cuts
| Cut | Preferred Doneness Target | Notes on Thickness and Bone |
|---|---|---|
| Bone-in Ribeye / T-bone / Porterhouse | 130–145°F (medium-rare to medium) | Bone retains heat; allow extra carryover for thick steaks |
| Ribeye (boneless) | 130–145°F (medium-rare to medium) | Well-marbled; can be cooked slightly higher and stay juicy |
| Filet Mignon (tenderloin) | 130–135°F (medium-rare) | Very tender and lean; avoid overcooking to preserve texture |
| New York Strip | 130–140°F (medium-rare to medium) | Moderate marbling; steady heat gives even doneness |
| Sirloin | 130–140°F (medium-rare to medium) | Lean; remove a few degrees earlier if thin to prevent dryness |
| Flank / Skirt / Thin Flat Iron (under 1″) | 120–135°F (rare to medium-rare) | Thin cuts heat fast; pull early and slice across the grain |
Thickness is key. Steaks under one inch cook faster. For thin cuts, aim a few degrees lower than thick steaks. This prevents toughness from overcooking.
Follow USDA guidelines for safety: 145°F with a three-minute rest for beef. Sous-vide can help reach safe temperatures while keeping precise doneness. Finish with a hot sear to build crust without overshooting the steak internal temperature.
The Science Behind Steak Cooking Temperatures
Understanding what happens inside a steak as it cooks is key to perfecting your cooking. Heat changes proteins, fat, and connective tissue at different temperatures. This is why a thin flank steak and a thick ribeye cook differently.
How Heat Affects Meat Texture
At lower temperatures, myosin starts to change around 120–140°F. This makes the meat firmer but doesn’t shrink much. As temperatures rise, actin changes too, making the meat chewier.
Collagen turns to gelatin near 160–180°F. This is good for tough cuts like chuck or brisket. But for tender steaks like filet mignon, this happens after they’ve lost a lot of moisture, risking dryness.
Fat melts at high temperatures, adding juiciness and flavor. Marbling in high-quality steaks helps keep moisture in during cooking.
Water loss increases with temperature. This makes the meat drier and firmer if it’s overcooked. The Maillard reaction browns the surface, adding flavor and crust without changing the meat’s doneness.
The Role of Carryover Cooking
Carryover cooking means the steak’s internal temperature keeps rising after it’s removed from heat. This rise can be 5–10°F, depending on the steak’s thickness and whether it has a bone. Thicker steaks and bone-in cuts experience more carryover.
Use a simple rule: pull the steak 5–10°F below your target. For example, remove a steak at 125–130°F if you aim for 130–135°F medium-rare final temp. This method is used by chefs in restaurants like Ruth’s Chris or Morton’s steakhouse.
Estimate carryover by thickness: thin steaks under 1″ gain roughly 2–4°F; medium steaks 1–1.5″ gain about 5–8°F; thick steaks over 1.5″ can gain 8–12°F. These ranges help plan timing and resting for the perfect doneness.
| Steak Thickness | Typical Carryover Rise | Pull Temperature Example | Target Final Temp (Common) |
|---|---|---|---|
| Thin < 1″ | 2–4°F | Remove at 120–122°F | 122–126°F (rare to med-rare) |
| Medium 1–1.5″ | 5–8°F | Remove at 125–130°F | 130–135°F (medium-rare to medium) |
| Thick > 1.5″ | 8–12°F | Remove at 122–128°F for lower doneness or 135°F for higher | 130–145°F (choose based on doneness goal) |
Preparing Your Steak for Cooking
Getting a great steak begins long before it hits the pan. Simple choices at the store and in the kitchen can control flavor, texture, and the final steak internal temperature you want to reach.
Choosing the Right Steak
When shopping, look for bright red color, even marbling, and a firm texture. USDA grades like Prime, Choice, and Select show marbling levels. Prime has the most marbling, making it taste richer.
Choose steaks about 1 to 1.5 inches thick for home cooking. This thickness allows for a good sear and reaching your target steak internal temperature without overcooking.
Decide between bone-in and boneless steaks. Bone-in adds flavor and slows heat transfer. Boneless steaks cook more evenly and finish faster.
Buy from reputable sources like a local butcher, Whole Foods, or known brands. Try dry-aged cuts for deeper beef flavor.
Seasoning Tips for Flavor Enhancement
Keep seasoning simple on quality cuts. Use coarse kosher salt and freshly ground black pepper. Salt early, 40–60 minutes before cooking, for a dry-brine. Or, salt just before searing for a moist surface.
Pat the steak dry with paper towels before seasoning. Dry surfaces brown faster, improving the Maillard reaction for a crisp crust.
Use high-smoke-point fats for searing, like canola oil, grapeseed oil, or clarified butter. Add flavor after searing with compound butter, fresh thyme, rosemary sprigs, smashed garlic cloves, or a red wine reduction.
Avoid thick breading or heavy marinades on premium steaks. They mask beef flavor and can interfere with browning and accurate steak internal temperature reading.
Cooking Methods That Impact Internal Temperature
Cooking method affects how heat reaches the steak’s core. Choose based on the cut, thickness, and your cooking time. Here are some methods and tips to control doneness and texture.
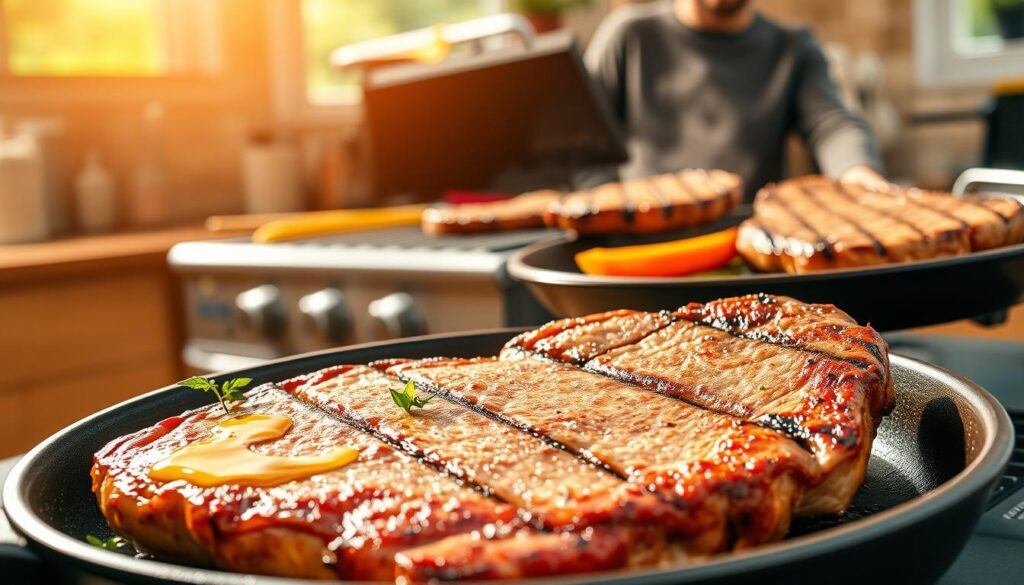
Grilling vs pan-searing is a flavor and control debate. Grilling uses direct heat and smoke for a quick crust. For thicker steaks, sear on the hot side and finish over indirect heat.
Pan-searing in a cast-iron skillet offers a reliable crust. Preheat the pan, add oil, and sear 2–4 minutes per side. Then, finish in a 400°F oven for 4–6 minutes if needed.
Timing depends on steak thickness and starting temperature. For a 1–1.5″ steak, sear 2–4 minutes per side for medium-rare. Use a steak doneness chart to plan your cooking.
Try reverse searing for even cooking. Cook the steak near the target temp, then sear briefly for a strong crust.
Sous vide cooking is precise. Seal your steak and set the water bath to your desired temperature. A bath at 130°F ensures even medium-rare.
Sous vide allows holding the steak at the target temp without losing quality. Cook 1–4 hours for classic texture. For tougher cuts, cook 6–8 hours for tenderizing.
After sous vide, quickly sear in a hot pan or use a torch for a Maillard crust. This preserves the internal doneness.
Low-temperature cooking requires attention to safety. Use time-at-temperature for pasteurization with sous vide. Cooking at or above 130°F with enough time ensures safe results.
| Method | Best For | Typical Timing (1–1.5″ steak) | Key Benefit |
|---|---|---|---|
| Grilling | Ribeye, New York strip, T-bone | Sear 2–4 min/side; indirect finish 4–8 min | Smoky flavor and rapid crust formation |
| Pan-Searing | Filet mignon, ribeye, strip | Sear 2–4 min/side; oven 4–6 min at 400°F if needed | Precise stovetop control and deep crust |
| Reverse Sear | Thicker steaks and large cuts | Slow cook to near target, then 1–2 min/side sear | Even doneness with a strong crust |
| Sous Vide | Any steak; consistent results for all cuts | 1–4 hours (1–2″ steaks); up to 8 hours for tenderizing | Exact internal temp control and uniform doneness |
Use a steak doneness chart for internal temperatures. Match the method to the chart for timing and finishing steps. With practice, you’ll find the right method for each cut.
Using a Meat Thermometer Effectively
Getting the steak internal temperature right is key to a great steak. You need the right tools and technique to check steak doneness every time. Here’s a quick guide for the kitchen or grill.
Types of Meat Thermometers
Choose the right tool for your cooking. Instant-read digital thermometers like ThermoPro and Thermapen give quick readings. They’re favorites among chefs and home cooks.
Leave-in oven probes connect to a cord and display. They’re good for monitoring carryover in the oven or on a covered grill. They’re best for slow roasts and thicker cuts.
Infrared thermometers measure surface heat only. They’re good for checking pan or grill temperature but not for internal accuracy. Dial thermometers are a budget option but need frequent calibration. Use them as a backup.
How to Properly Measure Steak Temperature
Insert the probe into the steak’s thickest part. Avoid bone and large fat pockets. For steaks over 1 inch thick, push the probe horizontally from the side to reach the center.
Measure before the final rest and pull the steak 5–10°F below your target. For example, a 1.25″ ribeye targeting medium-rare (130–135°F) should be removed at about 125–130°F, then rested and checked again. Use an instant-read to confirm the final steak internal temperature after resting.
Calibrate your thermometer regularly. Use the ice-water method to check 32°F or boiling water for 212°F at sea level. Clean and sanitize probes between uses to prevent cross-contamination.
| Thermometer Type | Best Use | Speed & Accuracy | Notes |
|---|---|---|---|
| Instant-read digital (ThermoPro, Thermapen) | Checking steak doneness at the grill or pan | Very fast, highly accurate (2–5 sec) | Top pick for steaks; use for final checks |
| Leave-in oven probe | Oven or covered grill monitoring | Continuous monitoring, accurate for long cooks | Great for carryover control with thicker cuts |
| Infrared thermometer | Surface temperature of pan or grill | Instant, surface only | Not reliable for internal readings |
| Dial (analog) thermometer | Budget option or backup | Slower, less precise | Calibrate often; okay if you have nothing else |
Achieving Your Desired Doneness
You want your steak cooked just right. This guide helps you find the right internal temperature. It also shows how to check the meat by sight and touch. Use an instant-read thermometer for precise steak doneness levels.
Rare and very rare start at low internal temperatures. Blue rare (very rare) hits about 115–120°F. It has a cool, very red center and a buttery, almost raw texture. A true rare ranges from 120–125°F, giving a warm red center that stays soft and tender.
Medium-rare and medium are the most common targets. Aim for 130–135°F for medium-rare. This gives a warm pink center and a slightly firmer bite. For medium, move up to 140–145°F for a mostly pink center with more resistance when pressed.
Medium-well and well-done sit at higher numbers. Medium-well around 150–155°F leaves only a hint of pink. Well-done starts at 160°F and above, producing a brown or gray center and a firm, much drier texture. If you measure for well-done, check the well-done steak temperature to avoid overshooting.
Visual cues speed up doneness checks. Red centers shift to pink, then to gray-brown as you move from rare to well-done. Juices change from red to pink to clear. Texture firms progressively; a steak that springs back quickly is farther along.
The hand-test gives a quick tactile guide. Lightly press the fleshy pad under your thumb while touching different finger positions to simulate doneness. This method links touch to expected firmness but stays subjective. Trust a thermometer for exact rare steak temperature or medium-rare steak temperature targets.
Use this practical checklist before serving: 1) target temperature range, 2) expected center color, 3) expected firmness, 4) add 5–10°F for carryover. This helps you hit consistent steak doneness levels and serve steaks that match your guests’ preferences.
Resting Your Steak: Why It Matters
Let your steak rest after cooking to keep more juice and flavor on the plate. Heat causes muscle fibers to squeeze juices toward the center. A short pause lets fibers relax and reabsorb liquid, so your slices stay moist.
How Resting Impacts Juiciness
When you cook steak, the exterior gets hot fast and the interior follows. Those contracting fibers push juices inward. Resting gives the meat time to even out its steak internal temperature and for juices to redistribute.
Carryover cooking continues as the steak cools slightly. This final rise in steak internal temperature helps reach the doneness you aimed for without overcooking the exterior. Resting also preserves a better crust and yields more tender slices.
Recommended Resting Times
Match rest to thickness, not cook time. Thin steaks under one inch need about 3–5 minutes. Medium steaks one to 1.5 inches benefit from 5–8 minutes. Thick steaks above 1.5 inches or small roasts should rest 8–15 minutes.
For sous-vide cooking, brief rests work differently. A 2–3 minute rest before a hot sear keeps internal doneness steady. After searing, give the steak 3–5 minutes to settle.
To hold heat, loosely tent the steak with foil. Do not seal tightly; trapped steam will soften the crust. Use an instant-read thermometer to confirm the final steak internal temperature after resting. If it falls short of your target, return the steak to low heat for a minute or two and check again.
When slicing, cut against the grain at a slight angle. That small step makes each bite more tender and shows off the benefit of proper resting.
| Steak Type | Thickness | Recommended Resting Times | Post-Rest Check |
|---|---|---|---|
| Thin steak (flank, skirt) | < 1″ | 3–5 minutes | Confirm steak internal temperature with instant-read thermometer |
| Medium steak (ribeye, strip) | 1–1.5″ | 5–8 minutes | Expect slight carryover; recheck and adjust if needed |
| Thick steak / small roast (porterhouse, tomahawk) | > 1.5″ | 8–15 minutes | Allow full temperature equalization before slicing |
| Sous-vide finished steak | Any | 2–3 minutes before sear; 3–5 minutes after sear | Verify steak internal temperature after sear |
Troubleshooting Common Cooking Mistakes
Small mistakes in timing, temperature, or technique can ruin a great steak. Use simple checks to prevent problems and fix a steak that didn’t turn out right.
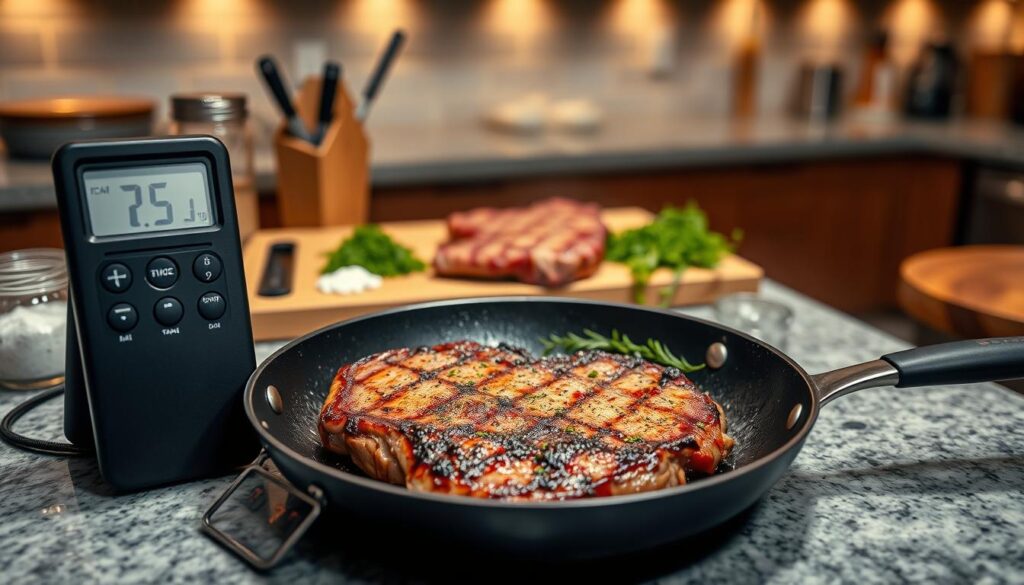
Overcooking Preventatives
Always use an instant-read thermometer to avoid guessing. Pull the steak 5–10°F below your target to ensure it cooks evenly. This way, you hit the safe cooking temperature without overcooking the inside.
Make sure pans and grills are fully preheated for quick and even searing. Try the reverse sear or a two-zone grill to cook the center slowly and finish with a crispy crust.
Don’t flip the steak too much. One good flip or two helps create an even sear and keeps juices inside. For very well-done steaks, finish them in a low oven after searing. This method raises the internal temperature without burning the outside.
Calibrate your thermometer, let steaks sit at room temperature for 20–30 minutes, and keep an eye on pan or grill temperatures. This checklist helps prevent mistakes and keeps your cooking consistent.
Fixing Undercooked Steak
If a steak is only slightly underdone after resting, return it to a hot pan or grill for 1–3 minutes per side. Use medium heat and check with your thermometer until it reaches your target.
For bigger gaps, slice the steak and finish the pieces in a hot skillet with butter and garlic. This method saves texture and avoids burning the outside while bringing the inside up.
If you use sous vide, put the steak back into the water bath at the correct temperature to raise the center precisely. Then, sear briefly for color and texture. Always follow USDA guidelines: 145°F with a 3-minute rest for intact steaks, or 160°F for ground beef.
Fixing undercooked steak becomes routine with quick thermometer checks and controlled finishing methods.
Elevating Your Steak Game
Start with a simple plan: pair your steak with sides that match its texture and flavor. Try mashed potatoes, roasted fingerlings, sautéed mushrooms, or grilled asparagus. A fresh mixed greens salad with vinaigrette or crispy roasted potatoes add a nice crunch.
Be careful with sauces and compound butters. They should enhance the steak, not hide its taste. Chimichurri is great for flank or skirt steaks. Red wine reduction or béarnaise works well for ribeye and strip cuts. Finish with herb-garlic butter or peppercorn sauce for extra flavor.
For wine, choose reds with body and tannin. Cabernet Sauvignon is good for ribeye and New York strip. Malbec is perfect for charred cuts, and Syrah/Shiraz adds a peppery spice. Serve reds slightly cool (60–65°F) and decant full-bodied bottles 30–60 minutes before serving. If you prefer not to drink wine, try unsweetened iced tea with lemon or a robust non-alcoholic red blend.
Here’s a simple steak recipe: bring two 1–1.5″ ribeyes to room temperature. Season with kosher salt and pepper, then sear in a hot cast-iron pan with oil. Baste with butter, garlic, and rosemary; remove when the steak reaches your desired doneness.
For medium-rare, pull the steak at 125–130°F and rest 5–8 minutes. This allows the temperature to rise about 5°F. Slice against the grain, plate with your chosen sides, and top with compound butter for a fancy meal.