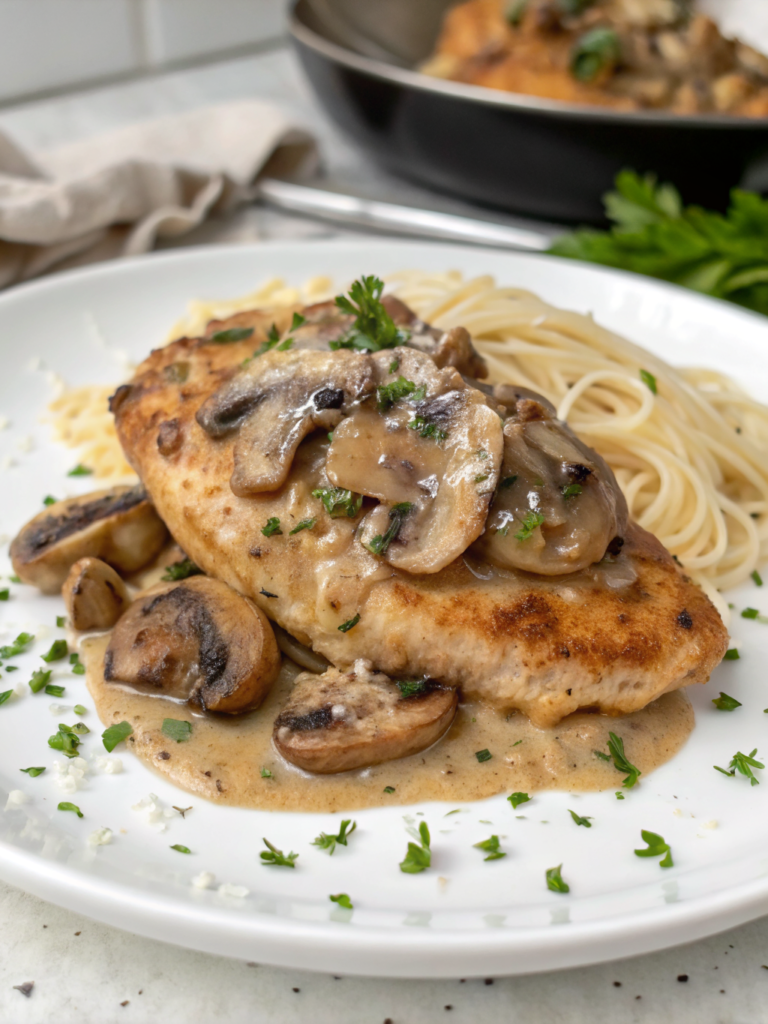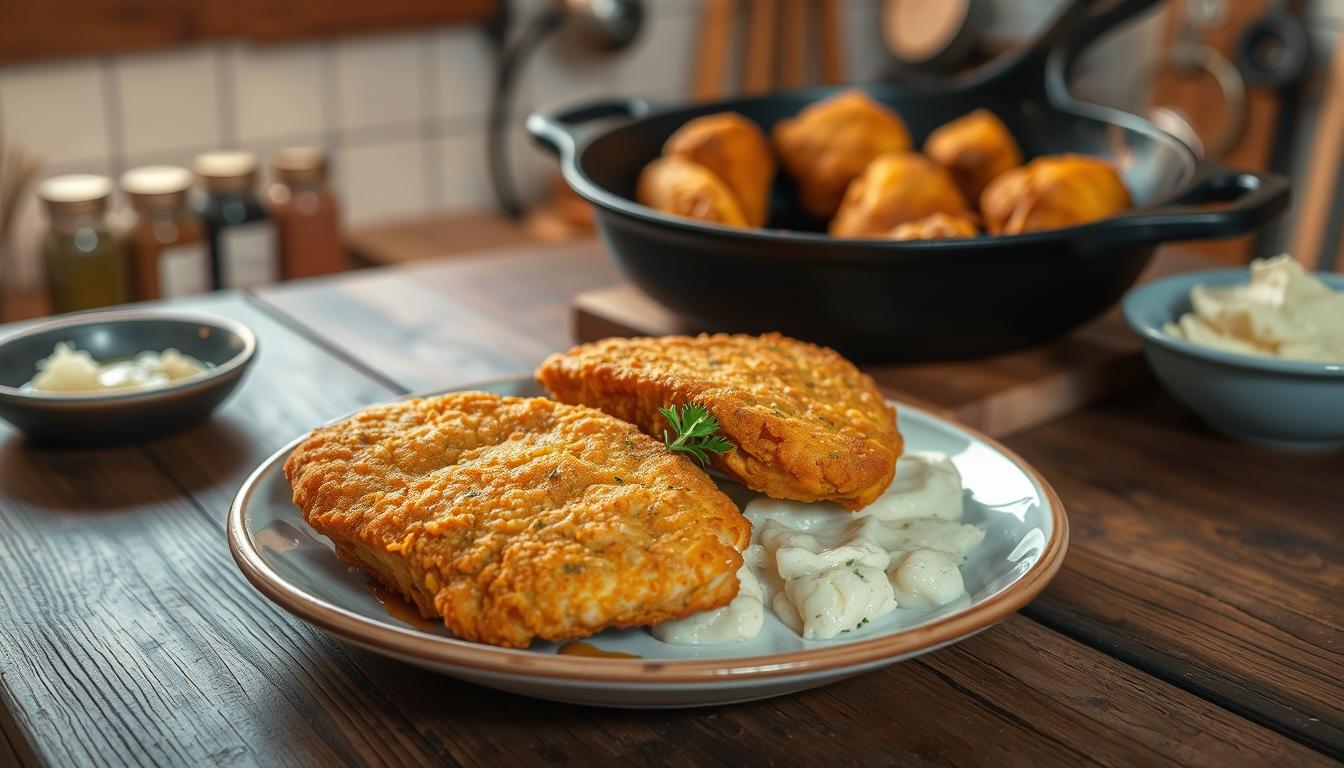
How to Make Fried Chicken Steak: Irresistibly Crispy & Delicious
Ever had that deep craving for crispy, juicy chicken? The kind you find at diners or favorite restaurants? That first bite is magical, with a golden, crunchy coating and tender meat.
This guide is your key to a better meal. You get complete control over every ingredient, ensuring quality and freshness. The taste you make at home often beats what you find elsewhere. Plus, it’s cost-effective, making a restaurant splurge into an affordable family dinner.
Don’t worry about the intimidation. Making this classic comfort food is easy and rewarding. You’ll learn how simple steps lead to a top-notch result. Let’s go through it together, from picking your cut to getting that perfect, crispy finish.
Table of Contents
How to Make Fried Chicken Steak: Your Ultimate Guide
Learning to make fried chicken steak at home opens up a world of taste and texture. It’s far better than what you can buy. This guide will teach you everything, from why homemade is better to solving name confusion. You’ll feel ready to make a top-notch meal in your kitchen.
Why This Homemade Recipe Beats Takeout
Choosing to cook your own fried chicken steak has big advantages over takeout. The biggest plus is unmatched freshness. You get to enjoy it hot and crispy right after it’s cooked.
You also get to pick the best ingredients. This means using fresh chicken, your favorite spices, and top-notch oil. Takeout often uses cheaper stuff and old oil, which can taste bad and be unhealthy.
Homemade cooking lets you customize to your heart’s content. You can tweak the spice, make the coating crunchier, or use gluten-free flours. Your kitchen is your playground.
Plus, making it yourself is rewarding and can save money. There’s no joy like making a perfect crispy chicken steak from scratch. It’s a feeling takeout can’t match.
Understanding Chicken Fried Steak vs. Fried Chicken
These two dishes may sound similar, but they’re quite different. Knowing the difference will help you enjoy this fried chicken recipe to the fullest.
Chicken Fried Steak is a Southern and Midwestern favorite. It’s not chicken; it’s a tenderized beef steak, like cube steak, breaded and fried. It’s always smothered in creamy white pepper gravy.
Fried Chicken is pieces of poultry, like breasts or wings, coated in seasoned flour or batter and deep-fried. It’s a main dish, often with sides like mashed potatoes and coleslaw.
The recipe here is for a fried chicken steak. It uses a chicken breast, pounded thin, and fried like classic fried chicken. The result is a juicy, breaded chicken cutlet with a hearty steak appeal.
Here’s a quick comparison to clear up any confusion:
- Main Ingredient: Chicken Fried Steak uses beef. Fried Chicken uses poultry.
- Typical Cut: Chicken Fried Steak uses a tenderized cube steak. Our recipe uses a pounded chicken breast.
- Serving Style: Chicken Fried Steak is served with gravy. Fried Chicken Steak can be served with or without gravy.
- Cooking Method: Both are breaded and fried, but the oil temperature and thickness can vary.
Now that you know what you’re making, you can start gathering your ingredients with confidence.
Gathering Your Ingredients
Getting the right ingredients is key to making the best fried chicken steak. Quality matters a lot for taste and texture. Think of this list as your guide to success.
For the Chicken and Brine
Your choice of chicken and how you prepare it is crucial. It sets the stage for tenderness and flavor.
- Chicken Breast or Thighs: Boneless, skinless breasts are classic and lean. Boneless, skinless thighs offer richer flavor and juiciness. Choose 4 to 6-ounce portions.
- Buttermilk: Essential for a great brine. It tenderizes the meat and helps the coating stick. Full-fat buttermilk works best.
- Kosher Salt & Black Pepper: These basics season the chicken from the inside out. Kosher salt is better at dissolving and penetrating meat.
For the Crispy Coating
The crunch comes from a special dry mixture. It’s not just flour; it’s a mix for crispness.
- All-Purpose Flour: The main part of your coating. It browns well and creates a sturdy crust.
- Cornstarch: Adds extra crunch. It stops gluten from making the coating doughy.
- Baking Powder: Introduces air bubbles during frying. This makes the crust puffier and crispier.
Essential Seasonings and Frying Oil
These elements add flavor and ensure perfect frying. Don’t overlook their importance.
Your Seasoning Blend: Personalize your fried chicken with a blend. A classic Southern mix includes:
- Garlic powder
- Onion powder
- Paprika (for color and sweetness)
- Cayenne pepper (for a subtle kick)
Frying Oil: Choose a neutral, high-smoke-point oil. Peanut oil is great for its clean taste and heat retention. Vegetable or canola oil are good alternatives. Use enough to fill your pot or skillet 1 to 1.5 inches deep.
With these ingredients ready, you’re set to start. Each one is crucial for that crispy, juicy, homemade recipe masterpiece.
Essential Kitchen Equipment
Before you start brining or breading, check your tools. The right equipment makes the process easier, safer, and improves your fried chicken steak. You don’t need a pro kitchen, but some key items are a must.
For Preparation
Your prep station is key for what comes next. Having these items ready saves time and ensures consistency.
- Meat Mallet or Tenderizer: This is crucial for pounding chicken breasts to an even thickness. An even steak cooks uniformly, preventing dry edges and raw centers.
- Sturdy Cutting Board: Use a large, stable board for tenderizing and seasoning. A board with a groove helps contain juices.
- Mixing Bowls: You will need at least three medium to large bowls—one for the buttermilk brine, one for the seasoned flour, and one for the egg wash if your recipe uses it.
- Measuring Cups and Spoons: Consistent seasoning is key to great flavor. Measure your spices and flour accurately.
- Whisk or Fork: Use this to thoroughly combine your dry ingredients and break up any lumps in the flour mixture.
For Frying
This is where the magic happens. The correct frying tools manage heat and oil for a crisp, golden-brown crust.
- Heavy-Bottomed Pot or Dutch Oven: These distribute heat evenly and maintain a stable temperature. A 5 to 7-quart size is ideal for frying 2-3 steaks at once.
- Deep Fryer (Optional): An electric fryer offers precise temperature control and built-in safety features, but a heavy pot works perfectly.
- Cooking Thermometer: This is your most important tool. Guessing oil temperature leads to greasy or burnt chicken. A deep-fry or candy thermometer is essential.
- Spider Skimmer or Slotted Spoon: These allow you to gently lower the chicken into the oil and lift it out safely, letting excess oil drain away.
For Safety and Serving
Finishing strong means handling hot food safely and keeping it crispy until it hits the plate.
- Wire Cooling Rack: Do not drain fried chicken on paper towels alone. Placing it on a rack over a baking sheet allows air to circulate, preventing a soggy bottom.
- Tongs: Long-handled, sturdy tongs give you control when flipping the chicken steak in the hot oil.
- Paper Towels: Have a stack ready for blotting any excess oil after the chicken rests on the rack.
- Baking Sheet: Use this underneath your wire rack to catch any drips or loose crumbs.
- Heat-Resistant Gloves or Mitts: Protect your hands when handling the hot pot or moving the Dutch oven.
With these tools organized, you are set up for success. Your focus can now shift entirely to the cooking process itself.
Prepare and Brine the Chicken
Before you start with flour or oil, focus on making the chicken tender and briny. These steps are key to a great fried chicken steak. They make every bite juicy, tender, and full of flavor.
Tenderizing the Chicken Breast or Steak
It’s important to make the chicken the same thickness for even cooking. Chicken breasts can be thick on one end and thin on the other. This can cause some parts to cook too long and others too short.
Tenderizing helps fix this by breaking down the muscle fibers. It makes the chicken cook evenly and quickly.
How to Properly Pound Chicken for Even Cooking
Here’s how to get perfect results every time:
- Place the chicken breast between two sheets of plastic wrap or inside a heavy-duty zip-top bag.
- Using a meat mallet, rolling pin, or heavy skillet, start pounding from the center outward.
- Apply firm, even pressure until the entire piece is a consistent ½-inch thickness.
This step ensures your southern fried chicken cooks evenly. You’ll get a crispy coating and perfectly cooked meat all the way through.
The Buttermilk Brine: The Key to Juicy Chicken
After tenderizing, brining in buttermilk is the magic touch. The acidity in buttermilk tenderizes the chicken further. It also helps the seasoned flour coating stick better during frying.
This process adds moisture and flavor deep into the meat. It’s a key part of authentic southern fried chicken recipes.
Brine Timing and Dairy-Free Alternatives
For the best results, brine your chicken for at least 4 hours. Brining overnight, up to 12 hours, is even better for tenderness and flavor.
If you avoid dairy, you have great options. Plain, unsweetened yogurt works well. For a liquid brine, mix lemon juice or vinegar with a plant-based milk like almond or oat milk.
Whichever brine you choose, this step is crucial for a succulent, fall-apart tender interior in your fried chicken steak.
Mix the Batter and Dredge the Chicken
Creating that iconic, shatteringly crisp exterior starts with a well-crafted flour mixture and a systematic dredging process. This step is where your fried chicken batter recipe comes to life, transforming simple ingredients into a golden, crunchy armor.
Getting this right ensures every bite has the perfect texture. It locks in the chicken’s juiciness from the brine.
Creating the Seasoned Flour Mixture
Your dry coating is more than just flour. It is the foundation of flavor and crunch. A balanced blend creates the ideal texture.
Start with all-purpose flour as your base. Add cornstarch, which makes the coating extra crisp and light. Seasonings are crucial for depth.
- All-purpose flour: Provides structure and a classic fry.
- Cornstarch: Promotes a shatteringly crisp, less dense crust.
- Seasonings: Salt, black pepper, garlic powder, and paprika are essential.
- Baking powder: A small pinch can help create tiny air pockets for lift.
The Science Behind the Flour Blend
Why mix flour and cornstarch? Flour contains proteins that brown beautifully and give substance. Cornstarch is almost pure starch.
It fries up with a delicate, glass-like crunch. The combination gives you the best of both worlds: a sturdy, flavorful crust that stays exceptionally crispy.
Setting Up Your Dredging Stations
Organization is your best friend for a mess-free, efficient coating process. Set up a simple assembly line with three stations.
This keeps one hand for wet ingredients and one for dry. It prevents your fingers from becoming a clumpy mess.
- Station One: Your bowl of wet buttermilk brine.
- Station Two: A wide, shallow dish with your seasoned flour mixture.
- Station Three: A clean plate or wire rack for the coated chicken.
Keep paper towels nearby for quick hand wipes. Have a fork or tongs ready to handle the chicken between stations.
The Double-Dredge Technique for Ultimate Crunch
For a coating that stays put and delivers maximum crunch, use the double-dredge method. This means dipping the chicken twice through the wet and dry mixtures.
The process builds layers that fuse during frying. It creates a thick, craggy, and incredibly adherent crust.
Follow this sequence for each piece of chicken:
- Drip off excess buttermilk, then coat thoroughly in the seasoned flour. Press the flour on firmly.
- Dip the floured piece back into the buttermilk brine, letting the excess drip away again.
- Return the chicken to the flour mixture for a second, final coat. Press and pat to form craggy bits.
- Place the fully coated chicken on your clean plate or rack.
This technique is the secret to a professional-quality fried chicken batter recipe that won’t slide off in the oil. The extra layer ensures a satisfying crunch in every single bite.
Fry the Chicken to Golden Brown
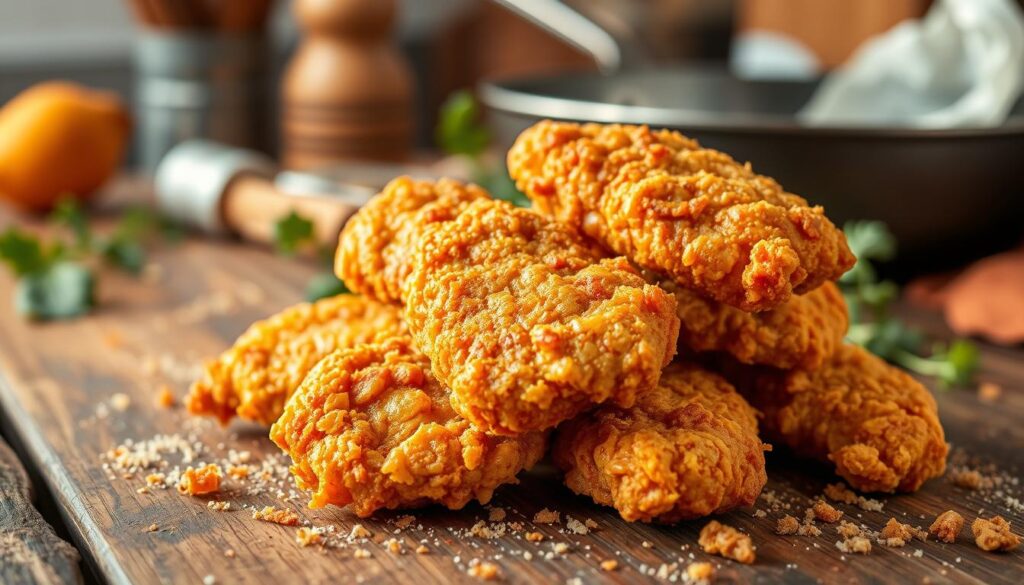
The moment of truth in making your homemade fried chicken steak is when it hits the hot oil. This stage turns your chicken into a crispy, golden-brown masterpiece. Success depends on three key things: the right oil, the right temperature, and how you handle it after frying.
Choosing and Heating Your Frying Oil
Choosing the right oil is key for a non-greasy, perfectly crisp exterior. You need an oil that can handle high heat without breaking down or adding bad flavors.
Best Oils for Deep Frying Chicken
Neutral-tasting oils with high smoke points (above 400°F) are best. They let the seasoning in your coating shine.
- Peanut Oil: A favorite for its high smoke point (450°F) and slight nutty flavor.
- Vegetable or Canola Oil: Widely available, affordable, and has a smoke point around 400-450°F.
- Sunflower Oil: A clean option with a high smoke point and neutral taste.
- Avocado Oil: Excellent high smoke point (520°F), though more expensive.
Fill your heavy-bottomed pot or Dutch oven with enough oil to cover the chicken steak by at least an inch. Heat it slowly over medium heat to your target temperature of 350°F. Use a deep-fry or candy thermometer for accuracy.
The Frying Process: Temperature and Timing
Keeping the oil temperature steady is the secret to avoiding greasy food. When you add cold chicken, the temperature will drop. Adjust your burner to keep it as close to 350°F as possible.
Gently lower each dredged chicken steak into the hot oil using tongs. Do not crowd the pot. Fry in batches if necessary. A typical chicken breast steak, about ½ to ¾ inch thick, will need 5 to 7 minutes per side.
The chicken should bubble actively but not violently. Turn it once halfway through for an even, golden-brown crust.
How to Tell When Your Chicken Steak is Perfectly Cooked
Never guess doneness. Use these reliable methods to ensure your crispy fried chicken is safe and juicy inside.
- Internal Temperature: This is the most accurate method. Insert a meat thermometer into the thickest part. It must read 165°F.
- Visual and Tactile Clues: The coating will be a deep, uniform golden brown. The meat will feel firm when pressed with tongs.
- Juices Run Clear: If you make a small cut in the thickest part, the juices should be clear, not pink.
Draining and Resting for Crispy Perfection
The work isn’t over when the chicken leaves the oil. How you handle it next determines if the crust stays crisp.
Immediately transfer the fried chicken steak to a wire rack set over a baking sheet. Do not place it on paper towels or a plate. A wire rack allows air to circulate all around, preventing steam from softening the bottom.
Let the chicken rest for at least 5 to 10 minutes. This allows the juices to redistribute throughout the meat, ensuring every bite is moist. It also gives the crust time to firm up into that satisfying, shattering crunch you desire in a perfect crispy fried chicken steak.
Pro Tips for the Crispiest Fried Chicken Steak
Learn how to get a crispy exterior that stays crispy from start to finish. These expert tips help you overcome common challenges in cooking.
They ensure your fried chicken steak is crispy, juicy, and great for leftovers.
Keeping the Coating Firmly Attached
The biggest problem is when the coating falls off. The fix often happens before frying. Let the chicken rest on a wire rack for 5 to 10 minutes after double-dredging.
This step lets the flour and egg mixture soak in. It creates a strong bond with the meat when fried.
To add extra security, press the flour mixture onto the chicken after the last coat. Don’t shake off too much. A bit of clumpiness leads to crunchy, delicious bits.
Managing Oil Temperature Like a Pro
Keeping the oil at a steady heat is crucial for a crispy, non-greasy crust. Always use a thermometer. When you add chicken, the oil temperature will drop.
Here’s how to manage it like a pro:
- Preheat properly: Heat your oil to 350°F to 365°F before frying.
- Adjust in batches: When adding chicken, the temperature will drop. Turn up the heat a bit to keep it above 325°F.
- Do not overcrowd: Frying too many pieces at once lowers the temperature too much. This makes the coating oily and soggy.
- Recover between batches: Wait for the oil to get back to the right temperature before frying more.
By actively managing the temperature, each piece fries evenly and quickly. This seals in the juices.
Reheating Leftovers Without the Sogginess
Leftover fried chicken steak can be just as tasty as fresh. The trick is to use dry, radiant heat, not steam. The microwave is bad for this, as it makes the coating rubbery.
For the best results, use your oven or an air fryer. Preheat your oven to 375°F. Place the chicken on a wire rack over a baking sheet. This lets hot air circulate all around.
Heat for 10 to 15 minutes, until the chicken is 165°F and the coating is crispy again. An air fryer is even faster. Set it to 370°F and cook for 5 to 8 minutes, checking halfway.
This method brings back the crispy texture without drying out the chicken.
Serving Suggestions and Classic Pairings
Your golden-brown, crispy masterpiece is ready. But, the dining experience isn’t complete without the right accompaniments. The perfect serving suggestions turn your homemade fried chicken steak into an unforgettable meal. These classic pairings balance richness, add texture, and bring complementary flavors to your plate.
Traditional Southern Sides
For an authentic comfort food experience, look to classic Southern sides. These dishes are designed to soak up gravy and cut through the richness of fried food.
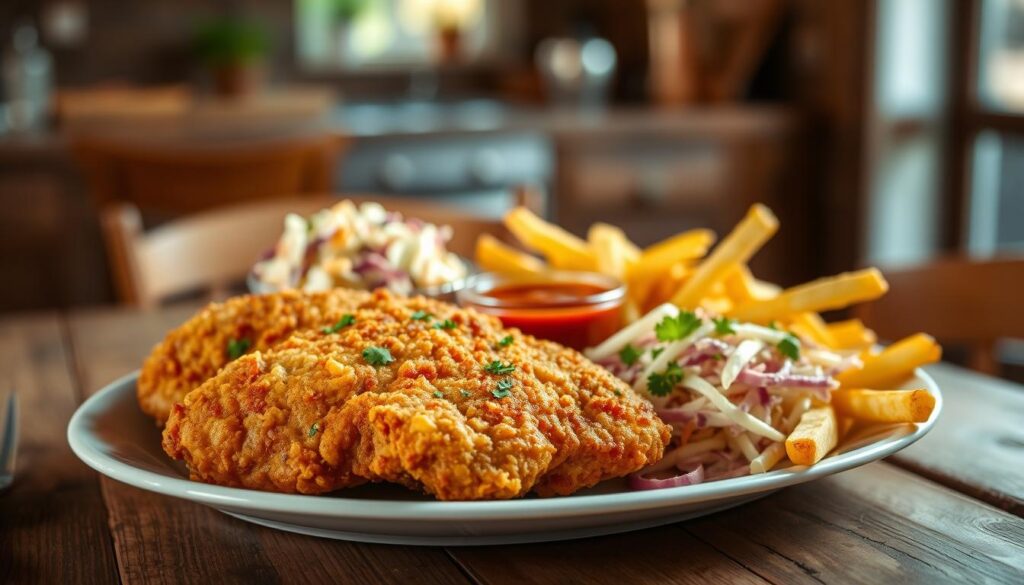
Creamy mashed potatoes are a must. They’re buttery and smooth, perfect for a ladle of gravy. Collard greens, slowly simmered with smoked meat, offer a savory, slightly bitter contrast.
Don’t forget a basket of warm, flaky buttermilk biscuits. They’re ideal for sopping up every last bit of sauce. Other essential Southern sides include:
- Macaroni and Cheese: Baked with a crispy, cheesy top.
- Sweet Cornbread: A slightly sweet counterpoint to salty chicken.
- Classic Coleslaw: Provides a cool, crunchy, and tangy refreshment.
- Buttered Green Beans: A simple, fresh vegetable component.
Gravy and Dipping Sauce Recipes
A great sauce can elevate your fried chicken steak from good to legendary. You have two fantastic paths: a creamy, traditional gravy or a zesty, modern dipping sauce.
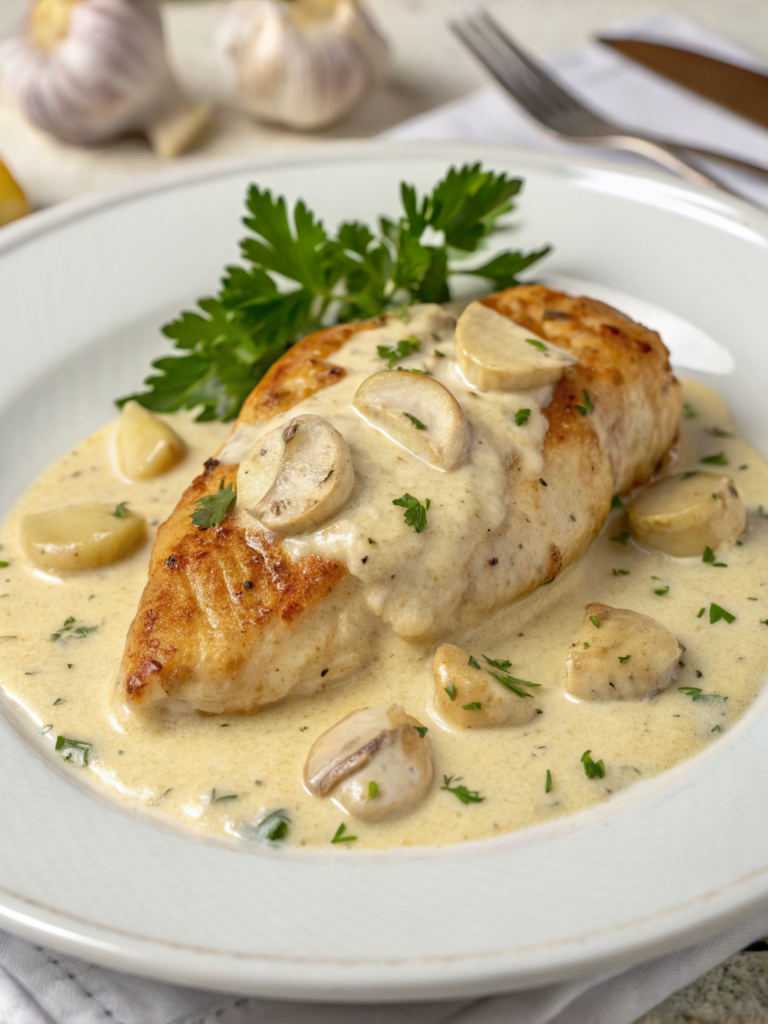
Creamy White Pepper Gravy is the iconic pairing. It’s simple to make with pan drippings. In the same skillet you used for frying, make a roux with 2 tablespoons of leftover oil and 2 tablespoons of flour. Whisk in 2 cups of milk slowly, and cook until thickened. Season generously with salt and a heavy crack of black pepper.
For a kick, try this Spicy Buttermilk Ranch Dip. It combines coolness with heat. Whisk together these ingredients and chill for 30 minutes:
- 1 cup buttermilk or full-fat Greek yogurt.
- 1 packet of ranch seasoning mix.
- 1 tablespoon of your favorite hot sauce.
- 1 teaspoon of garlic powder.
- A squeeze of fresh lemon juice.
This versatile sauce works as both a dip and a drizzle. Experiment with other dipping sauces like honey mustard, Alabama white BBQ sauce, or a simple maple syrup blend for sweet and savory notes.
Modern Twists and Flavor Variations
Once you’ve mastered the classic version, get creative with flavor variations. A simple change to your coating or sauce can take your dish around the world.
Start by infusing your seasoned flour with different dried herbs and spices. Add a tablespoon of smoked paprika and a teaspoon of cumin for a Southwestern flair. For an herby profile, mix in dried rosemary, thyme, and oregano.
You can also explore global sauce influences. A Korean-inspired gochujang glaze (mix gochujang paste with a little honey, soy sauce, and vinegar) adds sweet heat. A quick lemon-herb gremolata (chopped parsley, lemon zest, garlic) sprinkled on top offers a bright, fresh finish.
These twists allow you to customize the meal for any taste. The core technique remains the same, but your serving suggestions become uniquely yours.
Troubleshooting Common Fried Chicken Mistakes
If your homemade fried chicken steak didn’t turn out right, don’t worry. Common problems have easy fixes. Even experienced cooks face these issues. This guide will help you solve the most frequent problems so your next batch is perfect.
Soggy or Falling-Off Coating
A soggy or falling-off coating often means moisture or temperature problems. Wet batter and oil that’s not hot enough are main culprits. Overcrowding the pan is another common mistake.
To get a crispy, stuck coating every time, follow these steps:
- Check your oil temperature: Use a deep-fry thermometer. The oil must be at a steady 350°F (175°C) before adding chicken. If it’s too low, the coating absorbs oil instead of sealing.
- Dry the chicken well: After removing it from the brine or buttermilk, let excess liquid drip off. Pat each piece very dry with paper towels before dredging.
- Avoid overcrowding: Fry in small batches. Adding too many pieces at once crashes the oil temperature and creates steam, which makes the coating soggy.
- Double-dredge properly: Shake off excess flour after each dip. A thin, even layer of flour helps the coating grip the meat.
Overcooked or Dry Chicken
Nothing is worse than finding dry, tough meat inside a crispy steak. This usually happens when the chicken cooks too long or at too high a heat. An inadequate brine can also be the cause.
Keep your chicken juicy and tender with these solutions:
- Use a meat thermometer: This is your best tool. Insert it into the thickest part of the steak. Remove the chicken from the oil when it reaches 165°F (74°C). It will continue to cook as it rests.
- Don’t skip the brine: A buttermilk or saltwater brine is essential for moisture. If your chicken was dry, try brining for a longer time, at least 4 hours or overnight.
- Manage your heat: If the oil is too hot, the outside burns before the inside cooks through. Maintain that 350°F (175°C) sweet spot.
- Choose uniform cuts: Pound your chicken breasts to an even thickness. This ensures all parts cook at the same rate.
Greasy or Burnt Exterior
A greasy, oily crust or a burnt, bitter one are opposite sides of the same coin—both are caused by incorrect oil temperature. Greasy chicken means the oil was too cool. Burnt chicken means it was too hot.
Fix these frying flaws with precise temperature control:
- For a greasy finish: Your oil was likely below 325°F (163°C). The coating soaks up oil instead of quickly sealing. Always let the oil come back to 350°F between batches.
- For a burnt finish: Your oil probably soared above 375°F (190°C). The coating browns too fast and burns. Adjust your burner to maintain a steady temperature.
- Drain properly: After frying, never let the steak sit in oil or on a flat plate. Place it on a wire rack set over a baking sheet. This allows air to circulate and keeps the bottom crisp.
- Watch the color: Aim for a deep, golden brown. If the coating is darkening too quickly, reduce the heat immediately.
With these troubleshooting tips, you can confidently correct any mistake. Your next plate of homemade fried chicken steak will be crispy on the outside, juicy on the inside, and absolutely delicious.
Conclusion
You’ve made it to the end of our guide on making homemade fried chicken steak. This guide shows you how to make a crispy, juicy classic dish at home.
The key steps are brining in buttermilk, double-dredging in seasoned flour, and frying at the right temperature. These steps ensure a great result. They turn simple ingredients into an amazing meal.
With this trusted fried chicken recipe, you can make a dinner that everyone will love. Try out different sides, from traditional Southern dishes to new flavors. Make it your own.
The sound of biting into the golden brown coating and finding tender chicken is the best reward. Homemade fried chicken steak gives you a satisfaction that store-bought can’t. Start cooking and see the delicious results of your hard work.