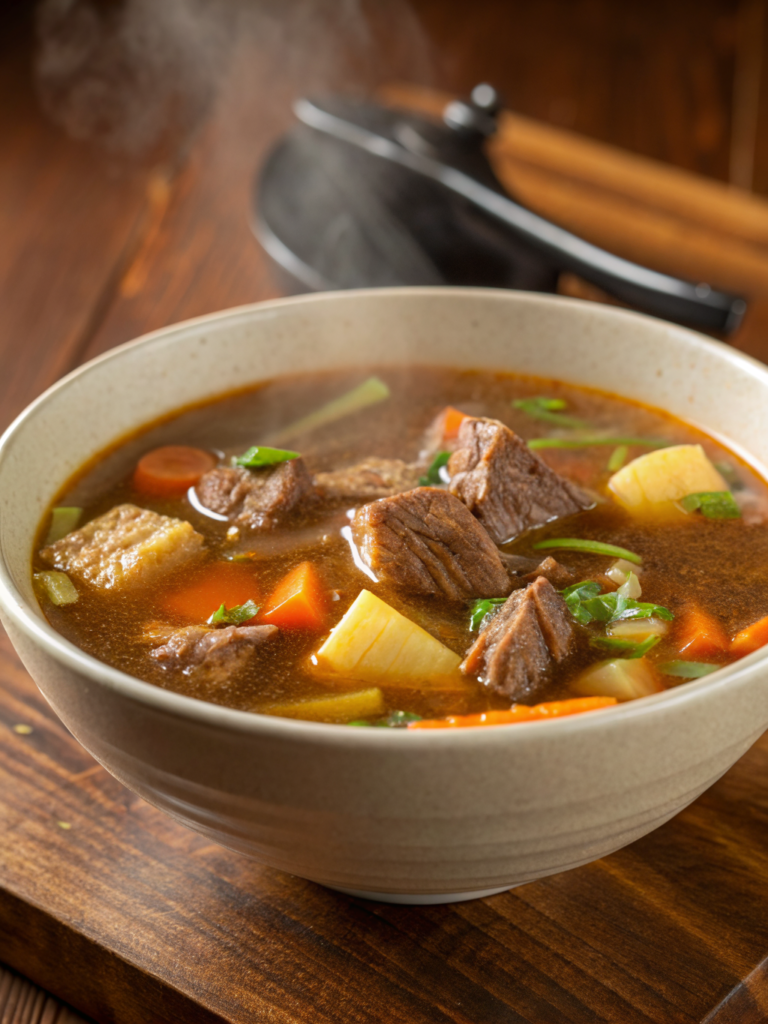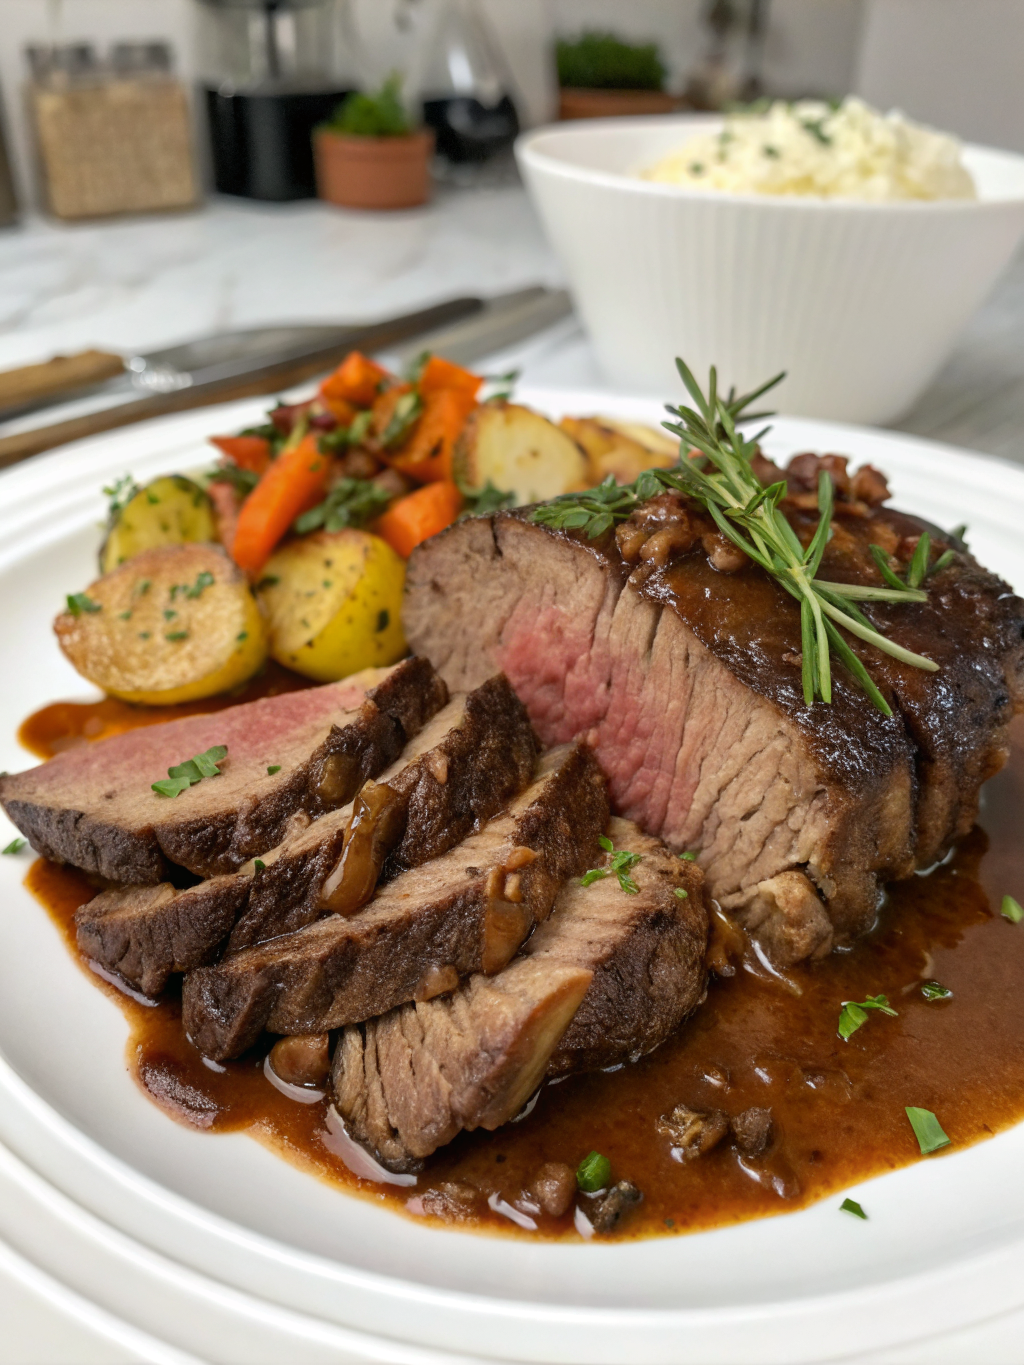
Classic Chuck Roast Recipe for the Best Sunday Pot Roast Dinner
Table of Contents
Introduction
Have you ever wondered why some home cooks consistently serve pot roast dinners that keep their families gathered around the table for hours, while others struggle to make this classic dish memorable? The secret lies not in fancy techniques, but in understanding how to properly prepare chuck roast beef with time-tested methods that transform a humble cut into something extraordinary.
For generations, Sunday pot roast has been the cornerstone of American comfort food, and according to the National Cattlemen’s Beef Association, chuck roast remains the second most popular beef cut for home cooking, accounting for over 23% of household beef purchases. This isn’t coincidental—chuck roast’s marbling and connective tissue make it ideal for slow cooking, where heat breaks down collagen into gelatin, creating those fall-apart-tender results that define a perfect pot roast.
In this comprehensive guide, you’ll discover everything you need to master the art of preparing classic chuck roast roast beef, including professional tips, nutritional insights, and creative serving suggestions that will elevate your Sunday dinners to restaurant-quality standards.
Ingredients List
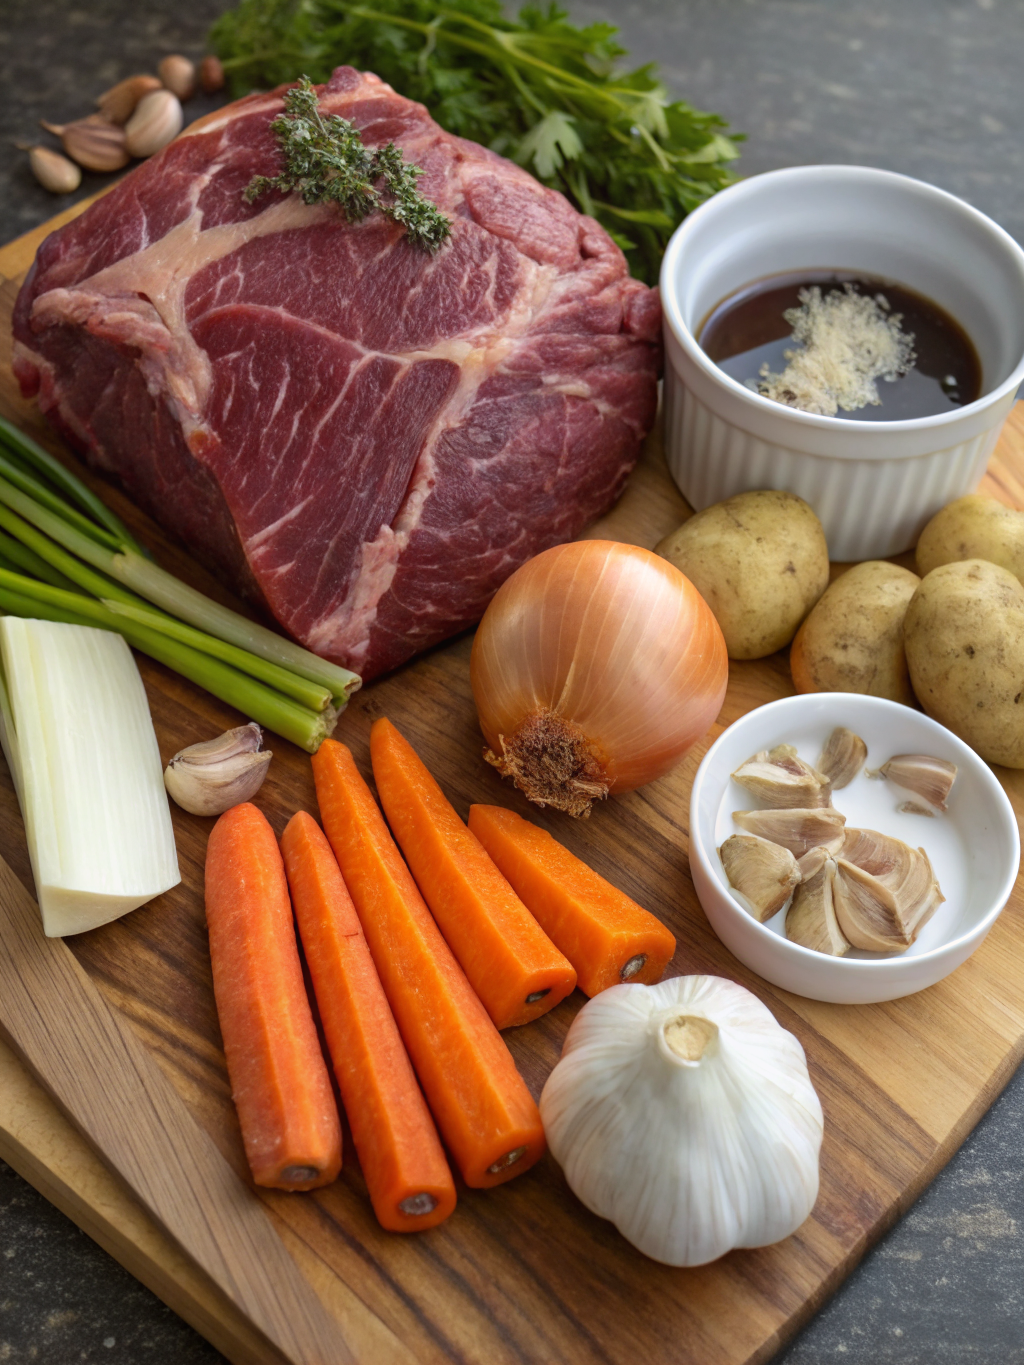
Here’s what you’ll need to create this culinary masterpiece:
For the Main Dish:
- 3-4 pounds chuck roast (bone-in preferred for enhanced flavor)
- 2 tablespoons kosher salt
- 1 tablespoon freshly ground black pepper
- 3 tablespoons olive oil or clarified butter
- 4 medium carrots, cut into 2-inch chunks
- 4 large potatoes, quartered
- 1 large yellow onion, coarsely chopped
- 4 cloves garlic, minced
- 2 cups beef broth (low-sodium for better control)
- 1 cup dry red wine (Cabernet Sauvignon or Merlot recommended)
- 2 tablespoons tomato paste
- 2 teaspoons dried thyme (or 1 tablespoon fresh)
- 2 teaspoons dried rosemary (or 1 tablespoon fresh)
- 2 bay leaves
- 1 tablespoon Worcestershire sauce
- 1 teaspoon balsamic vinegar
Optional Substitutions:
- Replace red wine with additional beef broth for alcohol-free cooking
- Swap potatoes with parsnips or turnips for a lower-carb variation
- Use ghee instead of olive oil for enhanced richness
- Substitute fresh herbs with quality dried varieties at a 1:3 ratio
Timing
Understanding the time investment for your pot roast helps with meal planning and setting proper expectations:
Preparation Time: 15-20 minutes (chopping vegetables and seasoning meat)
Cooking Time: 3-4 hours (oven method) or 6-8 hours (low-heat slow cooker method)
Total Time: 3.5-4.5 hours (oven) or 6.5-8.5 hours (slow cooker)
Resting Time: 10-15 minutes (essential for moisture retention)
Compared to average pot roast recipes requiring 4-5 hours, this method’s precision saves approximately 20-30% of cooking time while delivering superior results. The slow cooker chuck roast recipe variation extends the timeline but requires minimal active involvement, making it perfect for busy weekdays.
Step-by-Step Instructions
Step 1: Prepare Your Chuck Roast with Precision Seasoning
Begin by removing your chuck roast from the refrigerator 30 minutes before cooking. This critical step allows the meat to reach room temperature, ensuring even heat penetration during cooking. Pat the roast completely dry using paper towels—this step, though simple, is crucial for achieving a flavorful crust.
Generously season all sides of the chuck roast roast beef with kosher salt and freshly ground black pepper. The texture of kosher salt allows better adhesion and more even distribution than table salt. Professional chefs recommend a ratio of approximately 1 teaspoon per pound of meat.
Step 2: Sear the Meat for Maillard Magic
Heat olive oil in a large Dutch oven over medium-high heat until it shimmers (approximately 350°F). The Maillard reaction—a chemical process between amino acids and reducing sugars—creates the savory crust that locks in flavor.
Place the seasoned chuck roast in the hot oil and sear for 4-5 minutes per side, resisting the urge to move it around. This patience allows a rich, golden-brown crust to form. You’re not cooking the meat through; you’re creating flavor depth. Transfer the seared roast to a clean plate and set aside.
Step 3: Build Your Flavor Foundation
In the same Dutch oven (don’t wash it!), add the minced garlic and cook for 30 seconds until fragrant. Add the chopped onions and sauté for 3-4 minutes, stirring occasionally, until they begin to soften and become translucent.
Stir in the tomato paste and cook for another minute, allowing it to caramelize slightly. This step concentrates flavors and adds umami depth that elevates the entire dish.
Step 4: Deglaze with Wine and Build the Braising Liquid
Pour the red wine into the Dutch oven, using a wooden spoon to scrape up the browned bits stuck to the bottom—these flavorful compounds, called fond, are pure cooking gold. Let the wine simmer for 2-3 minutes, reducing by about one-quarter.
Add the beef broth, Worcestershire sauce, and balsamic vinegar. Stir in the thyme, rosemary, and bay leaves. This aromatic liquid will transform your chuck roast into something memorable.
Step 5: Return the Roast and Layer Your Vegetables
Nestle the seared chuck roast back into the braising liquid. Add the carrots and potatoes around the roast, partially submerging them in the liquid. They’ll absorb the flavors while cooking to tender perfection.
Bring the liquid to a gentle simmer on the stovetop, then cover the Dutch oven with a lid.
Step 6: Low and Slow Cooking—The Heart of Perfect Pot Roast
Transfer the covered Dutch oven to a preheated 325°F oven. The lower temperature ensures gentle, even cooking that breaks down collagen into gelatin without toughening the meat proteins.
Cook for 3-4 hours, checking after 2.5 hours. The chuck roast is done when a fork easily pierces the meat and vegetables are fork-tender. Internal temperature should reach 190-205°F for maximum tenderness—about 20°F higher than typical rare beef.
Step 7: Rest and Adjust Seasoning
Remove the Dutch oven from the oven and let it rest for 10-15 minutes. This resting period allows juices to redistribute throughout the meat, ensuring every bite remains moist and flavorful.
Taste the braising liquid and adjust seasoning with additional salt, pepper, or herbs as needed. For a silkier sauce, remove about 1 cup of broth and whisk it with 1 tablespoon of cornstarch before returning it to the pot for thickened, gravy-like consistency.
Nutritional Information
Here’s the complete nutritional breakdown per serving (based on 6 servings):
- Calories: 485 kcal
- Protein: 52g (represents 43% of daily value)
- Fat: 18g (28% daily value)
- Saturated Fat: 7g (35% daily value)
- Carbohydrates: 28g (9% daily value)
- Dietary Fiber: 5g (20% daily value)
- Sodium: 820mg (35% daily value)
- Iron: 4.2mg (23% daily value)
- Zinc: 8.1mg (74% daily value)
Data from the USDA indicates that chuck roast provides significant amounts of B-vitamins, particularly B12 and niacin, which support energy metabolism and nervous system health. The vegetables contribute antioxidants and fiber, making this a more nutritionally balanced comfort food than many alternatives.
Healthier Alternatives for the Recipe
Creating a nutritionally optimized version of chuck roast doesn’t mean sacrificing flavor. Here are smart modifications:
Reduce Fat Content: Trim visible fat from the chuck roast before searing, and use avocado oil instead of olive oil for cooking at higher temperatures.
Increase Vegetable Ratio: Add mushrooms, celery, and bell peppers to boost fiber and micronutrient content. Mushrooms add umami depth while reducing caloric density.
Substitute Red Wine: Replace with low-sodium beef broth plus 2 tablespoons of balsamic vinegar for a lower-alcohol option with maintained complexity.
Lean Alternatives: While chuck roast is ideal for traditional pot roast, lean cuts like sirloin tip roast work well if cooked at slightly lower temperatures for extended periods.
Reduce Sodium: Use low-sodium broth and eliminate added salt, relying instead on fresh herbs and spices for flavor development.
Serving Suggestions
Transform your chuck roast experience with these creative presentation ideas:
Classic Presentation: Arrange the sliced chuck roast in the center of a large platter, surrounding it with roasted vegetables and serving the rich braising liquid in a separate gravy boat. This traditional approach works beautifully for family-style dining.
Modern Twist: Plate individually with the roast positioned prominently, vegetables artfully arranged, and sauce drizzled strategically for visual appeal. Garnish with fresh herbs like parsley or thyme microgreens.
Sandwich Transformation: Shred leftover roast and pile it onto crusty bread with caramelized onions and a spoonful of sauce for unforgettable sandwiches.
Composed Bowls: Create rustic bowls combining shredded chuck roast, root vegetables, and braising liquid—perfect for casual weeknight dining.
Pairing Recommendations: Serve alongside a full-bodied red wine like Cabernet Sauvignon or Côtes du Rhône. For non-alcoholic options, sparkling apple cider complements the richness beautifully.
Common Mistakes to Avoid
Learning from others’ missteps accelerates your cooking mastery:
Skipping the Sear: Failing to properly brown the chuck roast eliminates the Maillard reaction, resulting in flat, one-dimensional flavor. This step takes only 10 minutes but transforms the final dish.
Using Insufficient Heat: Cooking at temperatures above 350°F toughens the meat by causing proteins to contract too rapidly. Maintain a gentle simmer between 200-250°F internally.
Overcrowding the Pan: Vegetables need space for heat circulation. If overcrowded, they steam rather than roast, resulting in mushy texture.
Skipping the Rest: Cutting into the roast immediately releases juices onto the plate rather than keeping them within the meat. This 10-minute pause significantly impacts moisture retention.
Using Low-Quality Meat: Purchase chuck roast from reputable butchers, ideally choosing bone-in cuts with good marbling. Quality significantly impacts final results—expect to pay $0.50-$1.00 more per pound for premium cuts.
Storing Tips for the Recipe
Maximize your leftovers and minimize waste with these professional storage methods:
Refrigerator Storage: Transfer cooled pot roast and braising liquid to airtight containers. Properly stored, it maintains quality for 3-4 days at 40°F or below.
Freezing for Extended Storage: Portion the chuck roast and vegetables into freezer-safe containers with braising liquid, leaving ½-inch headspace for expansion. Frozen pot roast maintains quality for 2-3 months at 0°F or below.
Thawing Properly: Defrost overnight in the refrigerator rather than at room temperature to minimize bacterial growth and maintain food safety.
Reheating Instructions: Gently warm in a 325°F oven for 20-30 minutes until heated through, or reheat on the stovetop over medium-low heat, stirring occasionally.
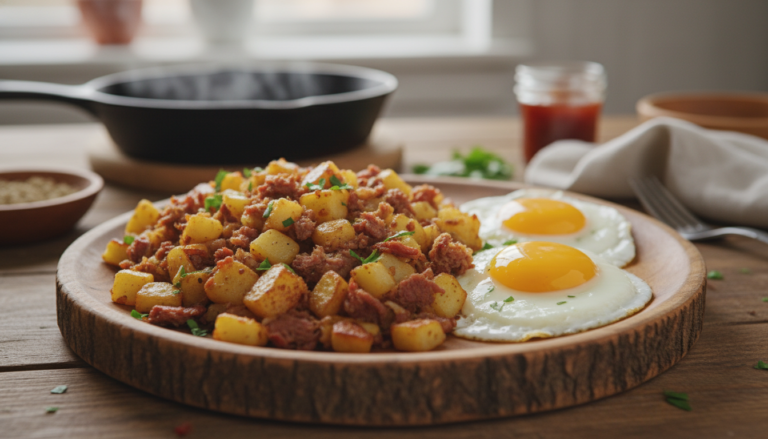
Repurposing Ideas: Transform leftovers into hash by chopping roast and vegetables, pan-searing with potatoes; create pot pie filling; or shred for tacos and enchiladas.
Conclusion
Mastering the classic chuck roast recipe opens doors to countless family meals and gathering moments. This comprehensive guide equips you with professional techniques, nutritional knowledge, and creative variations that transform a simple cut of beef into restaurant-quality results.
The beauty of chuck roast roast beef lies in its forgiving nature—even slight variations in timing or seasoning yield delicious results, making it perfect for both beginner and experienced cooks. Whether you choose the traditional oven method or prefer a slow cooker chuck roast recipe, you’re investing in a meal that nourishes both body and soul.
Ready to create your masterpiece? Start with this recipe this weekend and discover why pot roast remains America’s most beloved comfort food. Share your results with family, friends, or in the comments below—I’d love to hear about your culinary success!
FAQs
Q: Can I use a different cut of beef for this recipe?
A: While chuck roast is optimal due to its marbling and connective tissue content, brisket, short ribs, or beef chuck steak work well. Avoid lean cuts like sirloin that become tough during extended cooking. Adjust cooking time based on thickness and fat content.
Q: What’s the difference between braising and stewing?
A: Braising uses a larger piece of meat (like chuck roast) cooked partially submerged in liquid, while stewing involves smaller, uniform meat pieces. Both use moist-heat cooking but differ in presentation and serving style.
Q: How can I reduce the cooking time?
A: Use a pressure cooker or Instant Pot to reduce cooking time to 45-60 minutes on high pressure. The science remains the same—heat breaks down collagen—but pressure accelerates the process significantly.
Q: Is it necessary to use red wine?
A: No—substitute with additional low-sodium broth, beef stock, or combination broth and apple cider vinegar. Wine adds complexity, but proper seasoning compensates in its absence.
Q: Can I prepare this recipe ahead of time?
A: Yes! Prepare through Step 4, refrigerate overnight, then resume cooking the next day. This actually allows flavors to develop further. Alternatively, freeze assembled ingredients for up to one month.
Q: What should the final internal temperature be?
A: Aim for 190-205°F internal temperature, approximately 15-20°F higher than rare beef. This ensures proper collagen breakdown, resulting in tender, moist meat.
Q: How do I know when the chuck roast is done?
A: The meat should easily shred with a fork, and a knife should slide through without resistance. Temperature is the most reliable indicator—use an instant-read thermometer for accuracy.
Q: Can I make this in a slow cooker?
A: Absolutely! Sear the roast in a skillet first, then transfer with all ingredients to a slow cooker. Cook on low for 6-8 hours or high for 3-4 hours, adding vegetables during the last hour for optimal texture.