Chicken Stock From Carcass – Zero Waste Homemade Recipe
Table of Contents
Introduction
Did you know that approximately 40% of food waste in American households comes from improperly discarded kitchen scraps? If you’re tossing chicken carcasses into the trash, you’re missing out on one of the most nutritious, cost-effective ingredients you can create at home. Making chicken stock from carcass isn’t just an economical choice, it’s a culinary game-changer that transforms what many consider waste into liquid gold for your kitchen.
Whether you’ve just finished roasting a whole chicken, deconstructed a store-bought rotisserie bird, or trimmed bones from chicken breasts, that carcass is brimming with collagen, minerals, and deep, savory flavors. Unlike store-bought broths that often contain sodium levels exceeding 800mg per cup, homemade leftover rotisserie chicken stock allows you complete control over ingredients and sodium content. This zero-waste recipe is perfect for health-conscious cooks, budget-savvy home chefs, and anyone seeking to reduce their environmental footprint.
Ingredients List
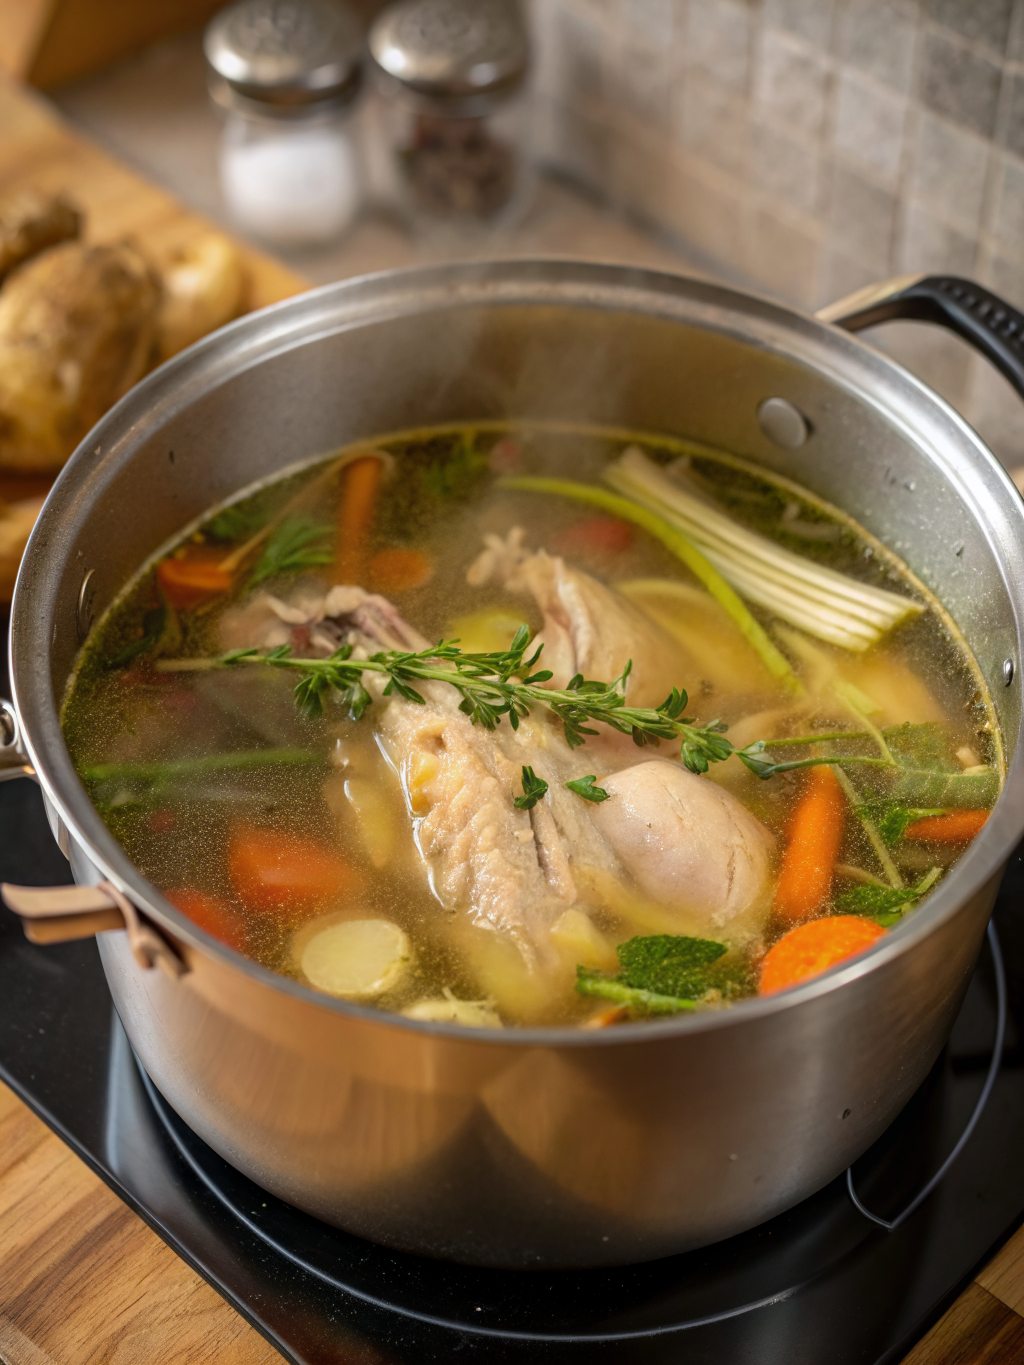
Creating the perfect chicken stock from carcass requires just a handful of simple ingredients:
Essential Base:
- 1 whole chicken carcass (with any remaining meat and skin attached)
- 3-4 quarts of cold, filtered water
- 2 medium carrots, roughly chopped (no need to peel)
- 2-3 celery stalks, cut into 2-inch pieces
- 1 medium yellow onion, quartered (leave skin on for added color and minerals)
- 1 tablespoon raw apple cider vinegar or fresh lemon juice
Aromatics & Flavor Enhancers:
- 3-4 sprigs of fresh thyme
- 2-3 bay leaves
- 8-10 whole black peppercorns
- 2-3 cloves garlic, smashed
- 1 teaspoon sea salt (adjust to taste)
Optional Additions for Depth:
- 1-inch piece of fresh ginger, sliced
- 1 dried shiitake mushroom (adds umami richness)
- 2 parmesan rinds (a chef’s secret for savory depth)
- Fresh rosemary sprigs for Mediterranean flair
Substitutions & Variations:
If you don’t have fresh thyme, dried Italian herbs work beautifully. Don’t have apple cider vinegar? White wine vinegar or fresh citrus juice accomplishes the same mineral-extraction goal. For a richer stock, save chicken bones in your freezer over several weeks before making a batch.
Timing
Preparation Time: 10 minutes
Cooking Time: 12-24 hours (depending on desired depth)
Total Time: 12 hours 10 minutes minimum
This extended cooking time might seem lengthy compared to 2-3 hour stovetop broths, but here’s why it matters: slow simmering extracts up to 30% more collagen and bioavailable minerals than rapid boiling. Your patience yields nutritionally superior stock with a silky, natural gelatin that sets when cooled—a sign of quality that store-bought versions rarely achieve.
Step-by-Step Instructions
Step 1: Prepare Your Carcass for Maximum Flavor Extraction
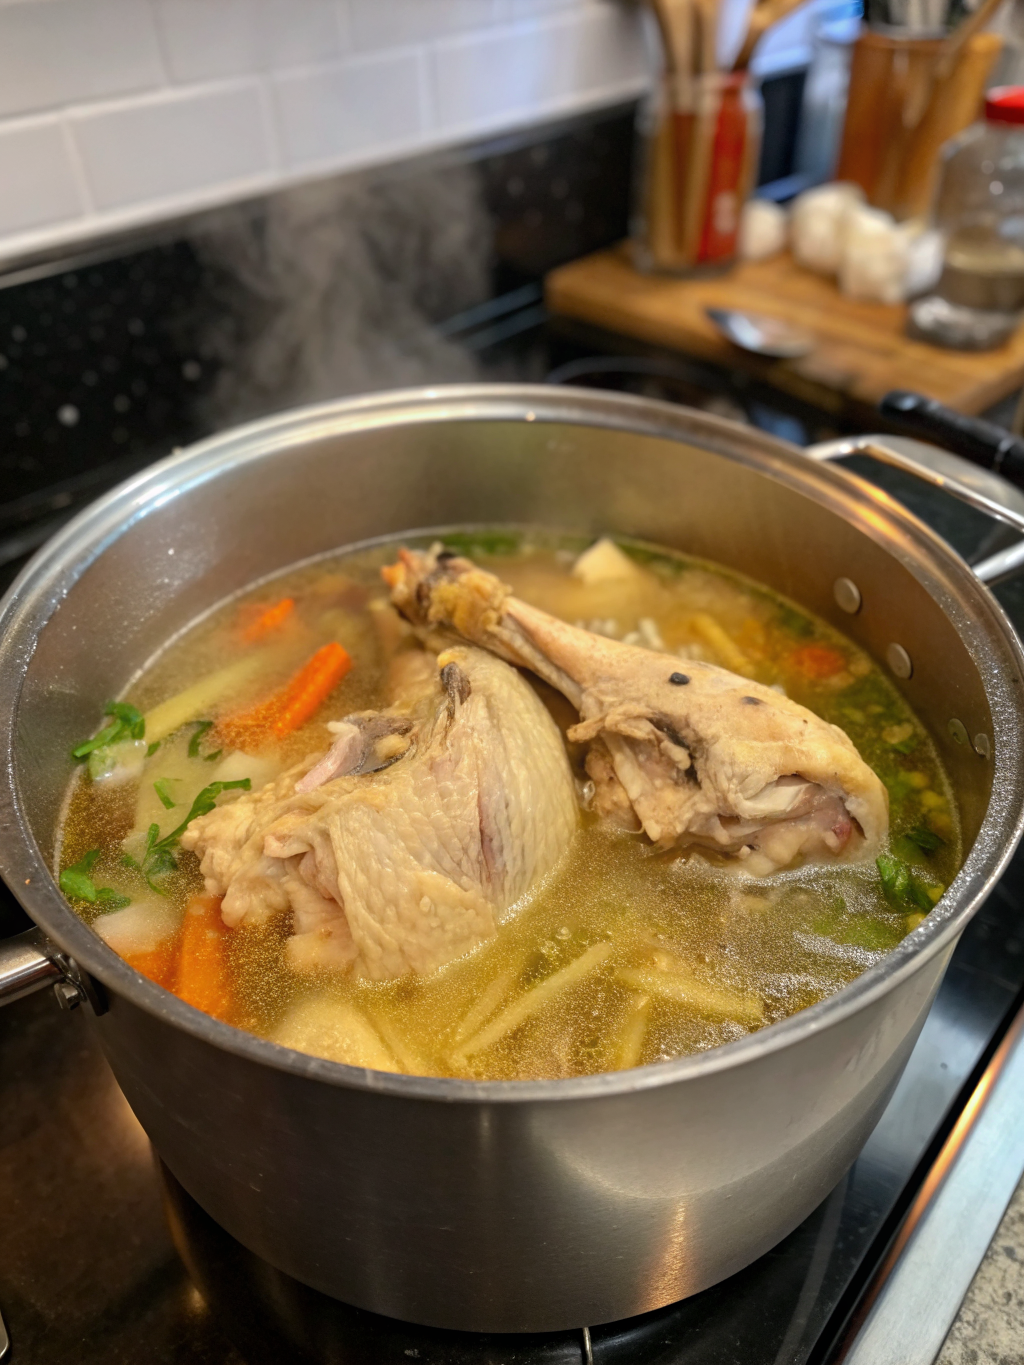
Start by placing your chicken carcass in a large stockpot or Dutch oven. If you’ve just finished eating a roasted chicken, don’t worry about removing every morsel of meat—small pieces clinging to bones add incredible depth. If using a rotisserie chicken carcass, tear any substantial meat chunks away and reserve for soups or salads. Rinse the carcass under cool water, removing any stray feathers or debris. This simple step prevents cloudy stock while removing surface impurities.
Step 2: Build Your Aromatic Foundation
Arrange your prepared vegetables around the carcass in the pot. The onion’s papery skin imparts golden color and additional minerals. Carrots and celery create the classic mirepoix base that’s been trusted by culinary professionals for centuries. The acid from apple cider vinegar is crucial—it helps break down collagen into gelatin, dramatically improving your stock’s nutritional profile and silky mouthfeel.
Step 3: Cover with Cold Water and Bring to a Gentle Simmer
Pour cold, filtered water over everything, covering the carcass by about two inches. Cold water allows gradual protein extraction, creating a clearer final product. Slowly bring to a gentle simmer over medium-high heat—this should take 15-20 minutes. Once you notice small bubbles breaking the surface, reduce heat to low. Never allow your stock to achieve a rolling boil; vigorous bubbling clouds the liquid and makes for less refined results.
Step 4: Skim Impurities During the First Hour
During the initial hour of simmering, you’ll notice grayish-brown foam rising to the surface. Using a fine-mesh skimmer or spoon, gently remove this impurity layer every 15 minutes. This crucial step takes only minutes but dramatically improves your stock’s clarity and taste. Once foam production slows (usually after 60 minutes), you can relax and let the stock do its work.
Step 5: Add Aromatics and Adjust Your Simmer
After the first hour, add your thyme, bay leaves, peppercorns, garlic, and salt. At this point, your kitchen will smell absolutely incredible—the aroma of slowly extracting chicken goodness is one of cooking’s greatest pleasures. Ensure your heat is set to maintain only the gentlest simmer; just 2-3 tiny bubbles per second. Too much heat accelerates cooking but compromises quality.
Step 6: Let Time Work Its Magic
For a 12-hour minimum simmer, you can partially cover the pot and leave it unattended. For 24-hour stock (which we recommend), maintain that gentle simmer overnight. Mark your start time so you don’t lose track. The longer cooking time extracts maximum collagen, resulting in stock that gels beautifully when chilled.
Step 7: Strain with Precision
When your cooking time is complete, carefully pour your stock through a fine-mesh strainer lined with cheesecloth into a clean container. This double-straining method removes particles while preserving liquid gold. Don’t press the solids; simply let gravity do the work. Discard the spent carcass and vegetables.
Step 8: Cool and Skim Fat (Optional)
Allow stock to cool to room temperature, then refrigerate. Within a few hours, fat will solidify on the surface. Some cooks prefer this fat layer it protects stock during storage. Others skim it away for a lighter product. Both approaches are perfectly valid; choose based on your dietary preferences.
Nutritional Information
One cup (8 oz) of homemade chicken stock from carcass provides:
- Calories: 15-25
- Protein: 3-5g (from collagen and amino acids)
- Fat: 0.5-2g (varies based on skimming preference)
- Carbohydrates: 1-2g
- Sodium: 200-400mg (vastly lower than commercial varieties)
- Collagen & Gelatin: High bioavailable amounts
- Essential Minerals: Calcium, phosphorus, magnesium, potassium
- Amino Acids: Glycine, proline, and hydroxyproline
Research published in the Journal of the International Society of Sports Nutrition demonstrates that bone broth—essentially slow-cooked chicken stock—contains measurable amounts of collagen peptides beneficial for joint health and skin elasticity.
Healthier Alternatives for the Recipe
For Low-Sodium Diets: Eliminate added salt entirely and season individual dishes instead. This gives you complete control over sodium intake, particularly important for those managing hypertension.
For Vegetable-Forward Variations: Double your vegetable quantities while reducing cooking time to 8-10 hours. This creates lighter stock perfect for delicate fish dishes or vegetable-based soups.
For Immune-Boosting Potency: Add 2-3 tablespoons of fresh turmeric root, 1-inch ginger pieces, and 3-4 whole star anise. These anti-inflammatory additions transform your stock into a wellness elixir, particularly valuable during cold and flu season.
For Paleo & AIP Compliance: Ensure all ingredients are sourced from compliant sources. This recipe is naturally paleo-friendly and appropriate for autoimmune protocols when garnished with vegetables rather than grains.
Serving Suggestions
Beyond simple sipping, your homemade leftover rotisserie chicken stock becomes the foundation for countless culinary creations:
Immediate Use: Sip warm with a squeeze of fresh lemon and a pinch of sea salt—this ancient wellness practice provides rapid mineral absorption and satisfying comfort.
Soup Base: Use as the foundation for French onion soup, creamy tomato bisque, or Asian egg drop soup. The deep flavor allows simpler ingredient lists and more vibrant results.
Risotto & Grain Cooking: Replace water with stock when cooking rice, quinoa, or farro. You’ll notice immediately improved flavor and enhanced nutritional absorption.
Sauce Foundation: Reduce by half, then enrich with butter and fresh herbs for elegant pan sauces.
Freezer Strategy: Freeze in ice cube trays for convenient portioning. Pop out cubes and store in freezer bags for grab-and-go convenience.
Common Mistakes to Avoid
Mistake #1: Using Boiling Water
Many recipes call for hot water, but cold water extraction is scientifically superior. Cold water allows gradual gelatin development, improving mouthfeel and nutritional profile.
Mistake #2: Skipping the Acid
Apple cider vinegar isn’t optional—it’s essential. The acidity breaks down collagen into bioavailable gelatin. Skip it and your stock won’t gel properly.
Mistake #3: Aggressive Boiling
High heat speeds cooking but compromises quality. Your stock will be cloudy and lack the silky texture that distinguishes excellent stock from mediocre versions.
Mistake #4: Overcrowded Pot
Filling your pot with excess carcasses prevents proper circulation and heat distribution. Stick to one carcass per gallon of water for optimal extraction.
Mistake #5: Forgetting to Skim
Skipping the impurity removal step results in cloudy, off-tasting stock. Five minutes of skimming yields noticeably superior results.
Storing Tips for the Recipe
Refrigerator Storage: Properly strained and cooled stock keeps for 5-7 days when stored in airtight glass containers. The fat layer naturally preserves the stock beneath it.
Freezer Storage: Stock remains high-quality for up to 12 months when frozen at 0°F or below. Glass containers work beautifully, but leave 2 inches headspace to accommodate expansion. Alternatively, freeze in ice cube trays for precise portioning.
Best Containers: Glass is preferable to plastic, which can leach chemicals. Avoid metallic containers that may react with acidic elements.
Thawing Method: Thaw overnight in the refrigerator or gently warm in a pot over low heat. Avoid rapid heating, which can damage delicate proteins.
Freshness Indicators: Fresh stock smells savory and appealing. Any sour odor indicates spoilage discard immediately.
Conclusion
Making chicken stock from carcass transforms your kitchen approach from wasteful to wonderfully resourceful. This zero-waste recipe delivers superior nutrition, incomparable flavor, and cost savings that accumulate throughout the year. Whether you’re crafting soups, cooking grains, or simply nourishing your body with mineral-rich broth, homemade stock represents one of cooking’s best investments.
Ready to transform your kitchen scraps into culinary treasure? Start with your next roasted chicken, and experience the satisfaction of creating something genuinely nourishing from your own hands. Share your stock-making journey in the comments below, and explore our collection of stock-based recipes for endless inspiration!
FAQs
Q: Can I use store-bought rotisserie chicken carcasses?
Absolutely! Store-bought rotisserie carcasses are perfect for stock-making and represent excellent value. The birds are already cooked, making carcass preparation even simpler.
Q: How do I know when my stock is properly gelled?
Properly gelled stock solidifies in the refrigerator, appearing jiggly and slightly translucent. This gelatin indicates successful collagen extraction and superior nutritional density.
Q: Can I make stock in a slow cooker or Instant Pot?
Yes! Slow cookers work beautifully at the low setting for 24 hours. Instant Pots achieve excellent results in 2-3 hours on high pressure, though traditional stovetop methods allow finer control and superior clarity.
Q: Is the cloudy foam I skim harmful?
No—it’s simply coagulated proteins. Skimming is purely for aesthetic clarity and refined taste; many cultures intentionally leave this foam for extra nutrition.
Q: Can I reuse bones after making stock?
Most collagen extracts after 12-24 hours, but some cooks make “second stock” with remaining bones for lighter versions used in delicate applications.
Q: What should I do if my stock tastes weak?
Reduce it further on the stovetop until flavor concentrates. You can also add a teaspoon of miso paste or additional aromatics for depth.