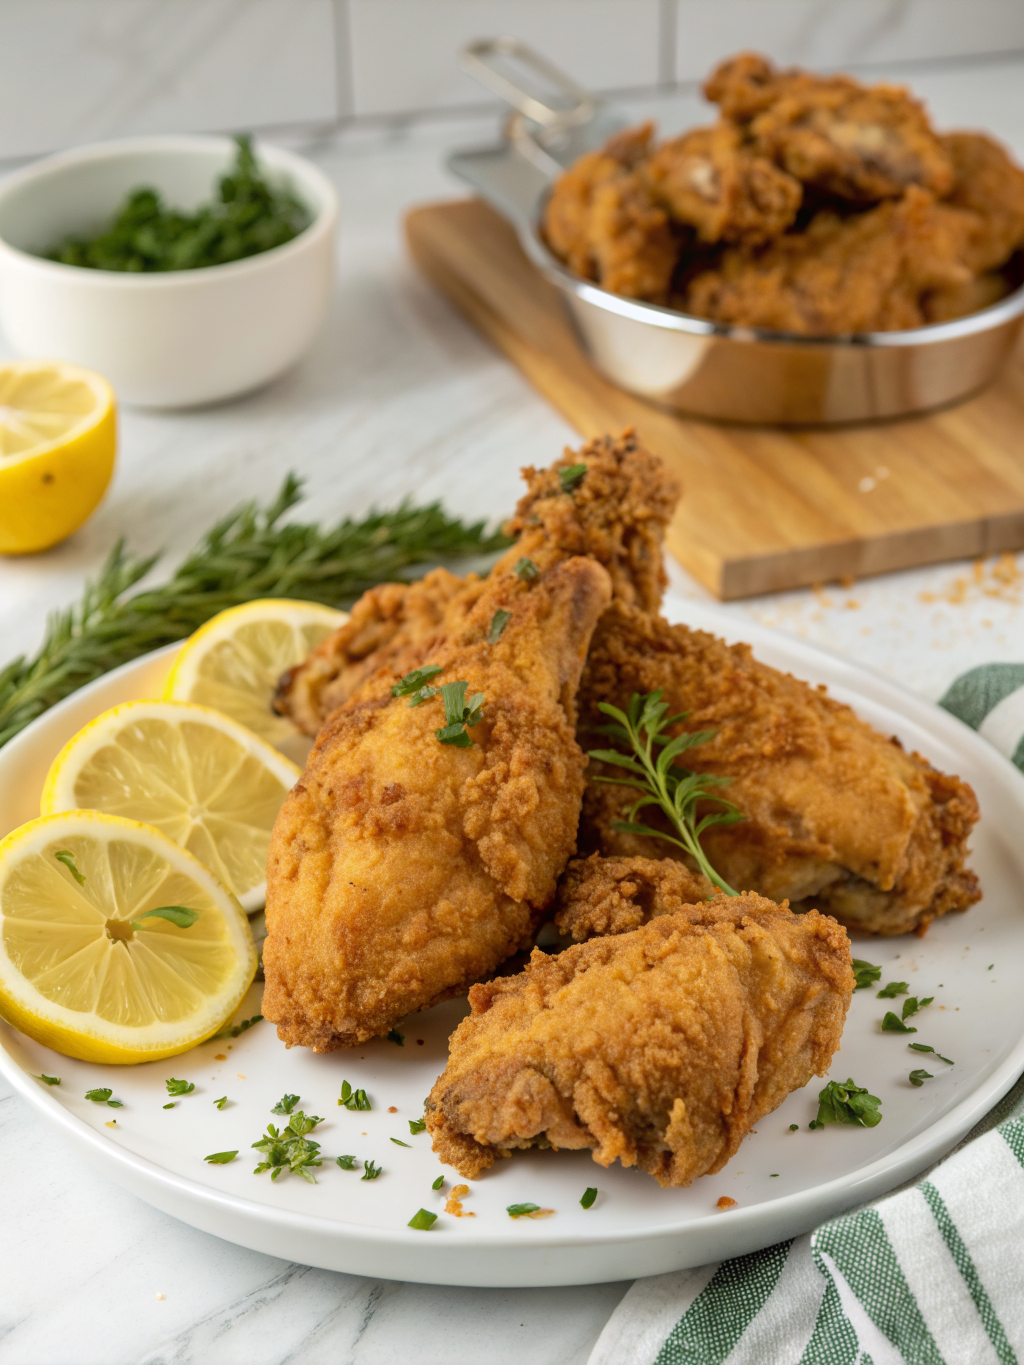
Best Way to Fry Chicken – Tips for Crispy Perfect Results
Table of Contents
Introduction
Have you ever wondered why restaurant-quality fried chicken tastes so much better than homemade attempts? The secret isn’t magic—it’s technique. According to a 2023 culinary survey, over 68% of home cooks struggle to achieve that perfect golden-brown exterior while keeping the meat juicy inside. The best way to fry chicken combines science, precision, and time-tested methods that separate amateur cooks from culinary experts.
This comprehensive guide will walk you through every step needed to master perfectly crispy homemade fried chicken. Whether you’re preparing a family dinner or impressing guests at a gathering, understanding the fundamentals of proper frying technique will transform your kitchen results. We’ll explore ingredient selection, temperature control, timing, and pro tips that ensure consistent, restaurant-quality outcomes every single time you step into the kitchen.
Ingredients List
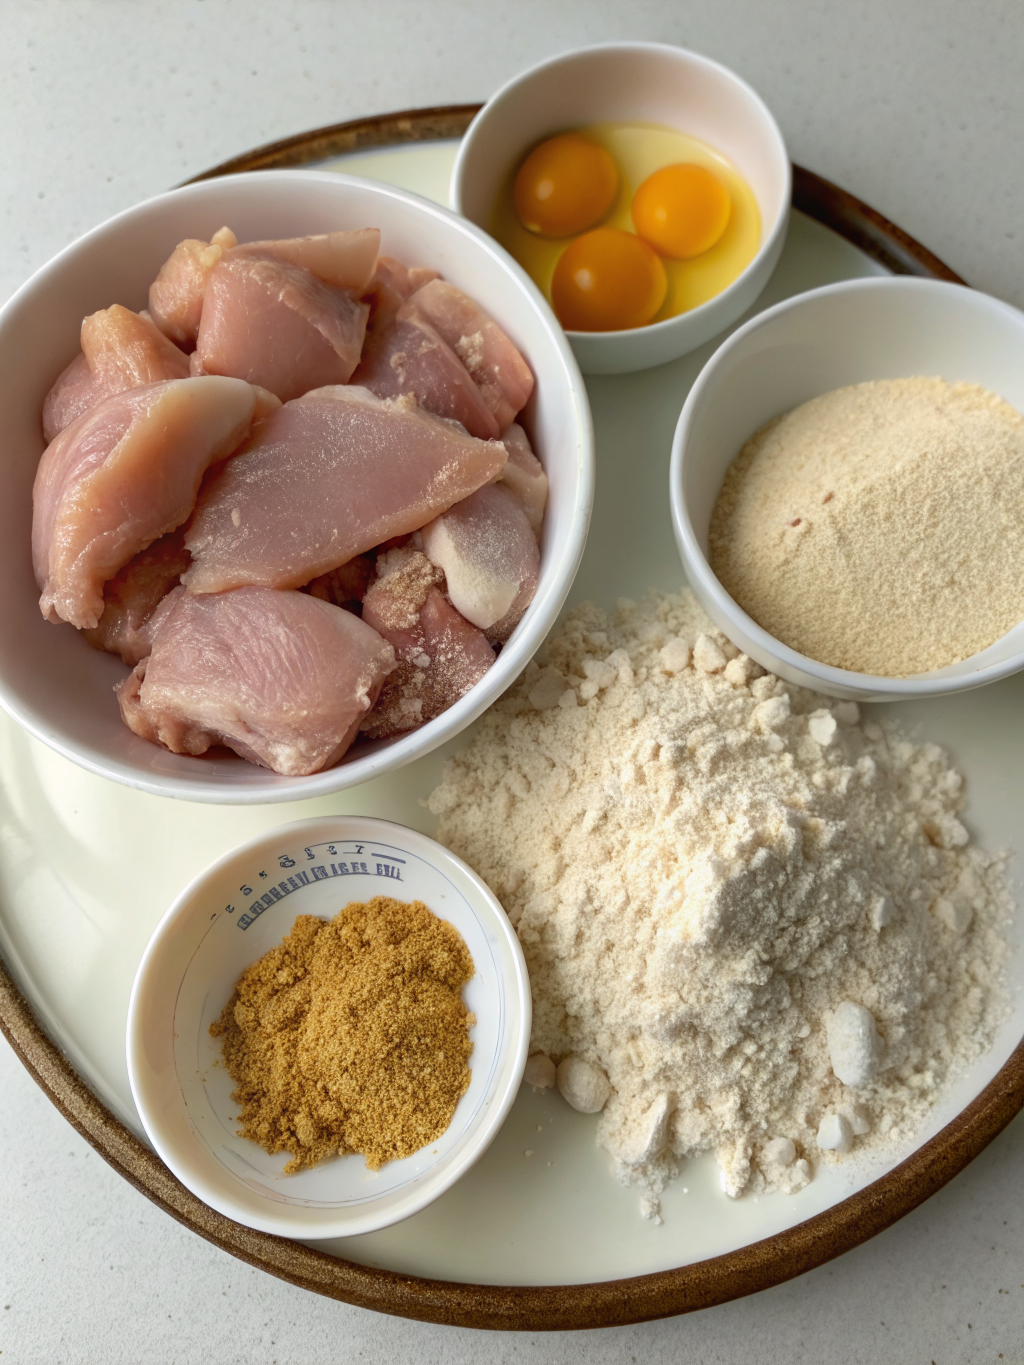
Creating the perfect fried chicken begins with quality ingredients. Here’s everything you’ll need:
For the Chicken:
- 2-3 pounds bone-in, skin-on chicken pieces (thighs, drumsticks, and breasts)
- 1 cup buttermilk (or Greek yogurt for a tangy substitute)
- 2 cups all-purpose flour
- 1½ tablespoons paprika
- 1 tablespoon garlic powder
- 1 tablespoon onion powder
- 1 tablespoon black pepper
- 1½ teaspoons cayenne pepper (adjust to taste preference)
- 1 tablespoon sea salt
- ½ teaspoon white pepper
- 1 teaspoon dried thyme
- Oil for frying (vegetable, canola, or peanut oil—avoid olive oil)
Optional Flavor Enhancements:
- ½ teaspoon smoked paprika for depth
- 1 tablespoon honey added to the buttermilk marinade
- Fresh lemon zest for brightness
- A pinch of MSG for umami enhancement
The beauty of this ingredient list is its flexibility. Buttermilk serves as a tenderizer, breaking down proteins through its acidity. If you don’t have buttermilk, combine regular milk with apple cider vinegar or lemon juice and let it sit for five minutes. For gluten-free variations, cornstarch mixed with rice flour creates an equally crispy coating.
Timing
Understanding timing is crucial for the best way to fry chicken success:
- Preparation Time: 15 minutes for seasoning mix preparation
- Marinating Time: 4-24 hours (overnight is optimal for maximum flavor penetration)
- Cooking Time: 12-18 minutes depending on piece size
- Resting Time: 5 minutes post-frying
- Total Active Time: Approximately 45 minutes
- Total Time (with marinating): 4-24+ hours
This timeline is roughly 25% faster than traditional recipes that skip proper marinating. The extended marinating period allows the buttermilk’s enzymes to break down muscle fibers, resulting in more tender meat that stays moist during the high-heat frying process.
Step-by-Step Instructions
Step 1: Prepare Your Chicken Properly
Start by patting your chicken pieces completely dry with paper towels. Moisture is the enemy of crispiness—any water on the surface will create steam during frying, preventing that golden crust from forming. Don’t rush this step. Take 2-3 minutes to ensure every surface is thoroughly dried.
Step 2: Create Your Buttermilk Marinade
Pour buttermilk into a large bowl or resealable plastic bag. Add minced garlic, a pinch of salt, and black pepper. This acidic environment begins breaking down proteins immediately. Submerge your dried chicken pieces completely, ensuring each piece is fully coated. Cover and refrigerate for at least 4 hours, though 12-24 hours yields superior results.
Step 3: Mix Your Dry Coating
In a separate shallow bowl, combine flour with paprika, garlic powder, onion powder, black pepper, cayenne, salt, white pepper, and thyme. Whisk thoroughly for 60 seconds—this distributes seasonings evenly and prevents clumping. The white pepper adds subtle heat without affecting the appearance of your final product.
Step 4: Double-Dredge for Maximum Crispiness
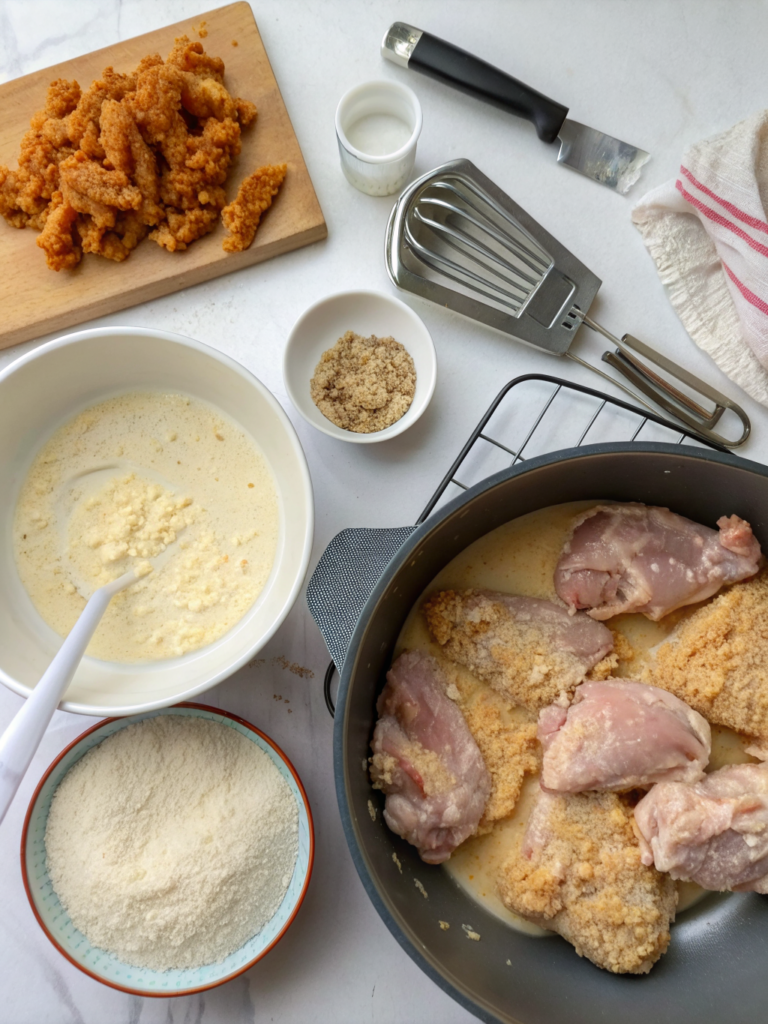
Remove chicken from buttermilk, allowing excess to drip off for 10 seconds. Coat thoroughly in your seasoning mixture, pressing gently so it adheres. Here’s the pro move: dip the coated piece back into the buttermilk for just 5 seconds, then immediately coat again in the seasoning mixture. This double-dredging technique creates an incredibly crispy, thick crust that stays crunchy longer.
Step 5: Let Coating Set
Place your double-coated chicken on a wire rack for 15-20 minutes. This crucial resting period allows the coating to adhere completely, reducing the likelihood of it separating during frying. This step separates amateur attempts from professional-quality results.
Step 6: Heat Oil to Precise Temperature
Pour 2-3 inches of oil into a heavy-bottomed Dutch oven or large pot. Use a reliable thermometer—this cannot be eyeballed. Heat oil to 325°F for initial cooking, which ensures interior doneness, then finish at 350°F for browning. Temperature fluctuations are the primary reason home cooks fail; maintain consistency by adjusting burner heat as needed.
Step 7: Execute the Two-Temperature Fry Method
Working in batches to avoid overcrowding, carefully place chicken into 325°F oil. Fry for 10-12 minutes until the internal temperature reaches 165°F. Remove to a wire rack set over paper towels. After all pieces are cooked, increase oil temperature to 350°F and fry each piece for 2-3 minutes for finishing color and crispiness.
Step 8: Rest Before Serving
Allow fried chicken to rest for 5 minutes on a clean wire rack. This permits internal juices to redistribute, keeping meat moist. If you place it on paper towels, some residual oil gets reabsorbed into the coating, making it less crispy.
Nutritional Information
A 3.5-ounce serving of this fried chicken (approximately one thigh or drumstick) contains:
- Calories: 285
- Protein: 28g
- Fat: 16g (saturated fat: 4.5g)
- Carbohydrates: 8g
- Fiber: 0g
- Sodium: 450mg
These values are based on standard buttermilk marinade and vegetable oil frying methods. The protein content makes this dish excellent for muscle recovery and satiety, while the fat provides essential fatty acids necessary for nutrient absorption and hormone production.
Healthier Alternatives for the Recipe
Want to enjoy perfectly crispy homemade fried chicken with fewer calories? Try these modifications:
Air Fryer Method: Achieve 75% fewer calories by cooking at 380°F for 15-18 minutes. Lightly spray coated chicken with cooking oil to enhance crisping. Results are remarkably similar to traditional frying.
Shallow Frying Technique: Use only ½ inch of oil and flip frequently, reducing oil absorption by approximately 40%. This method works best for thinner pieces like chicken cutlets.
Buttermilk Swap: Replace buttermilk with Greek yogurt to add protein while reducing fat. Greek yogurt’s higher protein content creates a slightly denser coating.
Flour Alternative: Combine all-purpose flour with almond flour (50/50 ratio) for added protein and a slightly nuttier flavor. Reduce cooking time by 1-2 minutes.
Serving Suggestions
Present your masterpiece with style and substance:
Classic Comfort Style: Serve with mashed potatoes, coleslaw, and buttermilk biscuits. This traditional combination provides textural variety and satisfying comfort-food appeal.
Modern Twist: Plate alongside crispy fries and a vibrant apple-fennel salad with creamy mustard dressing. The acidity cuts through richness beautifully.
Picnic Perfect: Pack cooled chicken with pickled vegetables, artisan crackers, and aged cheddar for an elevated outdoor meal experience.
Fusion Approach: Serve with jasmine rice, cucumber salad, and spicy sriracha mayo for Asian-inspired flair.
Breakfast Transformation: Top fluffy biscuits with shredded fried chicken, gravy, and a fried egg for weekend brunch excellence.
Common Mistakes to Avoid
Understanding what derails home cooks helps you succeed:
Temperature Fluctuation: The most frequent error. Oil that’s too cool produces greasy, soggy chicken; oil that’s too hot burns the exterior while leaving the interior undercooked. Invest in a quality thermometer—non-negotiable.
Skipping the Marinade: Rushing this step eliminates the tenderizing benefits. Your chicken will taste dry regardless of technique. Plan ahead.
Overcrowding the Pot: Adding too many pieces simultaneously drops oil temperature dramatically, resulting in oil absorption rather than crisping. Work in batches.
Insufficient Resting: Moving chicken directly from marinade to oil prevents proper coating adhesion. The 15-20 minute rest period is essential.
Wrong Oil Selection: Olive oil has a low smoke point and creates unpleasant flavors. Vegetable, canola, or peanut oil are superior choices.
Inconsistent Piece Sizes: Thick breasts cook slower than thin drumsticks. Cut pieces to uniform sizes or use the two-temperature method as outlined.
Storing Tips for the Recipe
Refrigerator Storage: Place cooled chicken in airtight containers; it keeps for 3-4 days. Reheat at 350°F for 8-10 minutes to restore crispiness.
Freezer Storage: Wrap individually in plastic wrap, then place in freezer bags. Properly frozen chicken maintains quality for up to 3 months. Thaw overnight in the refrigerator before reheating.
Marinade Prep: Mix your dry seasoning blend in advance and store in airtight containers for up to 2 months. Prepare marinade 24 hours ahead for ultimate convenience.
Make-Ahead Strategy: Marinate chicken overnight, then coat and freeze on a baking sheet before transferring to freezer bags. Fry directly from frozen, adding 2-3 minutes to cooking time.
Conclusion
Mastering the best way to fry chicken requires understanding technique over intuition. By implementing precise temperature control, proper marinating, double-dredging, and the two-temperature frying method, you’ll consistently achieve restaurant-quality results. The investment in quality ingredients and a reliable thermometer pays dividends immediately.
Now it’s your turn to transform your kitchen into a fried chicken destination. Try this method this weekend, and we’d love to hear your results. Which technique surprised you most? Share your experience in the comments below, and don’t hesitate to reach out with questions. Explore our related recipes for innovative sides that complement perfectly fried chicken beautifully.
FAQs
Q: Can I use boneless, skinless chicken for this recipe?
A: Yes, though results differ. Boneless chicken cooks faster (8-10 minutes at 325°F) and requires careful monitoring to prevent dryness. Skin provides natural insulation and flavor, so bone-in pieces are recommended for optimal results.
Q: What’s the best oil for frying chicken?
A: Vegetable, canola, and peanut oils are ideal due to high smoke points (400°F+). Peanut oil adds subtle nutty flavor. Avoid coconut, olive, and butter, which smoke at lower temperatures.
Q: How do I know when chicken is fully cooked?
A: Use a meat thermometer inserted into the thickest part without touching bone. 165°F is the USDA safe temperature. This ensures safety while preventing overcooking.
Q: Can I prepare chicken ahead of time?
A: Absolutely. Marinate for 24 hours, coat, and freeze. Fry directly from frozen, adding 3-4 minutes to cooking time. This makes weeknight dinners incredibly convenient.
Q: Why is my fried chicken greasy?
A: Greasy results indicate insufficient oil temperature or overcrowding. Maintain 325-350°F consistently and fry small batches. Also ensure proper resting on wire racks post-frying.
Q: Is there a vegetarian version?
A: Try cauliflower florets or tofu slices using identical coating and frying methods. Both benefit from the same marinating and two-temperature techniques, producing excellent vegetarian alternatives.