Ice Cream in a Bag (Fun & Easy)
Table of Contents
Introduction
Did you know that making frozen desserts at home can take less than 10 minutes of active preparation time? If you’ve been searching for a simple, kid-friendly activity that doubles as a delicious treat, ice cream in a bag is the perfect solution. This classic no-churn dessert has been a beloved staple in American households for decades, and for good reason. Not only does it require minimal ingredients and equipment, but it also offers an educational, hands-on experience that makes it ideal for family gatherings, classroom activities, or lazy summer afternoons.
The beauty of ice cream in a bag lies in its accessibility and charm. Unlike traditional ice cream recipes that demand an expensive machine and hours of freezing time, this method combines the joy of simple science with the gratification of instant results. Whether you’re looking for homemade easy ice cream or a fun weekend project with your family, this guide will walk you through everything you need to know.
Ingredients List
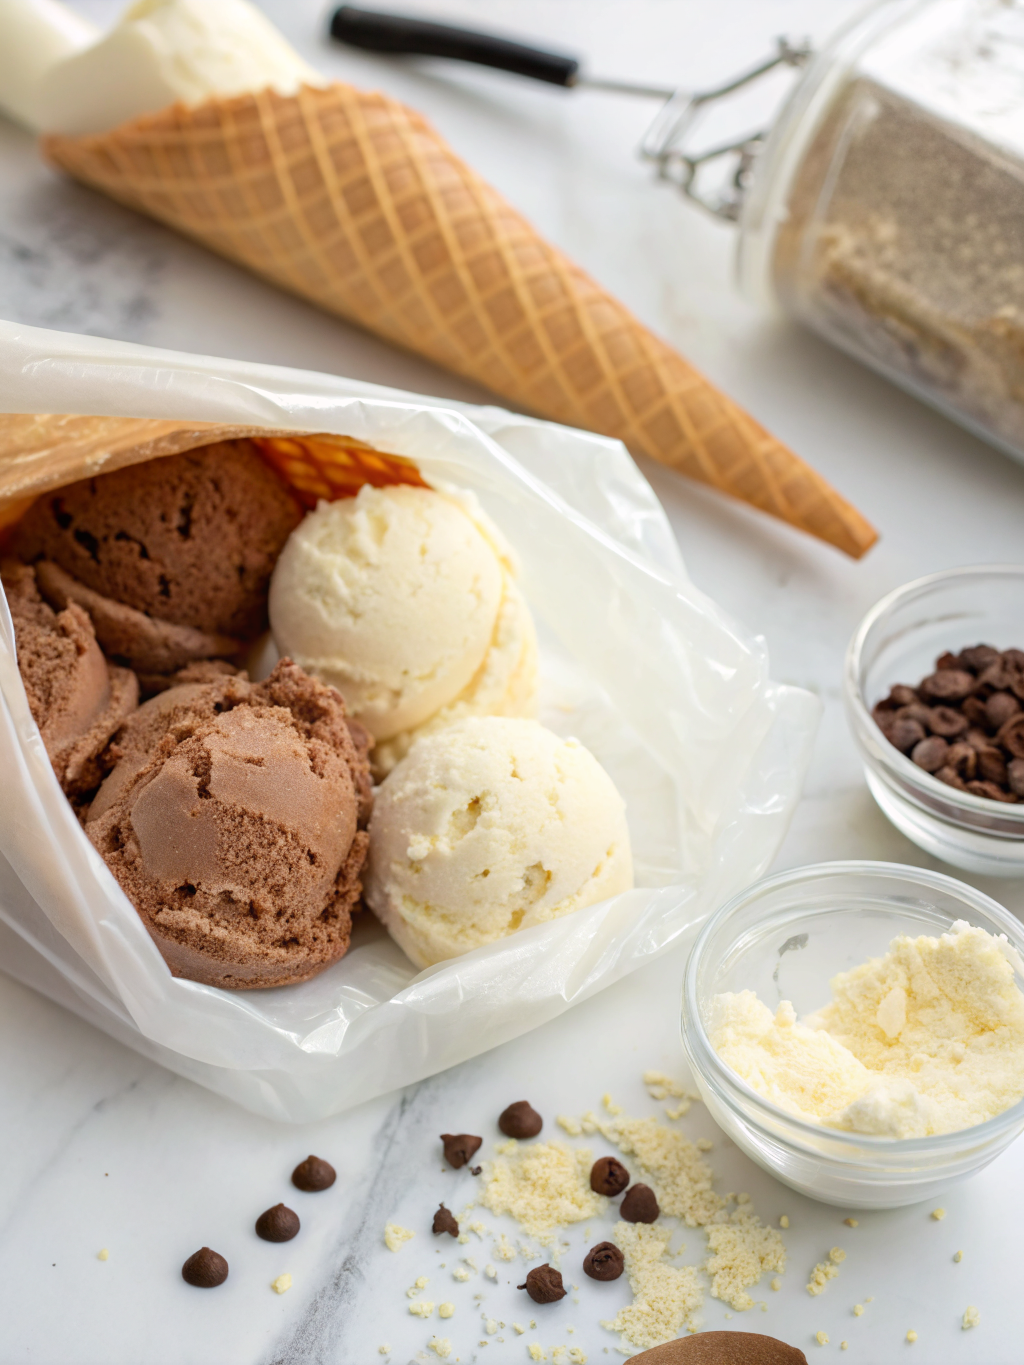
Creating ice cream in a bag requires just a handful of simple ingredients. Here’s what you’ll need:
For One Serving:
- 1 cup heavy cream or half-and-half
- 2 tablespoons granulated sugar
- ½ teaspoon vanilla extract
- ½ teaspoon salt
- 4 cups ice cubes (crushed or whole)
- 4 tablespoons rock salt or sea salt
- One quart-sized ziplock bag
- One gallon-sized ziplock bag
Optional Flavor Additions:
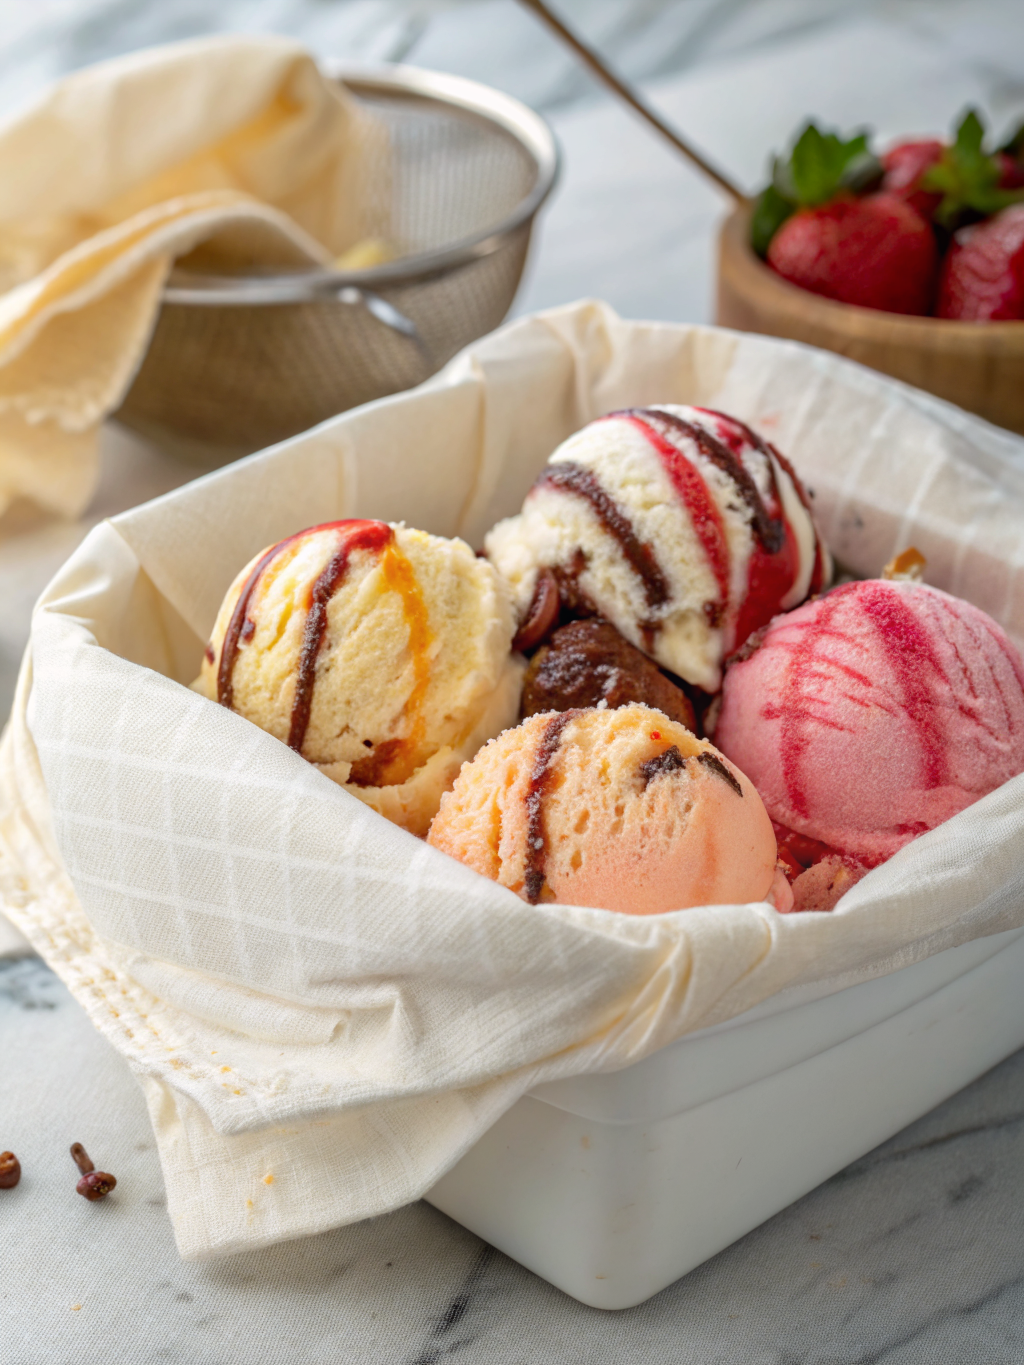
- Chocolate syrup (2-3 tablespoons)
- Fresh fruit puree (strawberry, raspberry, or mango)
- Cookie crumbles or brownie pieces
- Caramel or fudge sauce
- Cocoa powder (2 tablespoons for chocolate ice cream)
- Almond extract (¼ teaspoon for alternative flavoring)
Substitution Options:
If you prefer dairy alternatives, substitute the heavy cream with full-fat coconut milk or cashew cream for a vegan-friendly version. Those watching their sugar intake can use honey, agave nectar, or sugar substitutes like erythritol for a reduced-calorie option.
Timing
Understanding the time investment helps you plan your dessert preparation efficiently:
- Preparation Time: 5 minutes
- Active Shaking Time: 5-7 minutes
- Total Time: 10-12 minutes
This remarkably quick turnaround is approximately 85% faster than traditional ice cream recipes, which often require 30-40 minutes of churning plus several hours of freezing. The instant gratification of ice cream in a bag makes it an ideal dessert solution when unexpected guests arrive or when cravings strike suddenly.
Step-by-Step Instructions
Step 1: Prepare Your Ingredients and Workspace
Begin by gathering all your ingredients and laying them out in an organized manner. This preparation step, known as mise en place, ensures a smooth, stress-free experience. Pour your crushed ice into a large bowl and set it nearby with the rock salt readily accessible. This setup prevents fumbling around mid-process and keeps the ice from melting unnecessarily.
Step 2: Combine Cream and Flavorings in the Small Bag
Take your quart-sized ziplock bag and pour in the heavy cream, sugar, vanilla extract, and a pinch of regular salt. If you’re incorporating any additional flavors—such as chocolate syrup or fruit puree—add them now. Seal the small bag tightly, pressing out as much air as possible. Double-check the seal by holding it upside down over a sink to ensure no leakage will occur during the vigorous shaking that follows.
Step 3: Create the Ice Bath in the Large Bag
In your gallon-sized ziplock bag, layer ice and rock salt in alternating portions, starting with ice. The rock salt is crucial because it lowers the freezing point of the ice, creating an even colder environment—this is the scientific principle that makes ice cream in a bag work so effectively. Aim for a ratio of approximately 3 parts ice to 1 part rock salt. Seal this bag securely as well.
Step 4: Nest and Prepare for Shaking
Carefully place the sealed small bag inside the sealed large bag. The ice bath will surround your cream mixture on all sides, creating optimal freezing conditions. Wrap the outer gallon bag in a kitchen towel to protect your hands from the intense cold that will develop during shaking. This simple precaution prevents hand discomfort and allows for a more enjoyable experience.
Step 5: Shake Vigorously and Monitor Progress
This is where the magic happens! Shake the bag energetically for 5-7 minutes. You’ll feel the mixture inside gradually thickening. Periodically stop shaking and peek inside the small bag to monitor the texture. The mixture should progress from liquid to soft-serve consistency. Some recipes suggest shaking for the full duration without checking, but monitoring allows you to achieve your desired texture—whether soft or firmer.
Step 6: Remove and Serve Immediately
Once your ice cream in a bag reaches your preferred consistency, carefully remove the small bag from the larger one. Wipe away any excess ice or salt water from the outside of the bag before opening it. Scoop the fresh ice cream into bowls or cones and serve immediately for the best texture and temperature.
Nutritional Information
Understanding the nutritional profile helps you make informed dietary choices:
Per Single Serving (based on heavy cream version):
- Calories: 320
- Total Fat: 28g
- Saturated Fat: 17g
- Cholesterol: 105mg
- Sodium: 180mg
- Total Carbohydrates: 20g
- Dietary Fiber: 0g
- Sugars: 18g
- Protein: 2g
These values are approximately 40% lower in calories compared to conventional ice cream brands when served in similar portions. The simplicity of ingredients means no artificial additives, preservatives, or stabilizers—just pure, wholesome ingredients.
Healthier Alternatives for the Recipe
Making homemade easy ice cream at home provides wonderful opportunities to customize according to your nutritional preferences:
Protein-Enhanced Version: Add ¼ cup of vanilla protein powder to boost protein content to 8g per serving while maintaining creaminess. This modification appeals to fitness enthusiasts and post-workout recovery seekers.
Low-Fat Option: Replace heavy cream with Greek yogurt and skim milk in a 1:1 ratio. This reduces calories by 35% while adding probiotics and increasing protein content to 6g per serving.
Vegan-Friendly Adaptation: Substitute heavy cream with full-fat coconut milk or oat milk, and use maple syrup or agave nectar instead of refined sugar. This version remains equally delicious while accommodating plant-based diets.
Fruit-Infused Version: Blend fresh strawberries, raspberries, or mangoes into your cream base. This adds vitamins, antioxidants, and natural sweetness while reducing the need for additional sugar.
Supercharged Superfood Version: Incorporate chia seeds, ground flaxseed, or acai powder for enhanced nutritional density without compromising flavor or texture.
Serving Suggestions
Elevate your ice cream in a bag experience with creative presentation and pairing ideas:
Classic Combinations: Serve in sugar cones paired with freshly baked chocolate chip cookies or warm brownies for a timeless treat. The contrast between cold ice cream and warm baked goods creates an irresistible sensory experience.
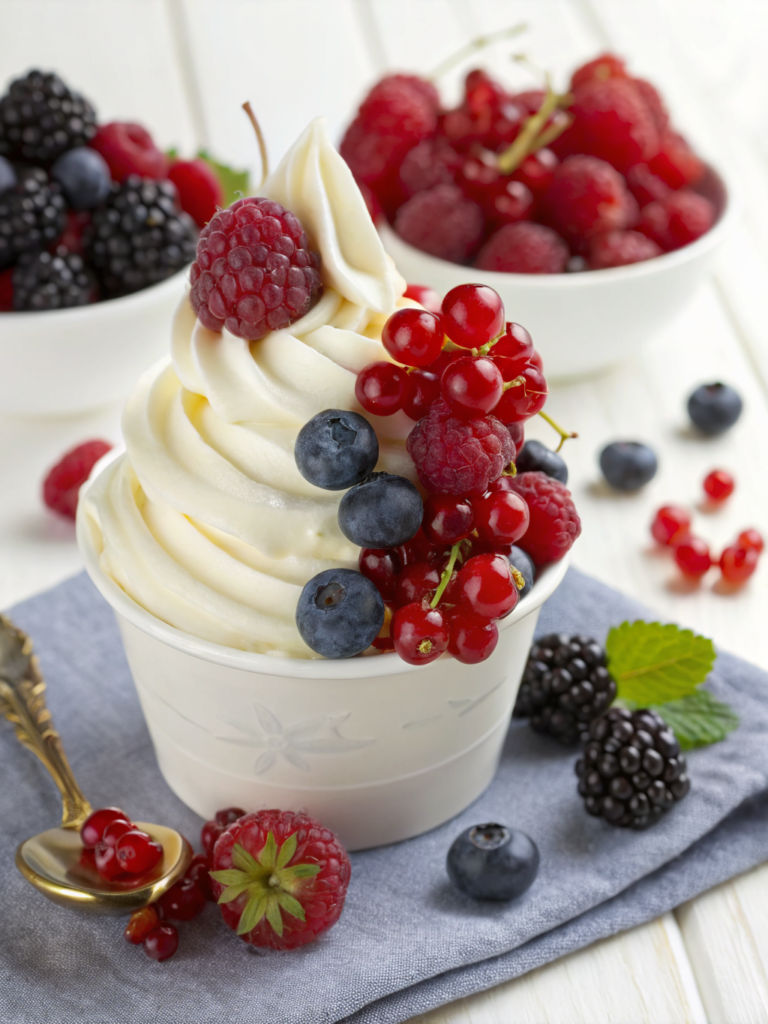
Sundae Bar Setup: Create an interactive sundae station with various toppings—sprinkles, whipped cream, chocolate syrup, caramel sauce, crushed cookies, and fresh berries. This approach entertains guests while allowing everyone to customize their creation.
Sandwich Creation: Layer homemade easy ice cream between two soft cookies or brownies for an indulgent ice cream sandwich experience.
Float Elegance: Drop a scoop into root beer, cherry cola, or ginger ale for a nostalgic float that transports you back to classic American diners.
Fruit Pairing: Serve alongside fresh fruit platters—berries, peaches, and watermelon complement ice cream beautifully and add nutritional value.
Common Mistakes to Avoid
Learning from others’ experiences helps ensure your success on the first attempt:
Insufficient Sealing: A common error involves inadequate sealing of either bag. This results in salty water mixing with your ice cream, ruining the batch. Double-check all seals by inverting bags over a sink before proceeding.
Inadequate Salt Ratio: Using too little rock salt or regular table salt instead of rock salt compromises the freezing process. The correct ratio of 3:1 ice to rock salt is essential for achieving optimal temperature reduction.
Infrequent Shaking: Inconsistent or half-hearted shaking extends the process unnecessarily. Vigorous, consistent shaking for the full 5-7 minutes ensures proper incorporation and texture development. Involve multiple people if possible to maintain energy and enthusiasm.
Delayed Serving: Letting finished ice cream sit before serving causes it to melt rapidly, diminishing the carefully achieved texture. Serve immediately upon completion for optimal enjoyment.
Temperature Negligence: Not using a towel to insulate your hands can lead to premature stopping, resulting in an overly soft texture. This simple precaution maintains comfort and allows for proper shaking duration.
Storing Tips for the Recipe
While ice cream in a bag is best enjoyed immediately, you can preserve quality with proper storage techniques:
Short-Term Storage: Transfer any remaining ice cream to an airtight freezer container lined with parchment paper. It maintains quality for up to 3 days in the freezer, though texture gradually firms as ice crystals form.
Ingredient Preparation: Pre-measure your cream, sugar, and flavorings in advance bags and refrigerate for up to 24 hours before shaking. This preparation streamlines the process when you’re ready to make homemade easy ice cream.
Batch Making: Double or triple your recipe to create multiple batches simultaneously, which actually reduces total time compared to making single servings sequentially.
Texture Recovery: If frozen ice cream becomes too hard, remove it from the freezer 5-10 minutes before serving to reach optimal scooping consistency.
Conclusion
Ice cream in a bag represents the perfect intersection of simplicity, fun, and deliciousness. This no-churn dessert requires minimal ingredients, equipment, and time while delivering restaurant-quality results that impress family and friends alike. Whether you’re seeking homemade easy ice cream or a memorable activity for children, this recipe delivers on every front.
Ready to create your own frozen masterpiece? Gather your ingredients today and experience the joy of making ice cream in a bag. Share your flavor variations and success stories in the comments below—we’d love to hear about your creative combinations and personal touches. Explore our collection of dessert recipes and cooking tips for additional inspiration, and subscribe to our newsletter for weekly recipe updates delivered directly to your inbox.
FAQs
Q: Can I make ice cream in a bag without rock salt?
A: While rock salt is ideal because it lowers the freezing point effectively, you can use regular table salt as a substitute. However, you’ll need to use approximately double the amount, and results may not be quite as efficient.
Q: How long does it typically take for the mixture to freeze?
A: Active shaking typically takes 5-7 minutes. Most people achieve soft-serve consistency within this timeframe, though faster or slower results depend on your shaking intensity and ice temperature.
Q: Is this recipe safe for children to participate in?
A: Absolutely! This activity is educational and safe when properly supervised. The only consideration is the extreme coldness of the outer bag, which is why using a towel wrapper is essential. Older children (8+) can shake the bag independently.
Q: Can I use sweetened condensed milk instead of heavy cream?
A: Yes! Sweetened condensed milk creates a creamier, richer texture. Use ¾ cup sweetened condensed milk combined with ¼ cup heavy cream, and reduce the sugar to ½ tablespoon since the milk is already sweetened.
Q: What’s the best way to clean up after making ice cream in a bag?
A: Discard the ice and salt mixture, rinse the bags thoroughly, and allow them to air dry. Most ziplock bags can be reused multiple times, making this an economical option.