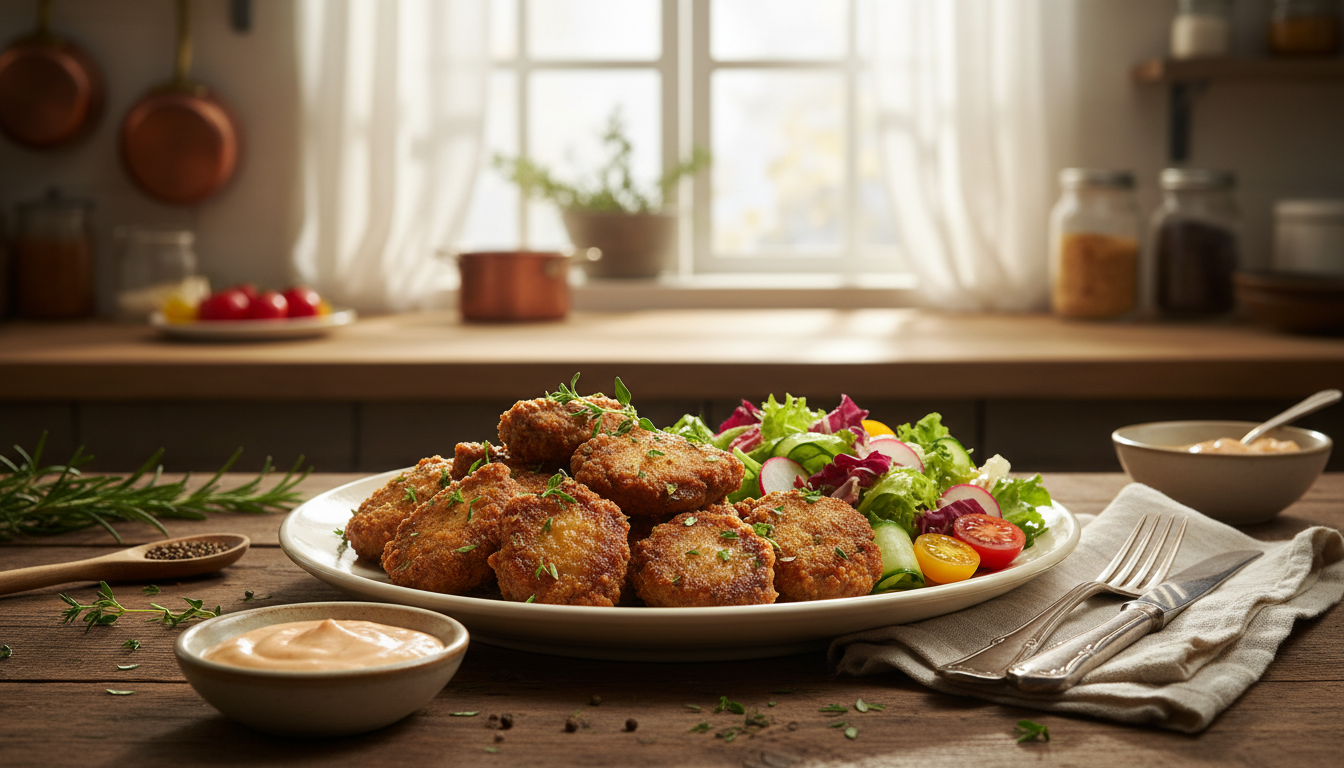
Flavorful Fried Chicken Liver Recipes
Fried chicken liver recipes deserve a dish that surprises you with texture and comfort. I know the worry: overcooked, dry bites that lose their appeal. This piece walks you through a Southern-style approach that keeps the center tender and the coating satisfyingly crunchy.
The method uses a hot sauce–brightened buttermilk soak, a seasoned flour dredge, and a brief fry to avoid toughness. You’ll learn quick prep, batch frying for even color, and timing tips that cut oil popping and keep heat steady.
Later, you can jump straight to the ingredient checklist, the dredge technique, and a full recipe card with prep time, cook time, total time, servings, and nutrition. I’ll also show a Texas-style crunch, an air fryer swap, and sauce and side ideas so you can plate a full meal.
Expect reliable crunch and tender results—no bitter surprises, just confident steps you can repeat every time.
Table of Contents
Southern-style fried chicken livers: what you’re making and why it works
You’re aiming for a crisp coating and a soft interior. This method pairs a spiced buttermilk soak with a quick, high-heat cook so the crust browns fast while the inside stays tender.
Crispy outside, tender inside: the quick fry that prevents overcooking
Because these pieces cook fast, a short fry of about 3–5 minutes per batch is enough. You watch for color and slight firmness, not just the clock, to hit golden brown without toughness.
Buttermilk soak plus seasoned flour: the classic Southern approach
Buttermilk lightly tenderizes and helps seasoning cling to the surface. Add a splash of hot sauce to the soak for gentle tang that holds up during frying.
| Step | Why it matters | Timing |
|---|---|---|
| Buttermilk soak | Tenderizes and seasons | 30 min–overnight |
| Seasoned flour | Builds crunchy crust | Brief dredge |
| Quick fry | Locks moisture, browns crust | 3–5 minutes per batch |
Ingredient and equipment checklist for fried chicken livers
Before you heat oil, make a clear checklist of measured ingredients and reliable equipment. That keeps timing steady and makes nutrition math simple when you list cups, teaspoons, and servings.
Chicken prep basics
Trim and rinse: Use a paring knife to remove connective tissue and any discolored bits. Open each piece and trim tough strands to avoid chewiness.
Optional: cover with very cold water for 10 minutes, then drain and pat dry. Never fry wet pieces; patting dry ensures a crisp crust and less splatter.
Pan, skillet, and oil options
Choose a cast-iron skillet with about 1/2 inch of oil for shallow frying, or a deep pot with ~2 inches of oil for deep frying. The skillet offers steady heat and good browning for small batches.
Use neutral oils like vegetable, canola, or peanut. Fresh oil gives consistent color and flavor. Target ~350°F for best results.
Seasoning pantry and tools
- About 1 pound chicken livers, 1–2 cups flour, buttermilk (or egg wash), and a bowl for soaking.
- Salt, black pepper, paprika, Cajun seasoning, onion powder, garlic powder—each adds a layer of flavor.
- Supporting tools: large bowl for dredging, rack over a sheet pan for resting, tongs or a spider for safe handling.
| Item | Amount / Note |
|---|---|
| Chicken livers | ~1 pound, trimmed |
| Flour | 1–2 cups, seasoned |
| Oil choice | Vegetable, canola, or peanut; fresh |
Frying technique, dredge method, and safety tips for golden brown results
Managing surface moisture and building layers of coating keep the crust intact and cut down on splatter. Work in a calm, staged flow: coat, rest, then fry in small batches so oil heat stays steady and the crust browns within minutes.
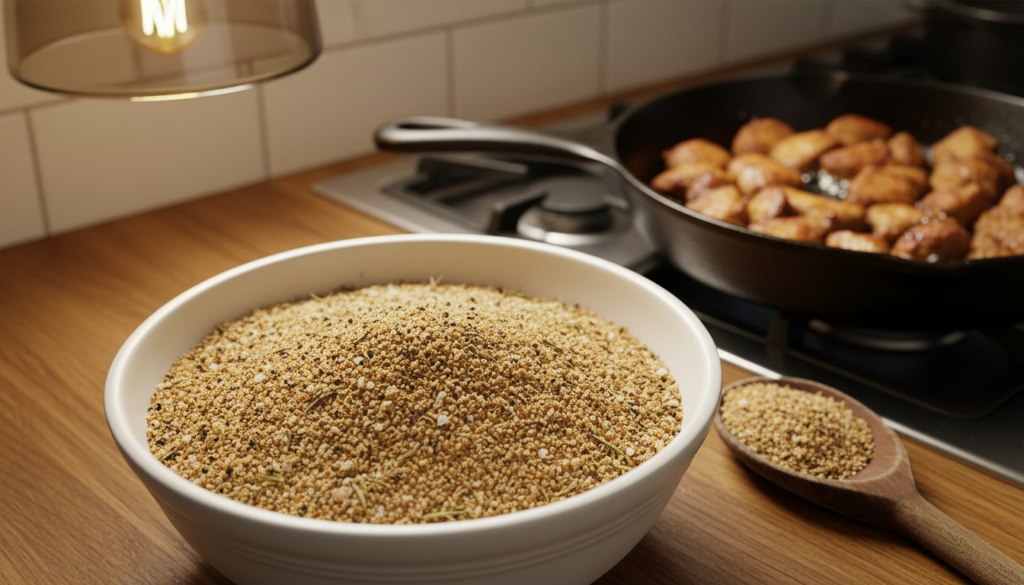
Dry-wet-dry vs. buttermilk marinade with a flour dredge
You can use two main approaches: a buttermilk marinade followed by a seasoned flour dredge, or a dry-wet-dry dredge that builds a thicker shell. The buttermilk method adds tenderness and flavor; the dry-wet-dry method improves adhesion and keeps oil cleaner.
Cut splatter and control moisture
Puncture each piece a few times with a fork to release trapped water and help steam escape. Pat pieces very dry after any soak and place chicken livers on a rack over a sheet pan to drain before dredging.
- Crunch hack: reserve 1 tablespoon of the buttermilk mixture and stir a little into the flour mixture to form tiny nubs that fry extra crisp.
- Lower items slowly with long-handled tongs and avoid overcrowding the pan so oil doesn’t cool and sputter.
Timing, doneness cues, and safety
Heat the oil until a small pinch of flour sizzles immediately. Fry in batches 3–5 minutes; the coating should turn golden brown in that time. You’ll know chicken livers are done when the crust is crisp and the pieces feel slightly firm, not rock hard.
| Step | Cue | Typical time |
|---|---|---|
| Fry in skillet or pot | Sizzle on contact, golden brown exterior | 3–5 minutes per batch |
| Rest | Coating sets on a rack over a sheet | 10 minutes |
| Safety | Use long tools, covered arms, no crowding | At all times |
fried chicken liver recipes: complete Southern fried chicken livers recipe
This full recipe card gives measured times, ingredients, and clear steps so you can cook from your phone. Read once, set up bowls and a rack, and follow the simple order: trim, soak, dredge, fry, rest.
Prep time, cook time, total time, and servings
Prep: 15 minutes active. Cook: 6 minutes (total in batches). Total time: 30–45 minutes with short marinate, or up to overnight. Serves: 4–6.
Ingredients
- 1 pound chicken livers, trimmed
- 1 cup buttermilk (or milk) + 1 teaspoon hot sauce (optional)
- 1–2 cups self-rising flour
- 1 teaspoon kosher salt, 1/2 teaspoon black pepper
- 1 teaspoon paprika, 1 teaspoon garlic powder
- About 2 inches vegetable oil in a deep pot
Step-by-step instructions
- Trim and rinse livers. Pat dry. Optional: soak in cold water 10 minutes and drain.
- Marinate: stir buttermilk and hot sauce in a bowl. Add livers and refrigerate 30 minutes–overnight.
- Mix flour, salt, pepper, paprika, and garlic powder in a second bowl. Reserve 1 tablespoon of the buttermilk mixture to stir into the flour for extra nubs.
- Dredge each piece, rest on a rack over a sheet pan, then re-dredge for extra crispness.
- Heat oil to about 350°F (or test with a pinch of flour—immediate sizzle). Fry in small batches 3–5 minutes until golden brown.
- Drain on a rack for best crunch, or use paper towels for speed. Let rest 5–10 minutes before serving.
Nutrition information (estimate per serving)
| Servings | Calories | Protein | Fat |
|---|---|---|---|
| 1 of 5 | 220 kcal | 18 g | 12 g |
| Notes | Final values vary with oil absorption, flour amount, and portion size. | ||
Recipe variations and serving ideas for your fried chicken livers
Try a crunchy Texas-style finish or an air-fryer shortcut to change texture and oil use while keeping your basic steps the same. Both paths work with the soak, dredge, and brief cooking times you already use.
Texas-style extra crunch
Use an egg-and-buttermilk wash, then press into finely ground saltine crumbs for a thicker “fortress” coating. Keep black pepper forward and add a pinch of cayenne if you like heat.
Cook in a preheated cast iron at about 350°F for roughly 5 minutes per batch, watching for popping and safe turning.
Air fryer option
Preheat to 400°F for 3 minutes. Spray both sides and the rack, then cook about 6–8 minutes, flip, spray, and finish 4 more minutes. Total time is typically 10–12 minutes; watch color and crispness by size.
Dipping sauces and sides
Classic pairings: cream gravy for comfort, hot sauce for brightness, or a quick garlic-yogurt dip. Balance the plate with a starchy item, a tangy pickle or slaw, and a green vegetable.
Leftovers
Re-crisp in a hot oven or air fryer to restore crunch. Avoid the microwave so the coating stays crisp.
Conclusion
With a few focused habits—trim, coat, and time—you’ll repeat success and cut the most common mistakes.
This post gives a complete recipe with measured ingredients, step-by-step instructions, prep and cook minutes, servings, and nutrition so you can follow along confidently.
Key wins: avoid overcooking by a short fry, control moisture (puncture and pat dry), and pick a dredge style that matches your taste.
Keep flour-seasoning balanced, watch oil temperature, and pull livers as soon as the crust is crisp. Small timing changes make big texture differences.
Customize spices, add pepper for heat, or try Texas crumbs, but keep the core technique. Pair the results with a bright sauce and simple sides, and make it again with confidence.