How to Cook Short Ribs in the Oven: Tender, Flavorful & Easy
How to cook short ribs in the oven is easier than you might think, and the results are incredibly tender and flavorful. I still remember the first time I seared short ribs and placed them in the oven. The kitchen filled with savory steam that felt like pure comfort. If you’ve ever wanted to transform tough beef into fall-apart, tender meat, you’re in the right place.
This guide will teach you a simple short rib recipe and oven technique. You’ll learn about braising, temperature, timing, tools, and ingredients. Whether it’s for a weeknight dinner or a special occasion, we’ll show you how to cook short ribs at home.
Oven-baked short ribs are great because the oven provides steady heat. This heat breaks down connective tissue slowly. Compared to stovetop methods, oven-braising makes the meat tender and the sauce rich without constant attention.
Keep reading to learn a reliable method for oven-baked short ribs. You’ll get tender meat and rich sauce every time. The kind of results that make anyone ask for seconds.
Table of Contents
Understanding Short Ribs and Their Cuts
Short ribs are a tasty, gelatin-rich cut from the chuck, plate, or brisket. Braising them slowly turns collagen into gelatin. This makes the meat tender and rich, creating a delicious dish.
What Are Short Ribs?
Short ribs have meat, fat, and connective tissue. Bone-in pieces add flavor and look great. Boneless ribs are easier to carve and serve.
The cut’s anatomy affects texture and cooking time. So, pick the right cut for your recipe.
Different Cuts to Consider
Here are common short rib styles found at supermarkets, butcher shops, and more.
- English-cut short ribs — thick cross-section with meat on top of the bone; ideal for oven braising and longer cooks.
- Flanken / LA-style — thin crosscuts across several bones; cook faster and work well for grilling or Korean-style recipes.
- Boneless chuck short ribs — convenient for shredding and serving without dealing with bones.
How a cut is sliced changes cooking time. Thicker English-cut pieces need longer braising. Flanken pieces cook quickly, perfect for Asian-inspired dishes.
When shopping for ribs, choose well-marbled pieces. Look for bright red meat and firm texture. Ask your butcher for the best cut for oven braising to make a delicious short rib dish at home.
How to Cook Short Ribs in the Oven: Choosing the Right Cut
First, gather your main ingredients and basics. This way, you can focus on cooking once the oven is ready. For 4–6 servings, you’ll need 3–4 pounds of short ribs. Use kosher salt and black pepper to season the meat well.
A classic mirepoix of onion, carrots, and celery is key for flavor. Add garlic and shallots for extra aroma. Thyme, rosemary, bay leaves, and parsley make the sauce rich. You can also use dried herbs if you prefer.
Choosing the Right Seasonings
Keep your seasonings simple to let the meat shine. Use kosher salt, black pepper, and tomato paste for a basic flavor. For a smoky taste, add smoked paprika or cumin. Brown sugar or honey can enhance the caramel flavor.
For more depth, add soy sauce or Worcestershire sauce before baking. Finish with butter to make the sauce glossy and rich.
Best Broth and Liquid Options
Choose your liquids based on how bold you want the dish. Beef broth or stock is best for a beefy flavor. Use low-sodium chicken broth for a lighter taste.
- For depth: 2–3 cups beef stock plus 1–2 tablespoons tomato paste.
- For complexity: a splash of dry red wine (Cabernet Sauvignon or Merlot) to deglaze, then add stock.
- For body: a bottle of stout beer or a mix of wine and beef stock works nicely.
Use enough liquid to cover the ribs by one-third to halfway. Add balsamic vinegar or canned tomatoes for balance. These choices ensure your short ribs are moist and flavorful.
Preparing Your Short Ribs for Cooking
Getting your short ribs ready is key to success when cooking them in the oven. This prep work is quick but greatly improves flavor, texture, and looks.
Trimming and Prepping the Ribs
First, remove excess fat but keep a thin layer for flavor and moisture. Remove any loose membrane or rough edges so the ribs lie flat.
Score the fat caps lightly to stop curling. Make shallow cuts that don’t reach the meat. This helps even fat rendering without harming the meat.
Pat the ribs dry with paper towels for better browning. Season with salt and pepper at least 30 minutes before cooking. Or, refrigerate overnight for a deeper flavor.
Marinating for Flavor Enhancement
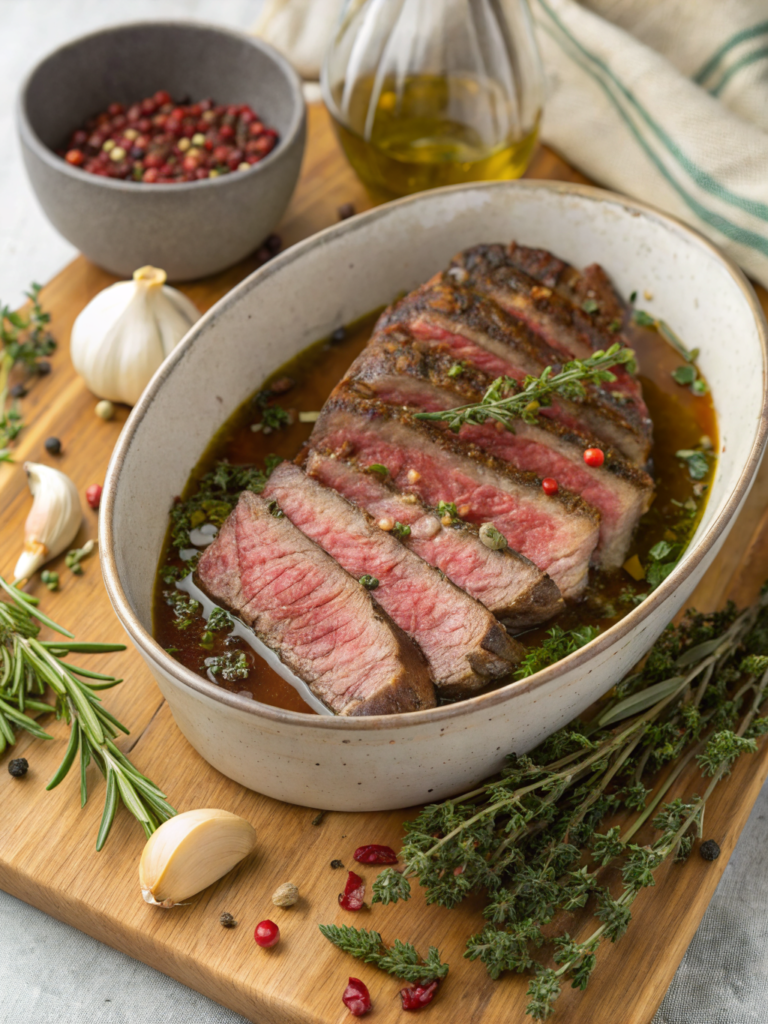
Choose a marinade that fits your dish. For Asian flavors, mix soy sauce, garlic, brown sugar, and rice wine. For a classic taste, use red wine, garlic, and herbs like rosemary and thyme.
Use acidic marinades carefully. Vinegar or citrus brightens flavors but should not exceed four hours to avoid texture changes.
- Simple option: dry-brine with salt overnight.
- Wet option: soy-garlic-rice wine mix for umami depth.
- Classic option: red wine, garlic, and herb braise base.
Let the ribs warm up to room temperature for 30–60 minutes before cooking. This helps them cook evenly.
While marinating, keep ribs cold and discard used marinade. Boil it before using as sauce. These steps protect flavor and ensure safe cooking at home.
Cooking Techniques for Perfect Short Ribs
Learning a few simple techniques can make your roast truly outstanding. You’ll discover when to brown meat, how to build flavor, and why slow, moist heat makes tough cuts tender. These steps make cooking short ribs easy for any day.
Searing vs. Non-Searing
Searing creates a deep, savory crust on the meat. Heat a heavy skillet or Dutch oven over medium-high heat with a high smoke point oil. Sear ribs 2–4 minutes per side until richly browned. Work in batches to avoid overcrowding the pan.
After searing, deglaze the pan with red wine, beef stock, or a splash of vinegar. Scrape up the fond and add that liquid to your braising pot. This step boosts the final sauce and is a key reason many cooks choose to brown first when following the best way to cook short ribs.
If you are short on time, skip searing for a direct braise. The meat will still become tender, but the sauce will have a milder depth. Use this approach when you want an easy short rib recipe with fewer pans to wash.
Braising: The Key to Tenderness
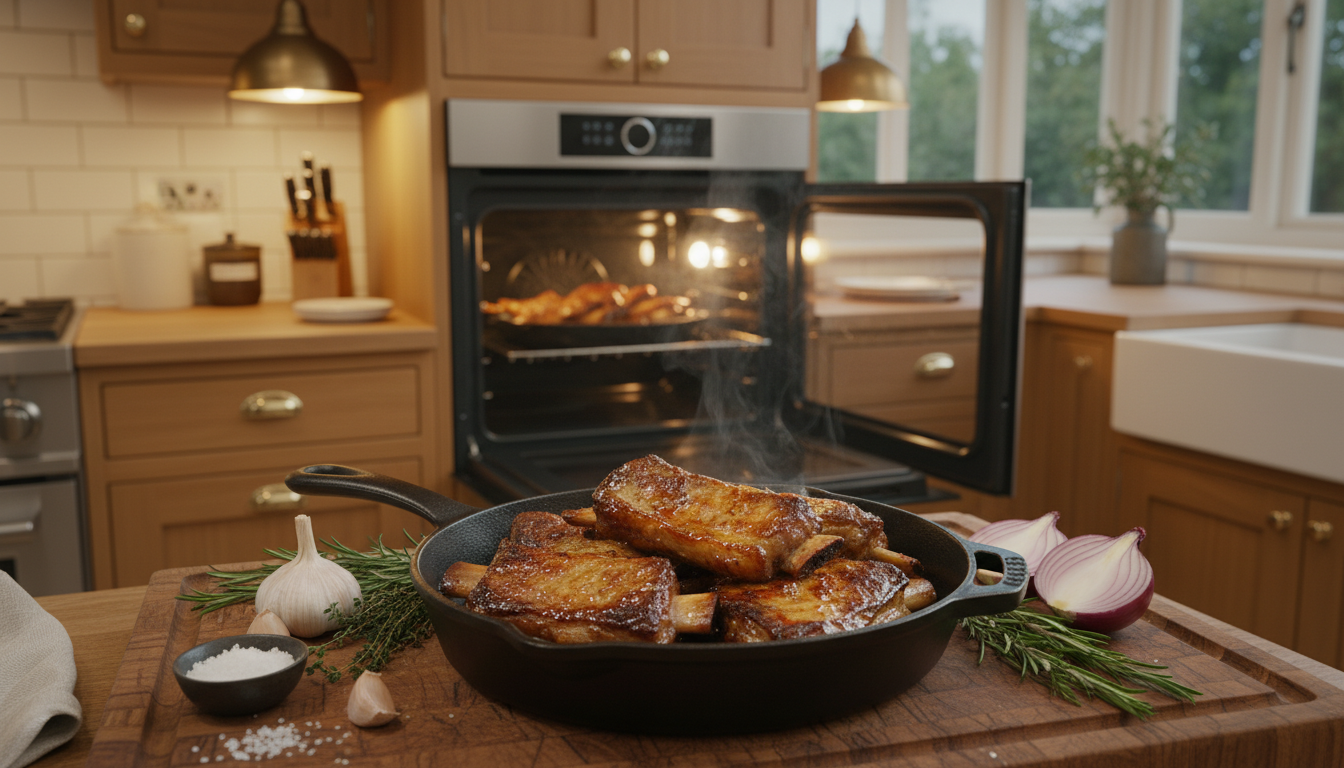
Braising pairs low, even heat with moisture to break down collagen into gelatin. Place seared ribs, aromatics, and braising liquid in a Dutch oven or a deep roasting pan. Cover tightly with a lid or heavy foil to trap steam and maintain an even moist environment.
Set the covered pot in a preheated oven at low temperature. Typical braise times range from 2.5 to 4 hours depending on the size and cut. Check occasionally, but avoid lifting the lid too often. Each time you open the oven, heat escapes and the tenderizing process slows.
- Use beef stock, red wine, or a mix for a rich braising liquid.
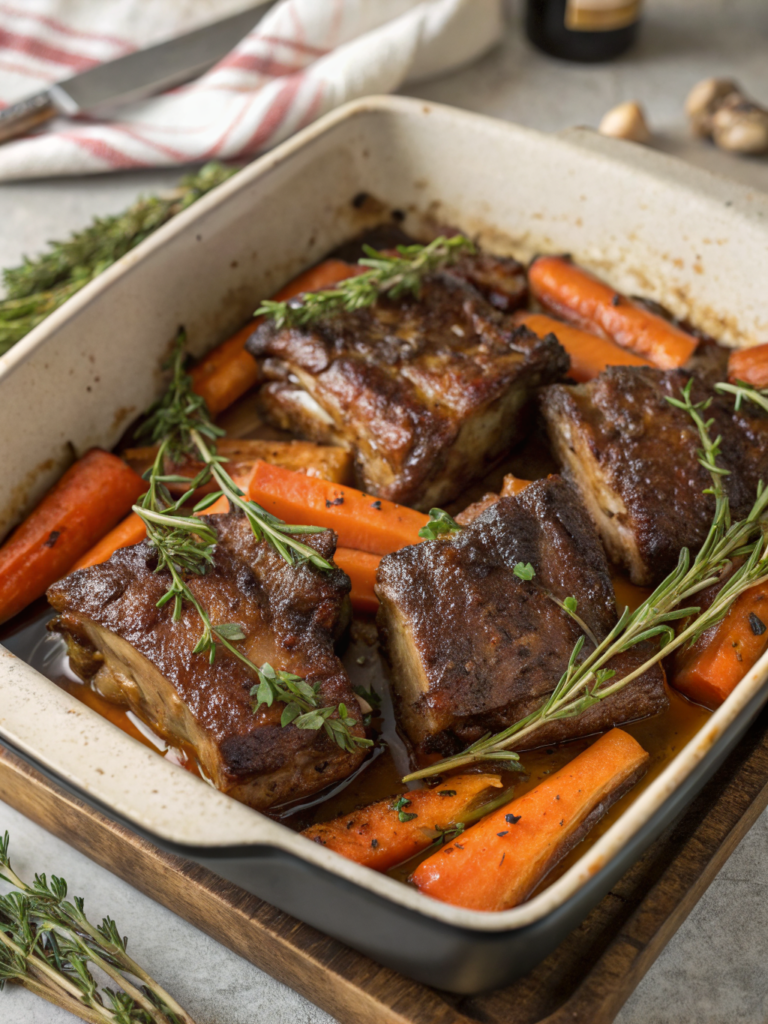
- Add carrots, onions, and garlic for a classic flavor base.
- Finish by skimming fat and reducing the sauce on the stovetop for a glossy glaze.
Follow these techniques to achieve tender oven-baked short ribs without guesswork. Whether you pick a quick non-sear route or the full sear-and-braise method, you will be closer to the best way to cook short ribs and to an easy short rib recipe that pleases every guest.
Choosing Your Oven Temperature
Choosing the right oven temperature is key for the texture and flavor of your short ribs. You can go for slow, low heat to make collagen gelatin, or use higher heat for quicker cooking. The right temperature depends on the cut and cooking method for consistent results.
Low and Slow: The Benefits of Low Heat
For a gentle braise, set your oven between 275°F and 325°F. A good starting point is 300°F for 2.5–4 hours, based on size and cut. This heat breaks down connective tissue without drying out the meat, making it tender.
Low heat ensures even cooking and richer sauce flavors. It also prevents the meat from becoming tough. This method is best for achieving reliable results when cooking short ribs in the oven.
High and Fast: When to Use Higher Temperatures
For quicker cooking, use temperatures between 350°F and 400°F. This is ideal for thin ribs or when you’re short on time. It’s a great option for cooking short ribs at home when you’re in a hurry.
But be cautious with thick English-cut ribs. High heat can dry out the outside before the inside is fully cooked. To fix this, sear the ribs on the stovetop, then roast at 400°F for 15–25 minutes to enhance the sauce and crispiness.
Adjust cooking times based on rib thickness, whether they have bones, and your oven’s accuracy. Always check the ribs’ appearance and use a thermometer to ensure they’re done right, for consistently tender oven-baked short ribs.
Tools and Equipment You’ll Need
Before you start cooking short ribs at home, gather the right gear. You’ll need tools to control heat, seal flavor, and finish sauce with ease. The right tools can save time, protect your hands, and make cooking short ribs a breeze every time.
Must-Have Cookware
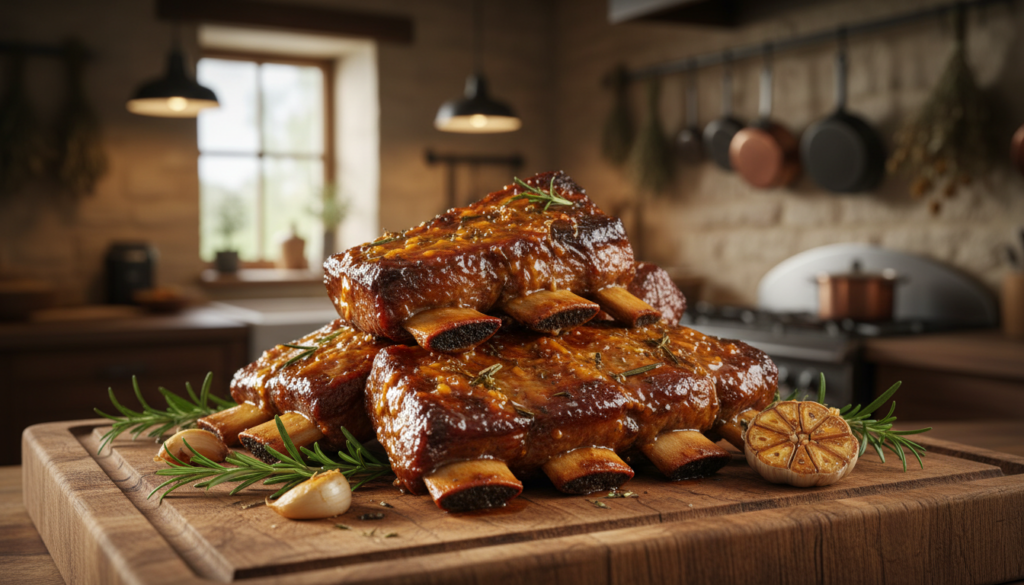
Get a heavy Dutch oven from Le Creuset, Lodge, or Staub. Or, use an oven-safe braiser with a tight lid. These pans ensure even heat for oven-baked short ribs.
If you don’t have a Dutch oven, a roast pan with a lid or a heavy ovenproof casserole works well. A large rimmed baking sheet is great for searing in the oven or crisping edges before serving.
For prep, use a sharp chef’s knife to trim fat, kitchen shears when needed, and a sturdy cutting board. Sturdy tongs make turning ribs easy without tearing the meat.
Helpful Kitchen Gadgets for Efficiency
An instant-read thermometer from ThermoWorks or ThermoPro is key. It gives quick, accurate checks so you won’t overcook. A silicone spatula and wooden spoon are essential for deglazing and scraping fond.
Keep a fine-mesh strainer for a clearer sauce, a fat separator for skimming grease, and an immersion blender for a smooth glaze. Aluminum foil or oven-safe plastic wrap is handy for resting and storing leftovers.
Optional items that speed things up include a mandoline or vegetable peeler for uniform veg, meat claws for shredding, and a slow cooker or Instant Pot for alternate methods. Don’t forget oven mitts, trivets, and heatproof utensils to handle heavy cookware safely.
The Braising Process Explained
Before you start, plan out your steps carefully. This makes braising short ribs a smooth process. You’ll create a flavorful base, add aromatics, and slow-cook until the meat is tender.
Layering Flavors: Building a Flavor Base
Begin by drying and seasoning the ribs. Then, sear them in a hot pot until they’re brown. This browned layer is key to the flavor.
After searing, remove the ribs. Use the same pot to cook a mix of onion, carrot, and celery. Add tomato paste and cook until it’s dark and smells good. Then, deglaze with red wine or beef stock.
Put the ribs back in the pot. Add herbs and aromatics like thyme and bay leaf. Pour in enough liquid to cover one-third to one-half of the ribs. This keeps the meat moist and adds roasted flavors.
Cooking Times for Different Rib Portions
- Thick English-cut bone-in short ribs (2–3 inches): roast at 300°F for 3–4 hours. Expect the meat to become fork-tender and pull from the bone.
- Boneless chuck short ribs or smaller portions: roast at 300°F for 2–3 hours for tender results without overcooking.
- Flanken or LA-style thin ribs: plan 1.5–2.5 hours, though grilling suits these cuts if you want a quicker finish.
Check if the ribs are done by feeling them. They should be tender and easy to fork. The meat should also be around 190°F–205°F.
After cooking, let the ribs rest for 15–20 minutes. This helps the meat relax and the sauce flavors to blend. When you serve, the dish will be rich and moist.
By following these steps, you’ll learn to cook short ribs in the oven with ease. You’ll get great results every time.
Tips for Ensuring Tender Short Ribs
To get tender oven-baked short ribs, watch for color, texture, and temperature. Look for a deep mahogany crust and meat that pulls away from the bone. A fork should slip in with almost no resistance when the ribs are ready.
Visual and tactile checks are your best guides. If ribs fall apart under gentle pressure, you’ve cooked them right for a melt-in-your-mouth experience.
Checking for Doneness
Insert a fork into the thickest part of the meat away from the bone. If it meets little resistance and the meat starts to pull from the bone, the ribs are done. Color and feel matter more than a single number on a dial.
Rest the ribs covered for 15–30 minutes after removing them from the oven. Juices will redistribute and the sauce will thicken slightly as it cools. This step helps convert a good roast into truly tender oven-baked short ribs.
Using a Meat Thermometer Effectively
Use an instant-read thermometer as a guideline. Aim for 190°F–205°F since this range often means collagen has turned to gelatin. Remember that temperature alone does not guarantee tenderness.
Insert the probe into the thickest meat away from bone. Avoid probing repeatedly; each poke releases juices. If the ribs are still firm at target temperature, continue braising in 20–30 minute increments while keeping the pan covered and the liquid topped up with hot stock.
- Tip: Maintain a moist braise. Extended dry heat can make meat stringy even after long cooking.
- Tip: Check liquid level halfway through cooking. Add simmering broth when needed to preserve tenderness.
Making a Delicious Sauce or Glaze
You can make a sauce from the juices of oven-baked short ribs. Strain the liquid, remove fat, and simmer until it thickens. Add cold butter or cream for a shiny finish.
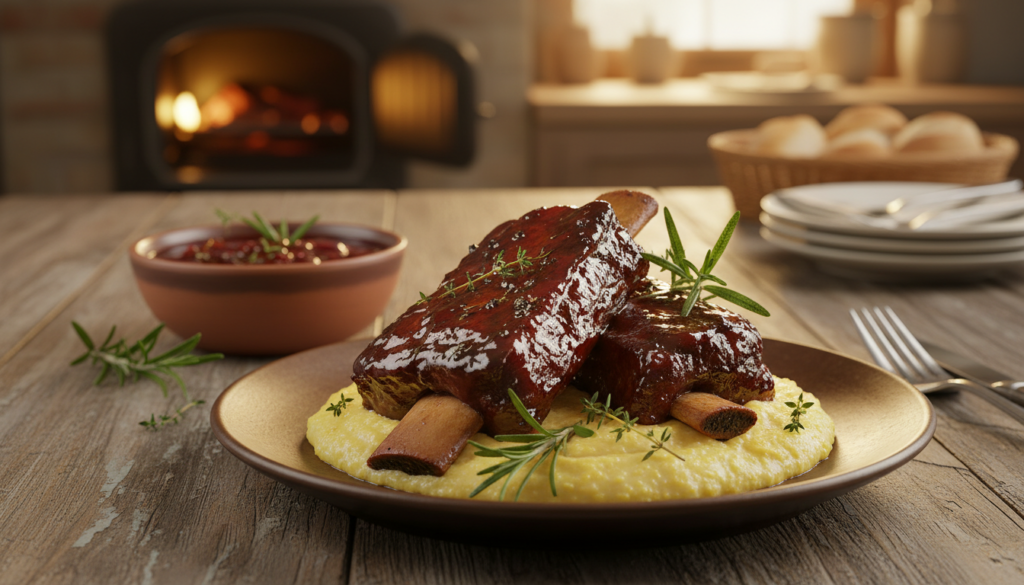
Reducing cooking liquid is best done over medium-high heat. Keep reducing until it coats the back of a spoon. Aim for a 20–40% reduction in volume. Use a low simmer to avoid burning.
For thicker sauces, use a cornstarch slurry, beurre manié, or rely on gelatin from the ribs. These add body to your sauce.
Add a splash of acidity to brighten the sauce. Try balsamic, sherry vinegar, or lemon juice. Stir in chopped parsley or chives just before serving for a fresh touch.
Creative sauce variations can match the meal’s mood. Here are some ideas:
- Red wine and rosemary reduction with beef stock and tomato paste for a classic braise that pairs perfectly with flavorful oven short ribs.
- Asian-style glaze of soy sauce, mirin, brown sugar, ginger, garlic, and sesame oil reduced to a sticky finish for a bold contrast to oven-baked short ribs.
- BBQ-style glaze using reserved braising liquid, ketchup, brown sugar, Worcestershire, and smoked paprika reduced to a glossy coat for a crowd-pleasing twist.
- Coffee or stout reduction for deep, slightly bitter notes that enhance a rich, delicious short rib dish.
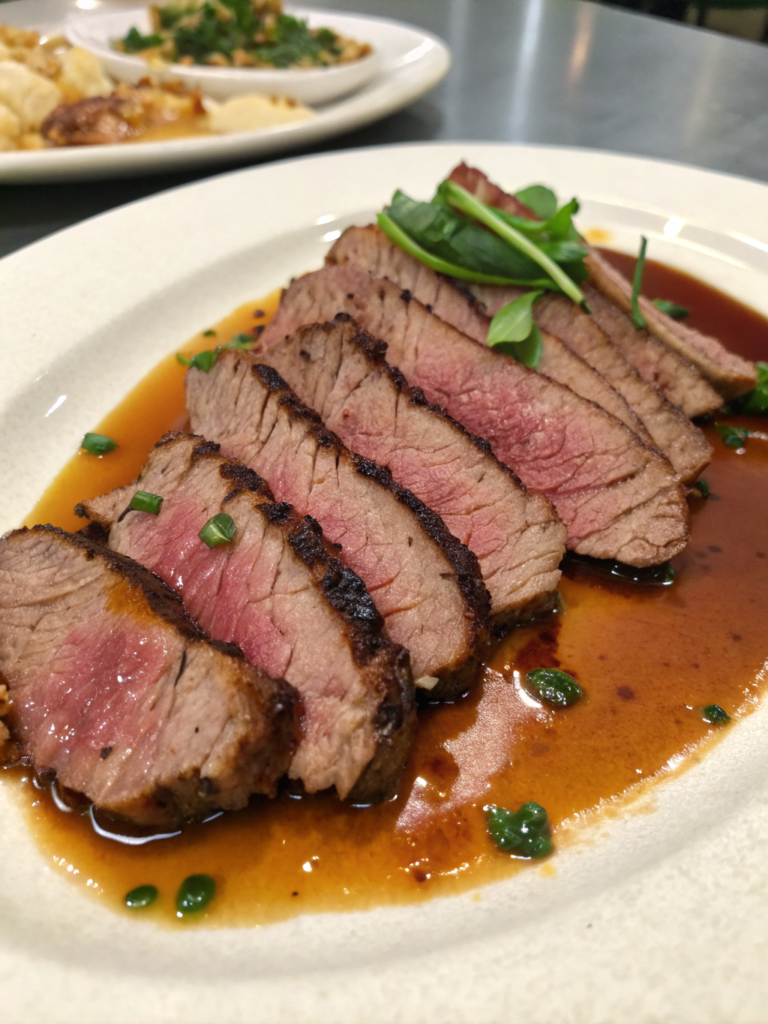
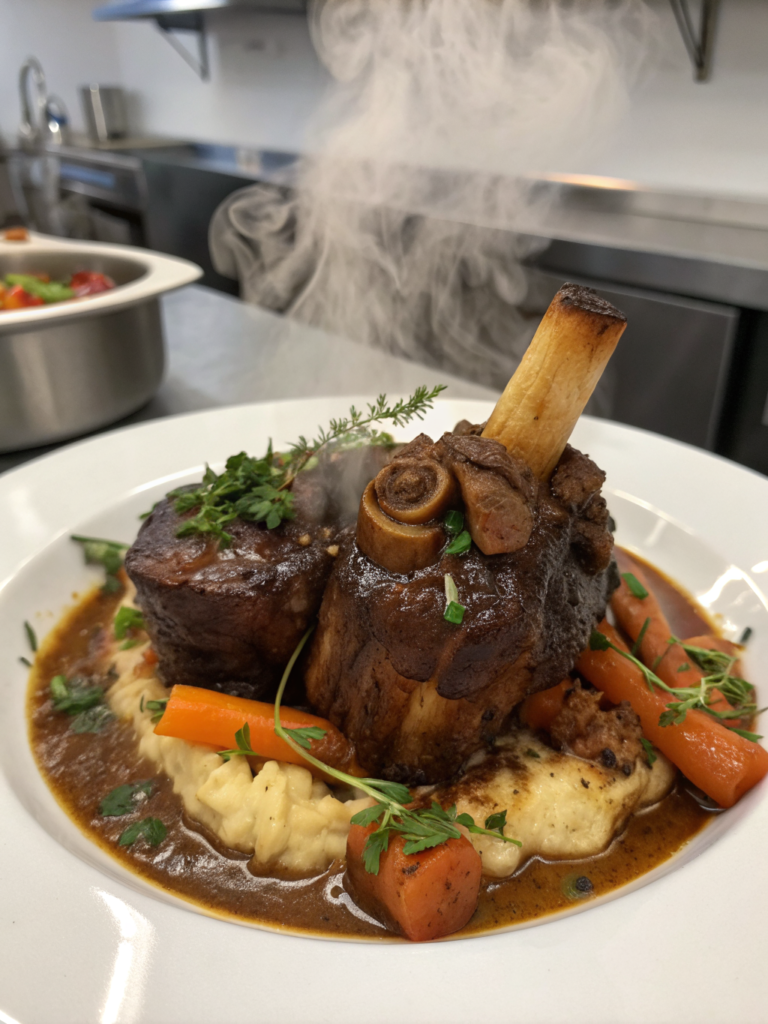
When plating, spoon the sauce over the ribs and reserve some whole braised vegetables. Finish with fresh herbs for a bright, professional touch that encourages second helpings.
Serving Suggestions for Short Ribs
You want your oven-baked short ribs to shine on the plate. Start with a short sentence that sets the tone for pairing and presentation. The right sides and a clean layout turn a delicious short rib dish into a memorable meal.
Perfect Side Dishes to Pair with Short Ribs
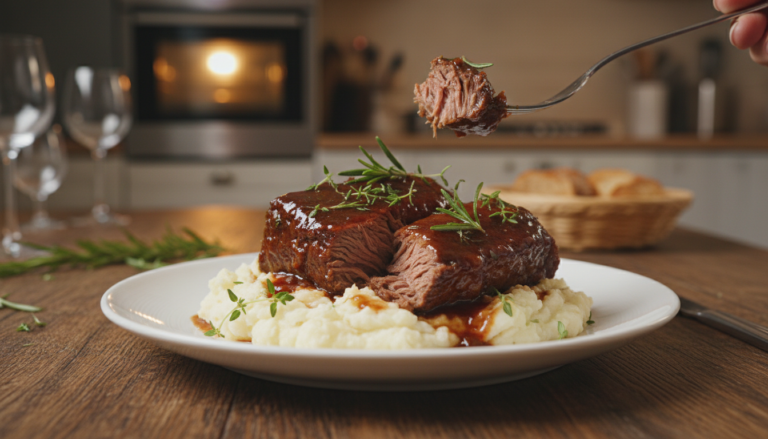
Choose a starchy base that soaks up sauce. Creamy mashed potatoes, buttery polenta, or creamy grits work well. They add comfort to each bite.
- Roasted root vegetables such as carrots and parsnips for color and texture.
- Sautéed green beans with garlic or braised red cabbage to add brightness.
- Arugula salad with lemon vinaigrette or chimichurri when you want a lighter contrast.
- For BBQ short ribs, think coleslaw, cornbread, or baked beans. For Asian-style ribs, pair with steamed rice, kimchi, or pickled cucumbers.
Plating Tips for an Impressive Presentation
Spoon a shallow pool of reduced sauce on the plate. Place the ribs on top or slightly to the side so the sauce frames the meat.
Arrange vegetables or the mashed base neatly beside the ribs. Keep portions tidy and leave some negative space for a restaurant look.
- Portion bone-in ribs at about 1/2 to 3/4 pound per person.
- Slice or pull the meat as appropriate for the cut and style of service.
- Garnish with chopped parsley, microgreens, or thinly sliced scallions to match the flavor profile.
Serve extra reduced sauce in a small pitcher so guests can add more. Presenting oven-baked short ribs with thoughtful sides and clean plating highlights the effort in your easy short rib recipe. It keeps focus on the rich, tender meat.
Storing and Reheating Leftover Short Ribs
After cooking short ribs, cool them quickly and store them smartly. Let them cool at room temperature for no more than two hours. Then, put them in airtight containers with some braising liquid to keep them moist. Cooked short ribs can stay fresh in the fridge for 3–4 days.
Best Practices for Storing
Divide the ribs into portions for easy use. Use clear, airtight containers or heavy-duty bags. Include enough sauce to cover the meat. Label the containers with the date to keep track of freshness.
To freeze, place portions in freezer-safe containers or bags. Add sauce to prevent freezer burn. Seal well and freeze flat for easy stacking. Use within 2–3 months for the best taste.
Tips for Reheating Without Drying Out
Reheat gently to keep the ribs tender. Preheat your oven to 300°F. Place ribs in a covered dish and warm for 20–30 minutes. Add hot stock or water if the sauce is too thick.
For stovetop reheating, warm the ribs over low heat. Stir occasionally and add liquid as needed. Avoid high heat to prevent drying out.
Microwave reheating is quick. Use a microwave-safe dish, cover, and heat in short intervals. Turn the ribs and add sauce between intervals to keep them moist.
After reheating, let the ribs rest for five minutes. This allows juices to redistribute. If shredding for tacos or sandwiches, warm until easy to pull. Then, shred with two forks or meat claws. Toss with sauce to keep it moist and enjoy the same comfort as when cooking from scratch.
Recipe Variations and Creative Twists
Start with a basic braise to create unique dishes. Try a smoky BBQ short ribs version or an Asian-inspired take. Both use the same steps: prep, season, sear, build a flavor base, braise, and finish.
BBQ Short Ribs: A Flavorful Twist
For BBQ ribs, rub them with kosher salt, black pepper, and spices. Sear, then braise with beef stock and apple cider vinegar. Save some liquid to reduce with ketchup and spices until it’s sticky.
Brush the glaze on the ribs and broil or bake at 425°F for 8–12 minutes. Serve with cornbread, coleslaw, and pickles for a hit with guests.
Asian-Inspired Short Ribs: A Fusion Recipe
For Asian-style ribs, use soy sauce, mirin, and brown sugar. Add ginger, garlic, and sesame oil. Marinate or season, then sear and braise with beef stock and spices.
Reduce the liquid with mirin until it’s shiny. Broil briefly for a char. For a Korean twist, add gochujang and serve with kimchi and rice.
Explore other flavors like coffee or stout for earthy notes, or Mexican spices for heat. Shred the meat for tacos or sliders. This method lets you make flavorful short ribs again and again.