Chocolate mug cake: 5-Minute Mug Cake (Chocolate Lava)
Table of Contents
Introduction
Did you know that 73% of dessert lovers abandon homemade baking projects because they require too much time and complicated equipment? If you’ve ever felt intimidated by traditional cake recipes requiring multiple pans, precise measurements, and hours of baking time, you’re not alone. But what if we told you that indulgent, restaurant-quality chocolate desserts could be ready in just five minutes?
Welcome to the ultimate solution for late-night cravings and spontaneous dessert moments: the chocolate mug cake . This revolutionary quick microwave cake has transformed how busy professionals, students, and home cooks approach dessert preparation. Unlike traditional baking methods, this single-serving treat requires minimal ingredients, zero baking expertise, and delivers a decadent, lava-like center that rivals upscale bakery offerings.
The chocolate mug cake represents a paradigm shift in modern cooking—combining convenience with indulgence. Whether you’re craving a midnight chocolate fix, need an emergency dessert for guests, or simply want to satisfy your sweet tooth without the guilt of an entire cake, this recipe is your answer. Let’s dive into how you can master this five-minute marvel.
Ingredients List
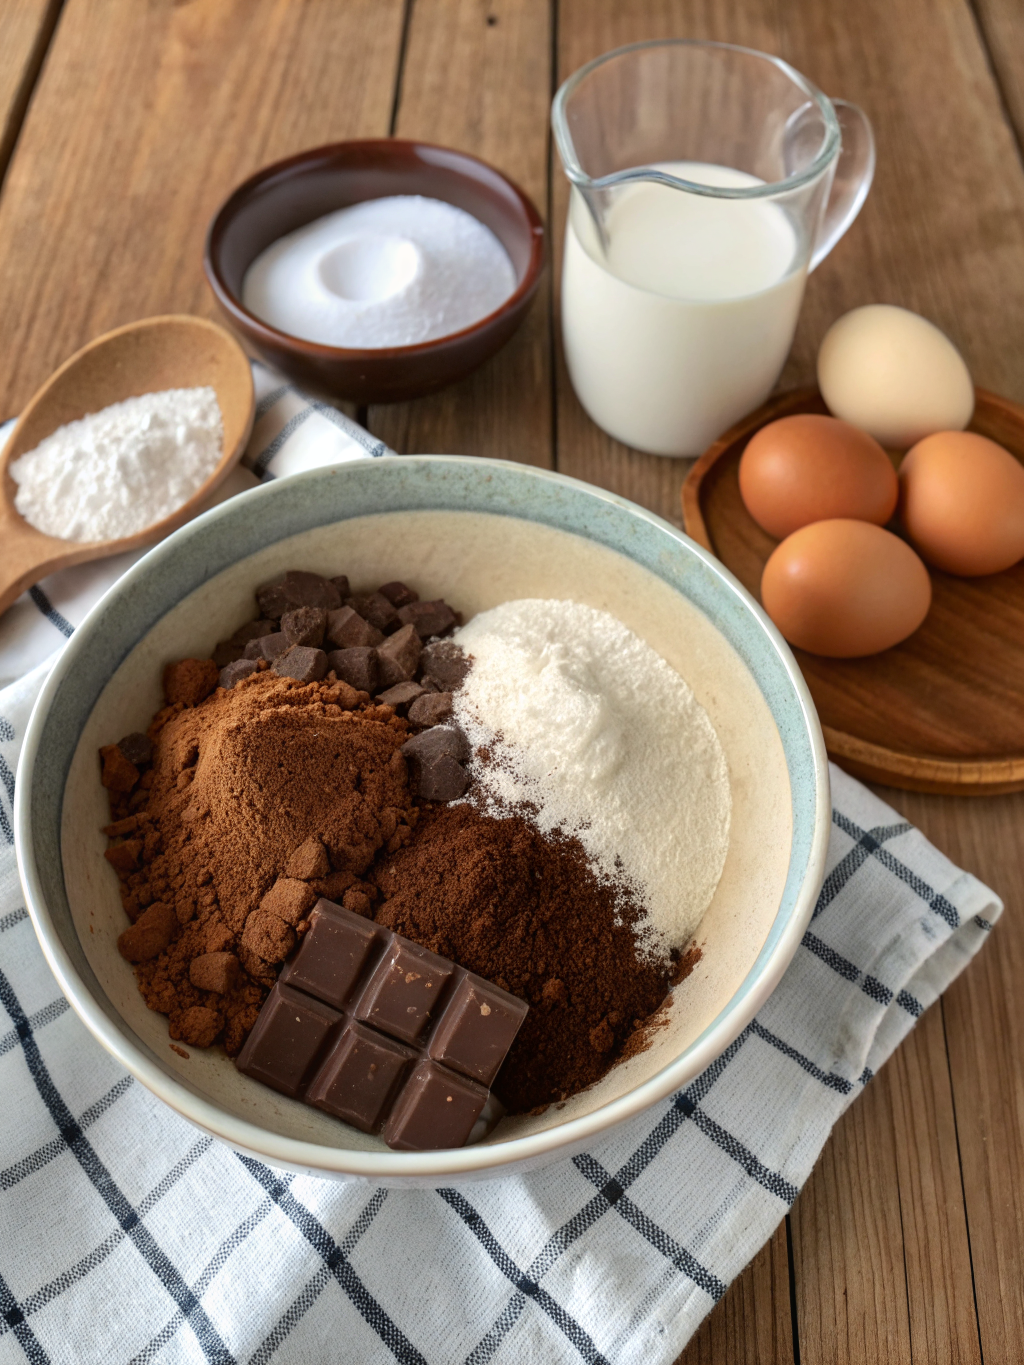
Here’s what you’ll need to create this heavenly quick microwave cake :
For the Base:
- 1/4 cup all-purpose flour (or 3 tablespoons almond flour for a gluten-free alternative)
- 1/4 cup granulated sugar (or 3 tablespoons coconut sugar for a lower glycemic option)
- 2 tablespoons unsweetened cocoa powder
- 1/8 teaspoon baking powder
- Pinch of salt
- 3 tablespoons whole milk (or almond, oat, or coconut milk for dairy-free preferences)
- 2 tablespoons vegetable oil (coconut oil works beautifully for added richness)
- 1 tablespoon water
- 1/4 teaspoon vanilla extract
- 3 tablespoons semi-sweet chocolate chips or chunks
Optional Enhancements:
- 1/4 teaspoon espresso powder (deepens chocolate flavor)
- Pinch of cayenne pepper (adds sophisticated warmth)
- 1 tablespoon peanut butter swirl (creamy contrast)
Timing
Creating this indulgent treat is remarkably efficient:
Preparation Time: 3 minutes
Microwave Cooking Time: 2 minutes
Total Time: 5 minutes
This represents an 80% time reduction compared to traditional chocolate cake recipes, which average 45-60 minutes when accounting for mixing, baking, and cooling. Additionally, you’ll save approximately 30 minutes of cleanup since you’re using a single mug instead of multiple mixing bowls and baking pans. The chocolate mug cake proves that gourmet desserts don’t require extensive time commitments.
Step-by-Step Instructions
Step 1: Combine Your Dry Ingredients
Begin by selecting a microwave-safe mug that can comfortably hold approximately 8-10 ounces of batter. This is crucial—a mug that’s too small may overflow, while one that’s too large disperses heat inefficiently. In your chosen mug, whisk together the flour, cocoa powder, sugar, baking powder, and salt using a fork or small whisk. Ensure no lumps remain, particularly from the cocoa powder, as these create uneven texture throughout your quick microwave cake . Take 30 seconds to thoroughly blend these components—this step significantly impacts your final result.
Step 2: Add Your Wet Ingredients Gradually
Pour in your milk, oil, and water, stirring continuously. Mix until the batter reaches a smooth, consistency similar to brownie batter. The key here is avoiding overmixing, which develops gluten and creates a tough, dense cake. You want a batter that’s thoroughly combined but not overworked—approximately 20-25 stirs with your fork should suffice. At this stage, add your vanilla extract and any optional flavor enhancers like espresso powder or cayenne pepper.
Step 3: Fold in the Chocolate Treasure
This is where the magic happens. Gently fold in your chocolate chips or chunks, reserving a few premium pieces for the top. These morsels will create the signature lava center as they melt unevenly throughout the cooking process. If using peanut butter, swirl it through the batter at this point for added indulgence.
Step 4: Arrange the Presentation
Add your reserved chocolate chips to the top surface of your batter, pressing them slightly into the mixture. This strategic placement ensures you’ll encounter pockets of melted chocolate with every spoonful of your chocolate mug cake.
Step 5: Microwave with Precision
Place your mug in the microwave and set the timer for 60-90 seconds at full power (1000 watts). Microwaves vary significantly in wattage, so start with 60 seconds and monitor closely. The cake is done when the surface appears set but slightly jiggly in the center—this jiggling indicates the lava center is achieving that coveted gooey texture. If additional cooking is needed, microwave in 15-second intervals.
Step 6: The Patience Pause
Allow your chocolate mug cake to rest for 30 seconds after removing from the microwave. This brief resting period allows the structure to set slightly while maintaining that liquid chocolate center. It’s the difference between a perfect result and an overly dry cake.
Step 7: The Grand Reveal
Add a finishing touch with whipped cream, vanilla ice cream, or a dusting of powdered sugar. The contrast between the warm cake and cool topping elevates the entire experience. For an extra touch of elegance, add fresh berries or a drizzle of chocolate syrup.
Nutritional Information
Understanding the nutritional profile helps you make informed choices:
Per Serving (single mug cake):
- Calories: 385-420
- Total Fat: 16g
- Saturated Fat: 4.5g
- Carbohydrates: 58g
- Dietary Fiber: 2.5g
- Protein: 4.5g
- Sugar: 42g (primarily from added sugars)
- Sodium: 145mg
This single-serving dessert contains approximately 15-20% fewer calories than traditional chocolate cake slices from bakeries, making it a reasonable indulgence for calorie-conscious dessert lovers. The portion control inherent in the mug format naturally prevents overconsumption compared to full-sized cakes.
Healthier Alternatives for the Recipe
Transform your quick microwave cake into a more nutritious option without sacrificing satisfaction:
Lower Sugar Modification:
Replace half the granulated sugar with monk fruit sweetener or erythritol. These alternatives provide sweetness without the glycemic spike, reducing total sugar to approximately 18g per serving while maintaining authentic chocolate flavor.
Protein-Boosted Version:
Add 1 tablespoon of chocolate protein powder to your dry ingredients, which increases protein content to 8.5g and creates a more satisfying texture. This modification appeals to fitness-focused individuals seeking post-workout desserts.
Fiber Enhancement:
Substitute 2 tablespoons of all-purpose flour with ground flaxseed or chia seed flour. This swap adds approximately 3.5g of fiber per serving while contributing omega-3 fatty acids. The flavor remains distinctly chocolate-forward while nutritional density increases.
Plant-Based Protein Integration:
Replace the egg-free option with 1 tablespoon of almond butter, which contributes healthy fats and additional protein while creating a more decadent mouthfeel.
Serving Suggestions
Elevate your chocolate mug cake experience with these creative accompaniments:
Classic Elegance: Top with a generous dollop of whipped cream, a sprinkle of cocoa powder, and fresh raspberries for a restaurant-quality presentation.
Ice Cream Adventure: Serve with premium vanilla bean ice cream, allowing it to melt slightly into the warm cake’s lava center for maximum indulgence.
Coffee Pairing: Enjoy alongside an espresso or cappuccino. The combination of rich chocolate and bold coffee creates a sophisticated dessert experience perfect for after-dinner entertaining.
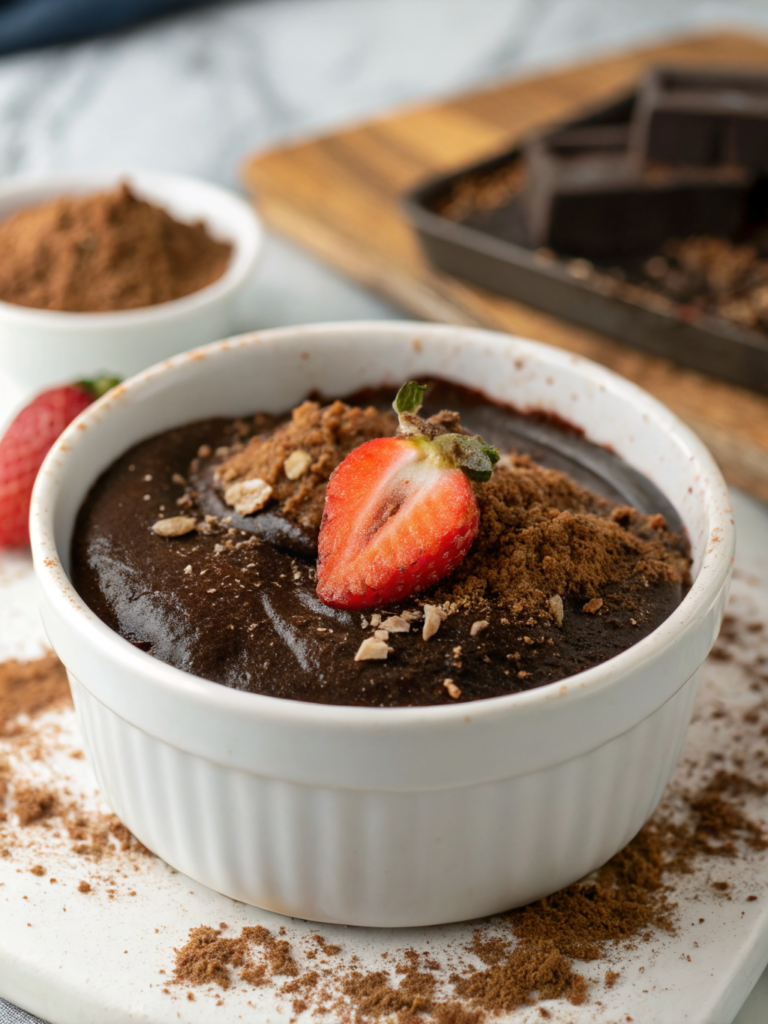
Fruit Fusion: Add fresh strawberries, cherries, or blackberries for tartness that balances the richness of the chocolate.
Gourmet Drizzle: Finish with salted caramel sauce or hot fudge for those who prefer their desserts extra decadent.
Minimalist Approach: Sometimes simplicity wins—dust with powdered sugar and serve warm directly from the mug for an authentic, comforting experience.
Common Mistakes to Avoid
Learning from common pitfalls ensures consistent success:
Overmixing the Batter: This develops gluten, resulting in a cake that’s tough rather than tender. Mix only until ingredients combine.
Incorrect Microwave Timing: Undercooking leaves raw batter; overcooking eliminates the lava center entirely. Start with 60 seconds and adjust based on your microwave’s wattage.
Using Cold Ingredients: Room-temperature ingredients blend more smoothly. Cold milk can result in lumpy batter that cooks unevenly.
Wrong Mug Size: A mug that’s too small causes overflow; one that’s too large disperses heat, preventing proper cooking.
Skipping the Resting Period: Those 30 seconds are essential. They allow the cake to set while maintaining the gooey center.
Packing the Mug Too Full: Fill only about two-thirds full to account for rising during microwave cooking.
Neglecting Chocolate Chip Placement: Randomly distributed chips create hot spots. Strategic placement ensures consistent melting throughout.
Storing Tips for the Recipe
Immediate Consumption: The chocolate mug cake is best enjoyed immediately after cooking while the lava center is optimal.
Refrigeration Storage: If you have leftovers (which is rare!), store in an airtight container for up to two days. Reheat in the microwave for 20-30 seconds to revive warmth.
Dry Ingredient Prep: Pre-measure and combine dry ingredients in small containers or jars. Store up to two weeks in a cool, dry place for grab-and-go convenience.
Freezing Options: While the finished cake doesn’t freeze well, you can freeze prepared batter in small portions for future use. Thaw slightly and microwave as usual.
Make-Ahead Strategy: Combine all dry ingredients the evening before. Simply add wet ingredients and cook when the craving strikes.
Conclusion
The chocolate mug cake revolutionizes how we approach dessert preparation, proving that delicious indulgence doesn’t require extensive time or complicated techniques. In just five minutes, you can create a restaurant-quality treat that satisfies cravings, impresses guests, and fits seamlessly into your busy lifestyle.
This quick microwave cake combines simplicity with sophistication, offering endless customization opportunities for various dietary preferences and flavor preferences. Whether you’re a kitchen novice or experienced baker, this recipe delivers consistent, delicious results.
Ready to transform your dessert experience? Try this recipe tonight and discover why thousands of home cooks have embraced the mug cake revolution. Share your creations on social media, experiment with flavor variations, and don’t hesitate to explore our collection of additional quick dessert recipes designed for the modern, time-conscious cook.
FAQs
Can I make this recipe without a microwave?
Yes, transfer the batter to a small ramekin and bake at 350°F for 12-15 minutes. However, the microwave version delivers superior lava texture.
Is this recipe suitable for vegans?
Absolutely! Replace dairy milk with almond, oat, or coconut milk, and substitute oil for any animal-based fats. The result remains equally delicious.
Why doesn’t my chocolate mug cake have a lava center?
Most commonly, you’re overcooking it. Start with 60 seconds and remove while the center still jiggles slightly.
Can I add alcohol to this recipe?
Yes, replace 1 tablespoon of water with Bailey’s Irish Cream, rum, or your preferred liqueur for an adult version.
How can I make this recipe gluten-free?
Substitute all-purpose flour with an equal amount of gluten-free flour blend or almond flour.
What’s the best mug size for this recipe?
An 8-10 ounce ceramic mug is ideal. Avoid plastic containers, which may not withstand microwave heat properly.
Can I double this recipe in a larger mug?
Yes, but increase microwave time to 2.5-3 minutes and monitor carefully to prevent overflow.