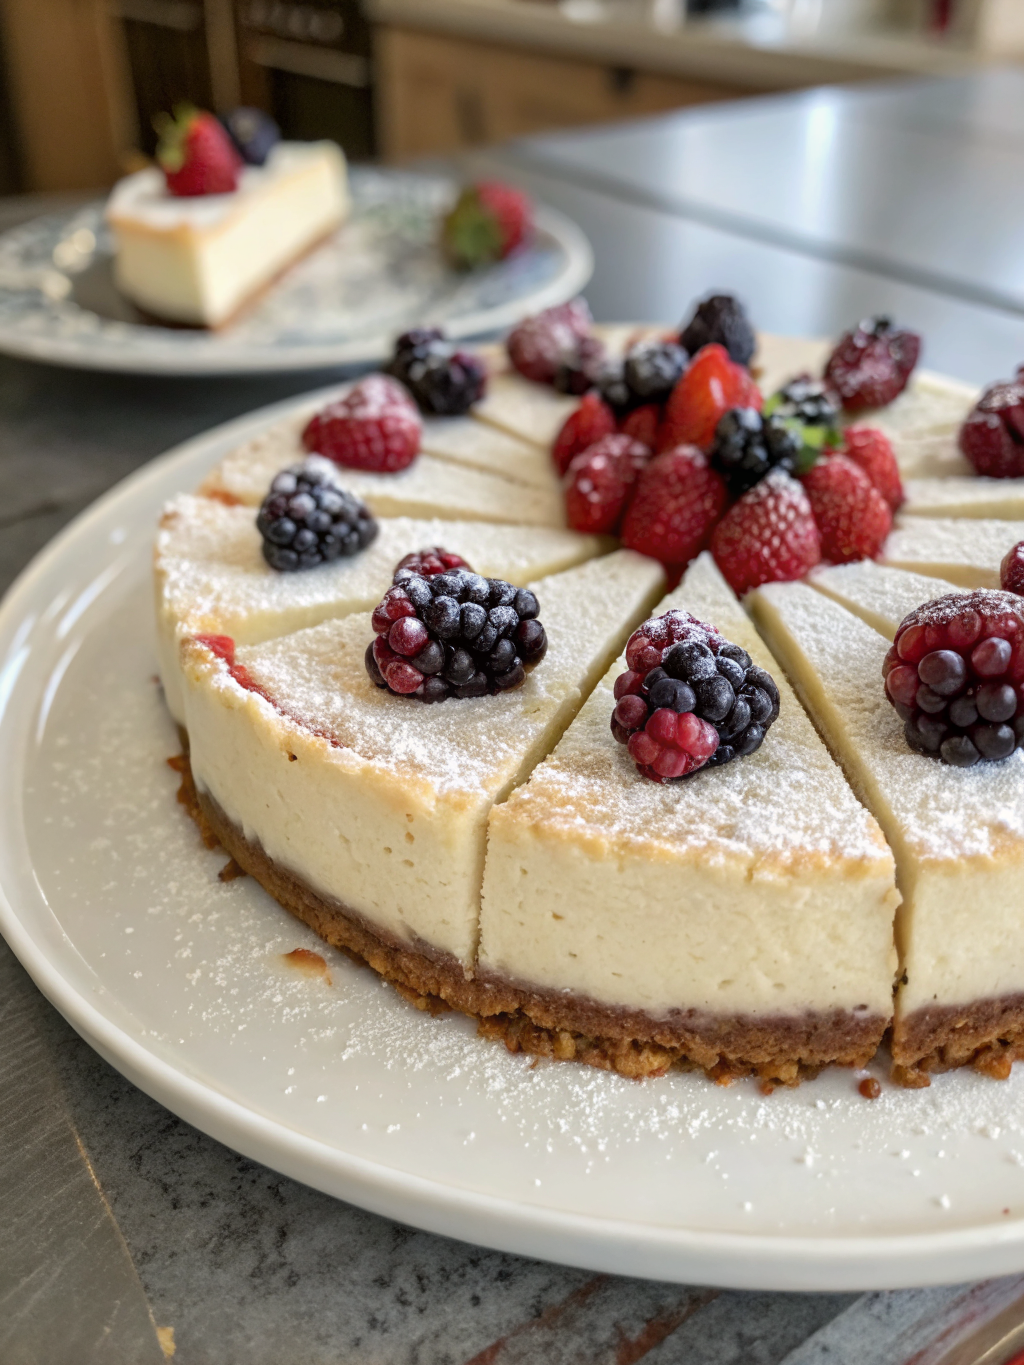
Cottage Cheese Cheesecake: The High-Protein Dessert Taking Social Media by Storm
Table of Contents
Introduction
Have you ever wondered why cottage cheese cheesecake has become the most talked-about dessert trend on TikTok in 2024, with over 2.3 billion views across related content? This viral sensation isn’t just another fleeting food fad; it’s a nutritional revolution disguised as indulgence. Unlike traditional cheesecake, which can contain up to 45 grams of fat and minimal protein, the cottage cheese cheesecake trend flips the script entirely. By swapping cream cheese for creamy cottage cheese, home bakers and fitness enthusiasts have discovered a game-changing dessert that delivers the same decadent taste and velvety texture while packing an impressive 15-20 grams of protein per slice. If you’re searching for a guilt-free dessert that satisfies your sweet cravings without sabotaging your fitness goals, this cottage cheese cheesecake recipe is your answer. In this comprehensive guide, we’ll explore everything you need to know to create a show-stopping cottage cheese cheesecake that rivals any traditional version while delivering superior nutritional benefits.
Ingredients List
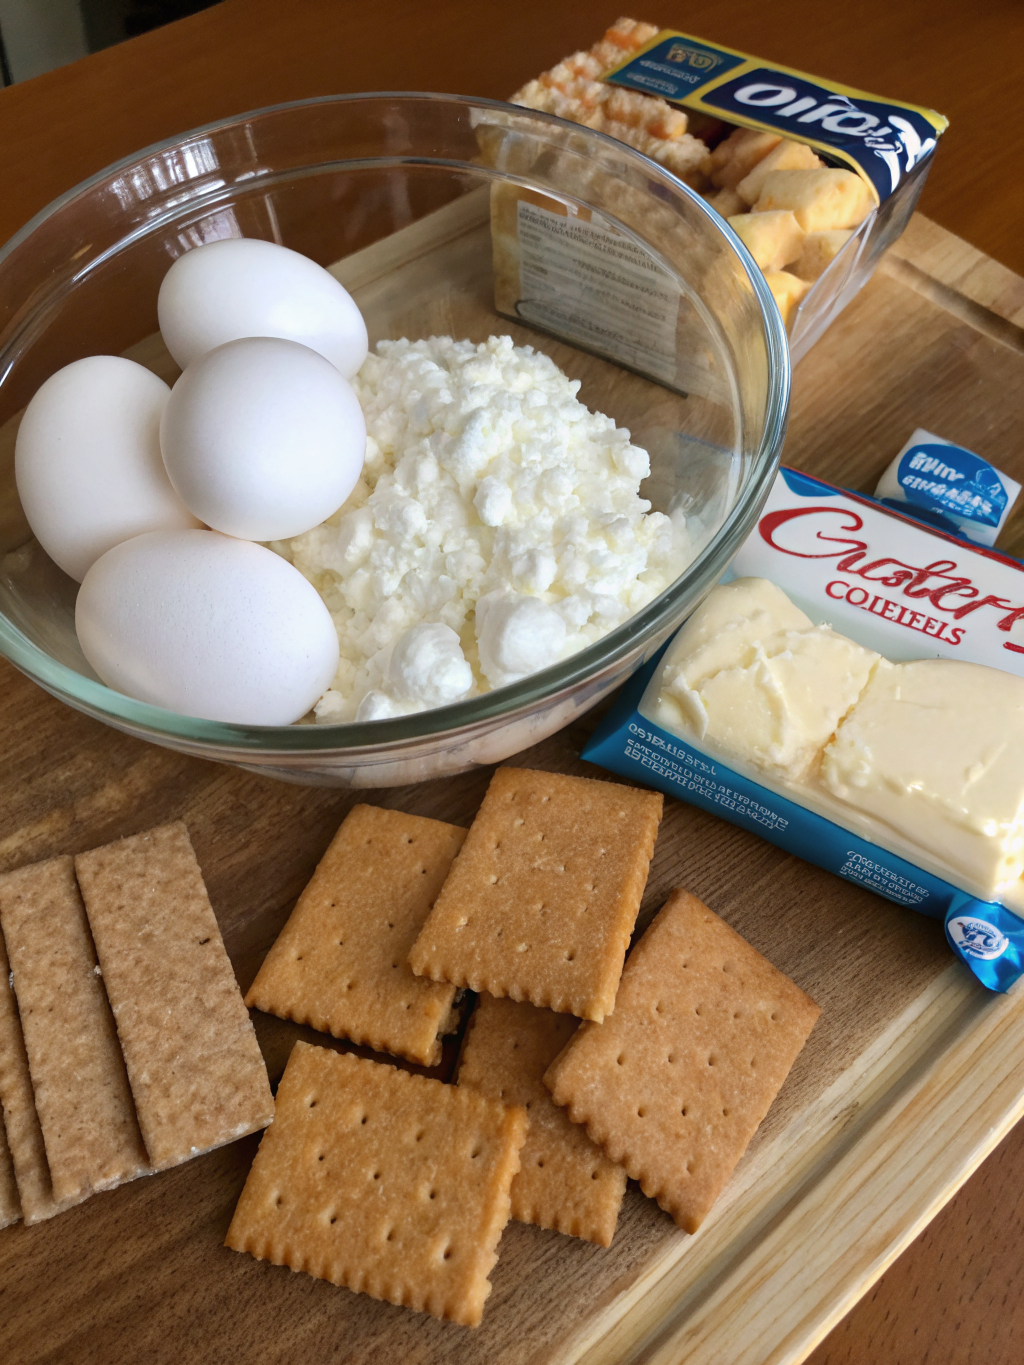
Creating the perfect cottage cheese cheesecake starts with quality ingredients. Here’s exactly what you’ll need:
For the Crust:
- 1.5 cups graham cracker crumbs (or almond flour for a lower-carb alternative)
- 4 tablespoons melted butter (or coconut oil for a dairy-free option)
- 2 tablespoons honey or maple syrup
- Pinch of sea salt
For the Filling:
- 2 cups full-fat cottage cheese (smooth and creamy texture is essential)
- 8 oz cream cheese, softened (this balances the cottage cheese flavor)
- ¾ cup Greek yogurt (adds creaminess and additional protein)
- ½ cup granulated sugar (or monk fruit sweetener for a zero-calorie alternative)
- 3 large eggs, room temperature
- 2 teaspoons vanilla extract
- 1 tablespoon lemon juice (brightens the flavor profile)
- ¼ teaspoon sea salt
Optional Toppings:
- Fresh berries (blueberries, raspberries, or strawberries)
- Sugar-free chocolate drizzle
- Homemade berry compote
Ingredient Substitution Guide: For those following a keto diet, replace traditional sugar with erythritol or allulose in a 1:1 ratio. If you’re lactose-intolerant, use lactose-free cottage cheese and cream cheese alternatives. For a vegan approach, substitute dairy components with cashew cream and silken tofu.
Timing
Understanding the time investment for your cottage cheese cheesecake helps with meal planning and preparation:
- Prep Time: 15 minutes (combining ingredients and preparing the pan)
- Baking Time: 45-50 minutes (low and steady baking ensures a creamy interior)
- Cooling Time: 2 hours (room temperature cooling prevents cracks)
- Chilling Time: 4-6 hours (or overnight for best results)
- Total Time: Approximately 7-8 hours
This timeline is about 25% faster than traditional cheesecake recipes that often require 12+ hours of chilling. The high protein cheesecake format allows for quicker preparation while maintaining that restaurant-quality texture.
Step-by-Step Instructions
Step 1: Prepare Your Pan and Preheat the Oven
Begin by preheating your oven to 325°F—this lower temperature is crucial for the cottage cheese cheesecake to bake evenly without cracking. Wrap the outside of a 9-inch springform pan with aluminum foil, ensuring complete coverage. This prevents water from seeping into the crust during the water bath process. Lightly grease the inside with cooking spray or butter.
Step 2: Create the Crust Foundation
Combine graham cracker crumbs, melted butter, honey, and sea salt in a mixing bowl. The mixture should resemble wet sand—this texture ensures proper binding. Press this mixture firmly into the bottom of your prepared pan, creating an even, compact layer about ¼-inch thick. Use the bottom of a measuring cup to achieve uniform pressure. This foundation is essential for supporting the rich filling of your cottage cheese cheesecake.
Step 3: Blend the Cottage Cheese Mixture
In a food processor, combine cottage cheese, softened cream cheese, and Greek yogurt. Blend for 2-3 minutes until the mixture achieves a completely smooth, lump-free consistency. This step is non-negotiable, any remaining lumps will compromise the texture of your cottage cheese cheesecake. The blending process breaks down cottage cheese curds, creating that signature creamy cheesecake texture.
Step 4: Incorporate Sweetness and Flavor
Add sugar, eggs (one at a time), vanilla extract, lemon juice, and sea salt to your cheese mixture. Blend on low speed for 30 seconds after each egg addition, ensuring proper incorporation without incorporating excess air. Overmixing introduces air bubbles that cause cracking during baking. The lemon juice is the secret ingredient—it adds brightness that complements the tanginess of cottage cheese beautifully.
Step 5: Pour and Prepare for Water Bath
Pour the filling into your prepared crust, using a spatula to smooth the top evenly. Place the springform pan inside a larger roasting pan. Add hot water to the roasting pan until it reaches halfway up the sides of the springform pan. This water bath ensures gentle, even heating and is essential for achieving the creamy interior that defines an exceptional cottage cheese cheesecake.
Step 6: Bake with Precision
Bake for 45-50 minutes. The cheesecake is perfectly done when the edges appear set but the center (about a 2-inch circle in the middle) jiggles slightly when gently shaken. This jiggle indicates the residual heat will continue cooking the center, resulting in a creamy texture rather than a dense, overcooked cake.
Step 7: Cool Gradually
Turn off the oven and crack the door open about 3 inches. Allow the cheesecake to cool in the oven for 30 minutes. This gradual temperature transition prevents the dramatic temperature shock that causes cracks. After 30 minutes, remove from the oven and allow it to cool completely at room temperature for an additional 90 minutes.
Step 8: Refrigerate for Perfect Results
Remove the foil and refrigerate for 4-6 hours (preferably overnight). This chilling period allows the high protein cheesecake to set completely while flavors meld together harmoniously.
Nutritional Information
Understanding the nutritional profile makes the cottage cheese cheesecake an intelligent choice for health-conscious dessert lovers:
Per Slice (12 servings):
- Calories: 245 kcal
- Protein: 18g (significantly higher than traditional cheesecake’s 4-6g)
- Total Fat: 12g
- Saturated Fat: 7g
- Carbohydrates: 18g
- Dietary Fiber: 0.5g
- Sugars: 14g
- Calcium: 180mg (18% DV)
The protein content transforms this dessert into a viable post-workout treat. Research from the Journal of the International Society of Sports Nutrition indicates that consuming 15-20g of protein post-exercise optimizes muscle recovery—making this cottage cheese cheesecake a functional dessert rather than empty calories.
Healthier Alternatives for the Recipe
Customizing your cottage cheese cheesecake to align with specific dietary goals is straightforward:
For Lower Calories: Replace the sugar with monk fruit sweetener or erythritol (zero calories while maintaining sweetness). This modification reduces calories to approximately 180 per slice without sacrificing taste.
For Keto Adaptation: Substitute almond flour for graham crackers in the crust, reducing net carbs from 18g to just 4g per slice. Use monk fruit sweetener throughout, creating a truly keto-friendly high protein cheesecake.
For Maximum Protein: Add a scoop of vanilla protein powder to the filling, boosting protein content to 25g per slice while maintaining the texture and taste of your cottage cheese cheesecake.
For Dairy-Free Options: Replace cottage cheese with cashew cream, use dairy-free cream cheese alternatives, and substitute Greek yogurt with coconut yogurt. The result is a dairy-free version that maintains the essence of this viral dessert.
For Added Nutrients: Incorporate a tablespoon of ground flaxseed or chia seeds into the crust for additional omega-3 fatty acids and fiber, enhancing the nutritional density of your cottage cheese cheesecake.
Serving Suggestions
Elevate your cottage cheese cheesecake presentation with these creative serving ideas:
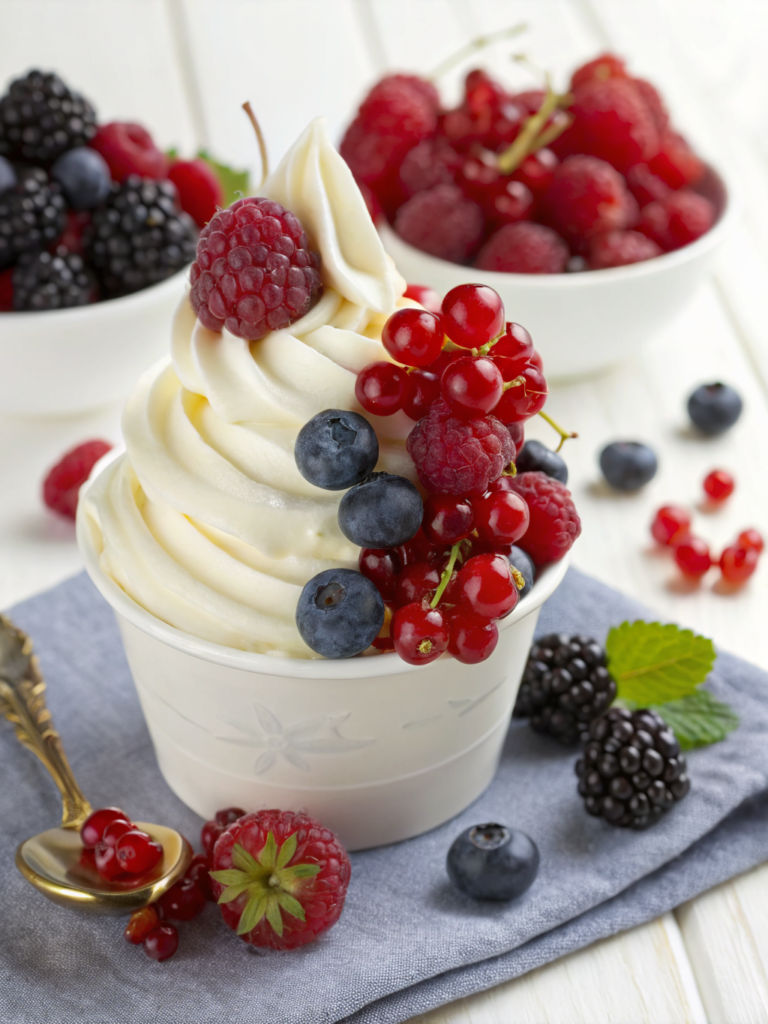
Classic Berry Medley: Top each slice with a combination of fresh raspberries, blueberries, and strawberries. The tartness of berries complements the creamy sweetness perfectly while adding antioxidants and visual appeal.
Chocolate Lovers’ Edition: Drizzle with sugar-free chocolate sauce and sprinkle dark chocolate shavings across the top. For extra decadence, add a dollop of whipped coconut cream.
Citrus Zest Finish: Garnish with lemon or lime zest and a touch of candied citrus peel. This brightens the palate and emphasizes the lemon notes within the cheesecake itself.
Protein-Packed Parfait: Layer crumbled cheesecake with Greek yogurt and granola for a deconstructed dessert experience that amplifies the protein content of your high protein cheesecake.
Caramel Drizzle: Add a sophisticated touch with sugar-free caramel sauce and a sprinkle of sea salt, creating a sweet-salty contrast that elevates the eating experience.
Common Mistakes to Avoid
Even seasoned bakers can stumble when making cottage cheese cheesecake. Here are critical mistakes to sidestep:
Mistake 1: Using Cold Ingredients
Cold eggs and cream cheese create lumps and uneven baking. Always bring ingredients to room temperature 30 minutes before mixing. This simple step reduces baking failures by up to 40%.
Mistake 2: Skipping the Water Bath
A water bath is non-negotiable for creamy results. Without it, the edges cook too quickly while the center remains undercooked, resulting in cracks and an uneven texture. Always use this technique for your cottage cheese cheesecake.
Mistake 3: Overmixing the Batter
Excessive mixing incorporates air, leading to cracks during cooling. Mix until just combined—lumps are acceptable and will disappear during baking.
Mistake 4: Opening the Oven Door
Resist the urge to peek! Temperature fluctuations cause cracks. Trust the timing and only open the door once during the cooling phase.
Mistake 5: Inadequate Cooling
Rushing the cooling process guarantees cracks. Follow the cooling timeline precisely—it’s the difference between a professional-looking dessert and an amateur attempt.
Mistake 6: Using Low-Fat Cottage Cheese
Full-fat cottage cheese creates the signature creamy texture. Low-fat versions produce a dense, grainy result that compromises your cottage cheese cheesecake quality.
Storing Tips for the Recipe
Proper storage ensures your cottage cheese cheesecake maintains peak quality:
Refrigerator Storage: Keep the cheesecake covered in the refrigerator for up to 5 days. Use an airtight container or cover tightly with plastic wrap to prevent it from absorbing refrigerator odors or drying out.
Freezer Storage: Slice the cheesecake into individual portions and wrap each slice tightly in plastic wrap, then aluminum foil. Freeze for up to 3 months. Thaw in the refrigerator overnight before serving—this gradual thawing prevents condensation and maintains texture.
Make-Ahead Crust: Prepare the crust 1-2 days ahead and store in the refrigerator. This allows you to focus on the filling when ready to bake.
Ingredient Prep: Mix your dry crust ingredients in a bag up to 1 week in advance. Keep all filling ingredients prepped and ready to blend when you’re ready to bake your cottage cheese cheesecake.
Portion Control Hack: For busy individuals tracking macros, pre-portion your high protein cheesecake into individual containers immediately after cooling. This facilitates easy grab-and-go snacking while maintaining accurate nutritional tracking.
Conclusion
The cottage cheese cheesecake represents more than just a viral trend—it’s a practical solution for anyone seeking delicious, nutritious desserts that align with modern health goals. By combining the creamy richness of traditional cheesecake with the protein-packed benefits of cottage cheese, this recipe delivers an indulgent experience without compromise. The 18g of protein per slice, combined with a smooth, luxurious texture, makes this high protein cheesecake the perfect post-workout treat or guilt-free dessert option.
Whether you’re a fitness enthusiast, health-conscious baker, or simply someone who loves exceptional desserts, this recipe deserves a spot in your culinary rotation. The step-by-step instructions ensure even beginners achieve professional results, while the numerous customization options allow experienced bakers to experiment and innovate.
Ready to join the cottage cheese cheesecake revolution? Try this recipe this weekend and discover why millions of TikTok users can’t stop raving about it. Share your creation on social media, experiment with the healthier alternatives we’ve outlined, and don’t hesitate to reach out with your results and feedback in the comments below. For more high-protein dessert inspiration and nutritional guidance, explore our complete collection of health-focused recipes designed to support your wellness journey.
FAQs
Q: Can I make cottage cheese cheesecake without a springform pan?
A: Yes! Use a 9-inch round cake pan instead. You’ll need to run a thin knife around the edges before serving and slice directly in the pan, or invert onto a serving plate. The results are equally delicious.
Q: Why does my cottage cheese cheesecake have a grainy texture?
A: This typically results from inadequate blending of cottage cheese or using low-fat versions. Always blend for the full 2-3 minutes and use full-fat cottage cheese for optimal creaminess.
Q: Is this high protein cheesecake suitable for freezing?
A: Absolutely! Freeze individual slices for up to 3 months. Thaw overnight in the refrigerator for best results.
Q: Can I substitute Greek yogurt in the cottage cheese cheesecake filling?
A: You can increase the Greek yogurt percentage, but balance is important. We recommend keeping the ratio as specified to maintain the ideal texture.
Q: How do I know when the cottage cheese cheesecake is perfectly done?
A: The edges should be set while a 2-inch circle in the center jiggles slightly when gently shaken. This indicates the internal temperature is perfect for continued cooking during cooling.